Announcement

Collapse
No announcement yet.

My Project: '66 coupe restoration (pic heavy)

Collapse
X
 
  • Filter
  • Time
  • Show
Clear All
new posts

  • My Project: '66 coupe restoration (pic heavy)

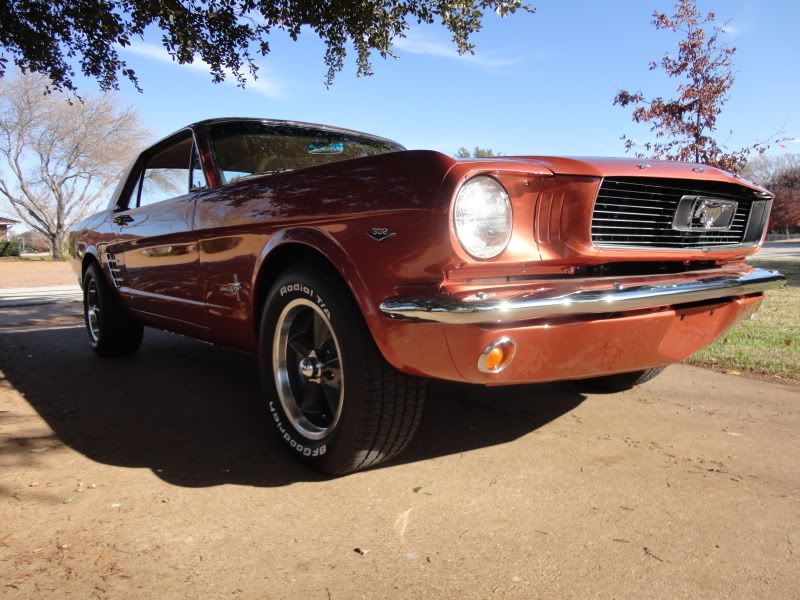
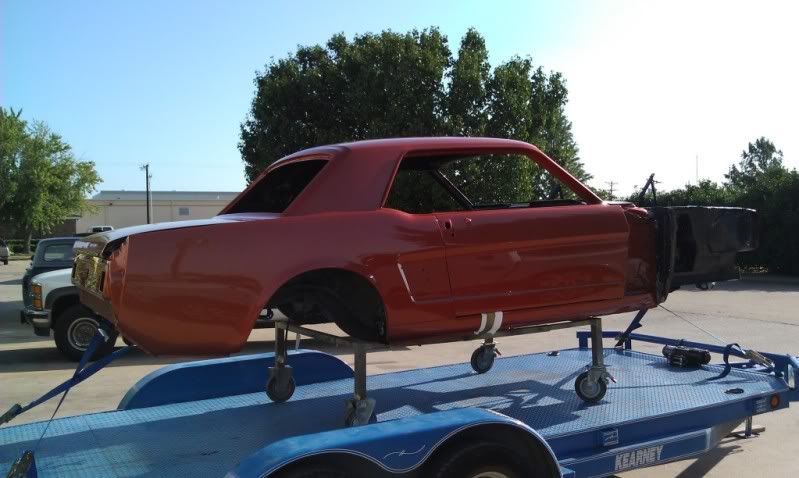
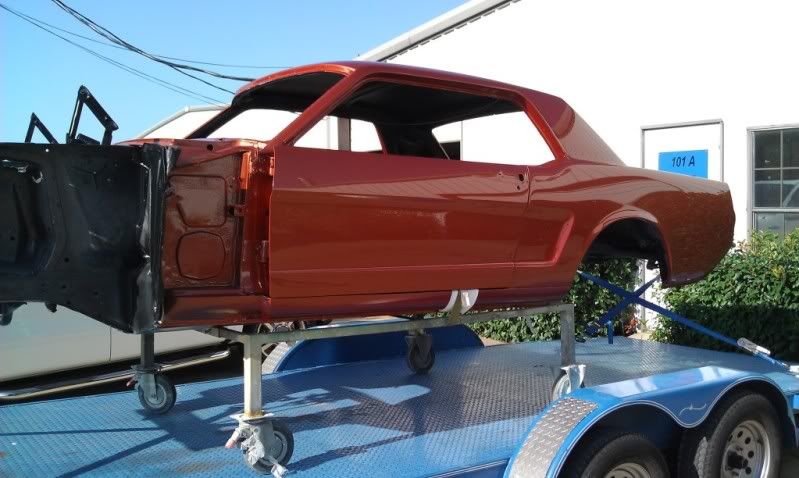
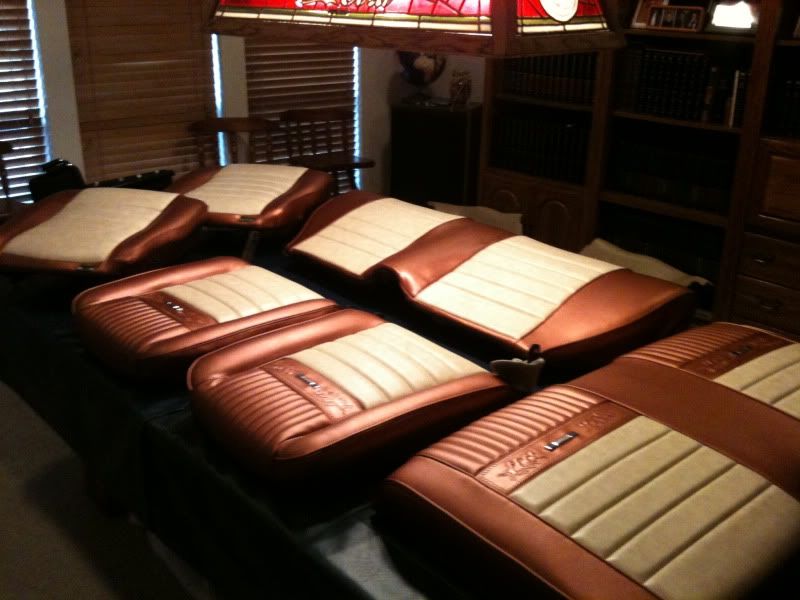
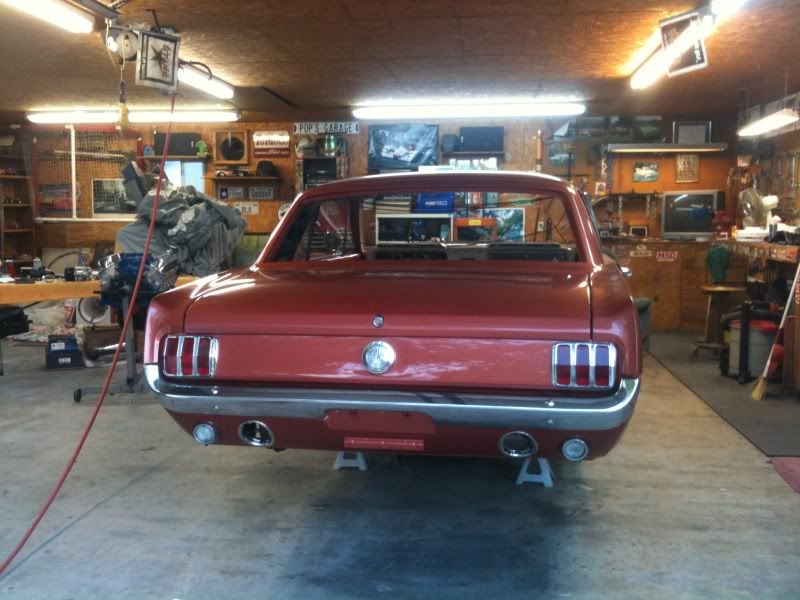
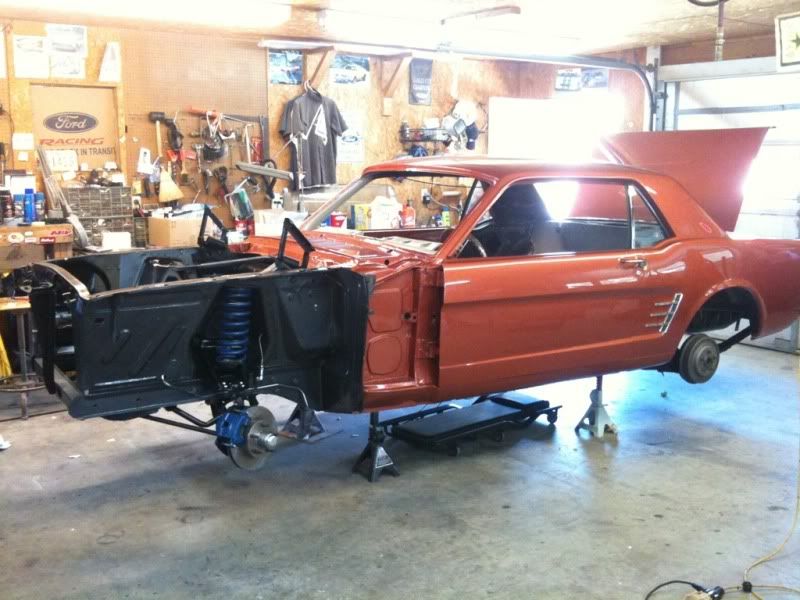
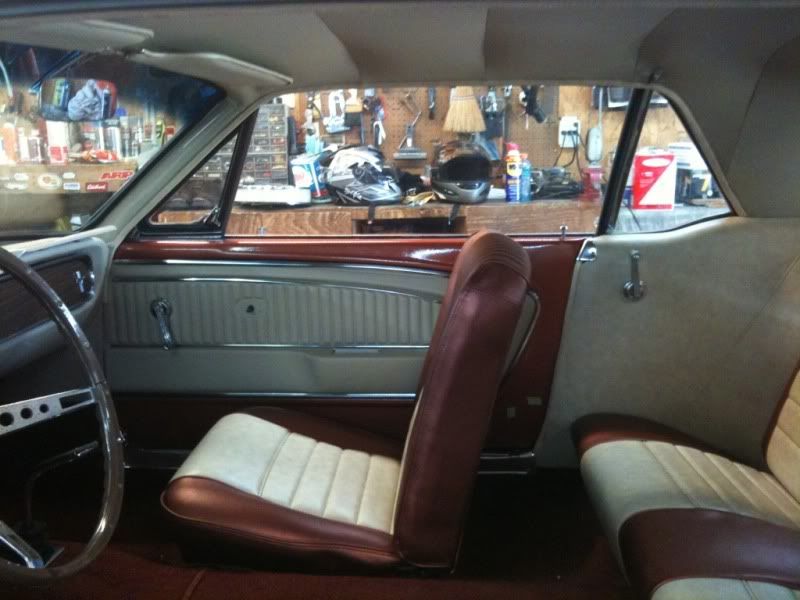
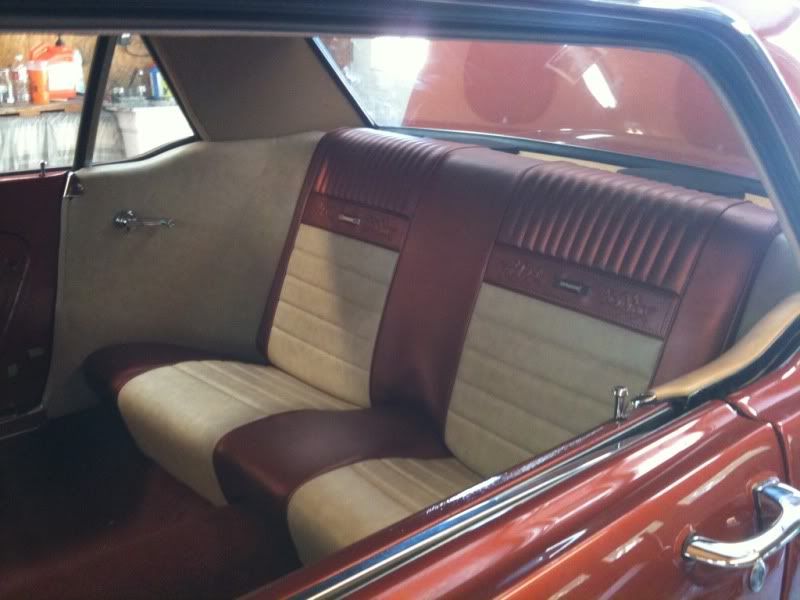
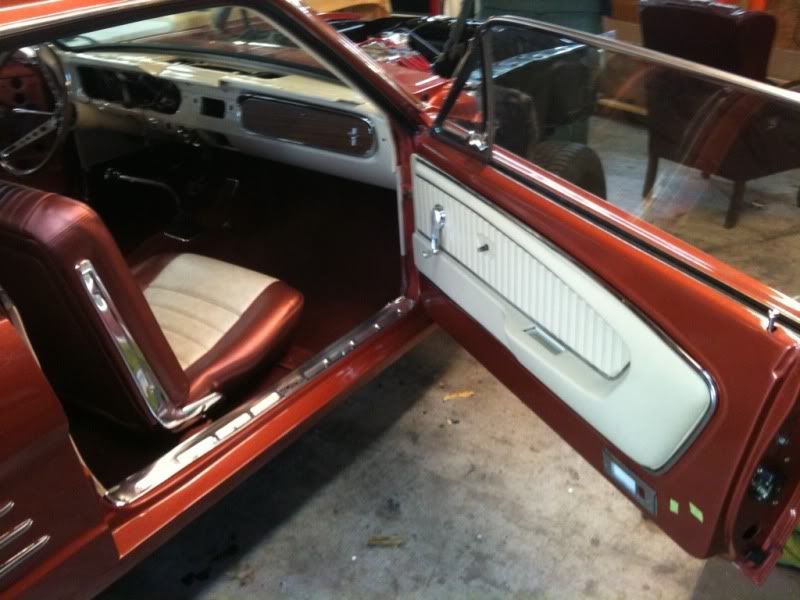
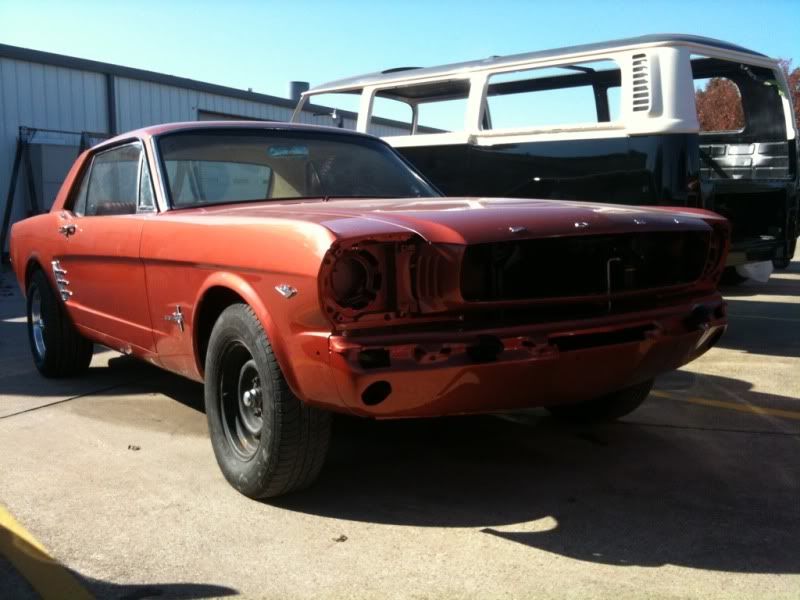
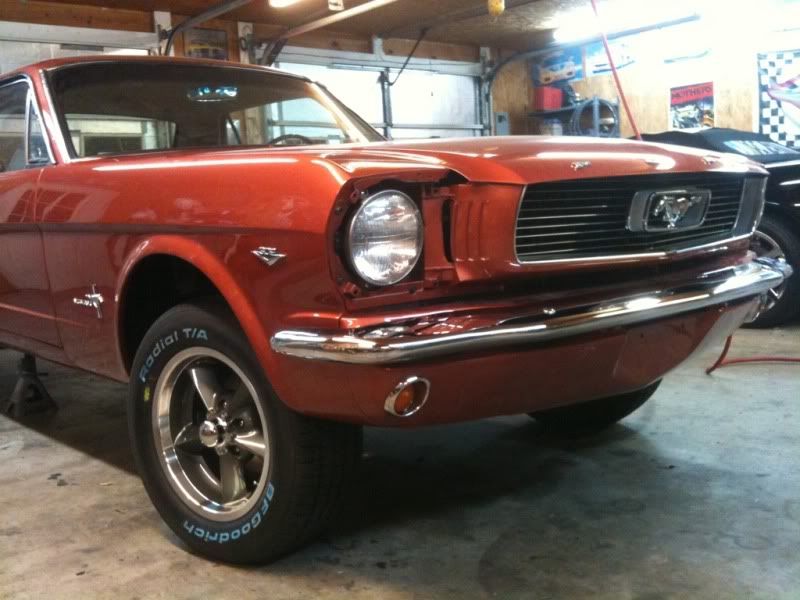
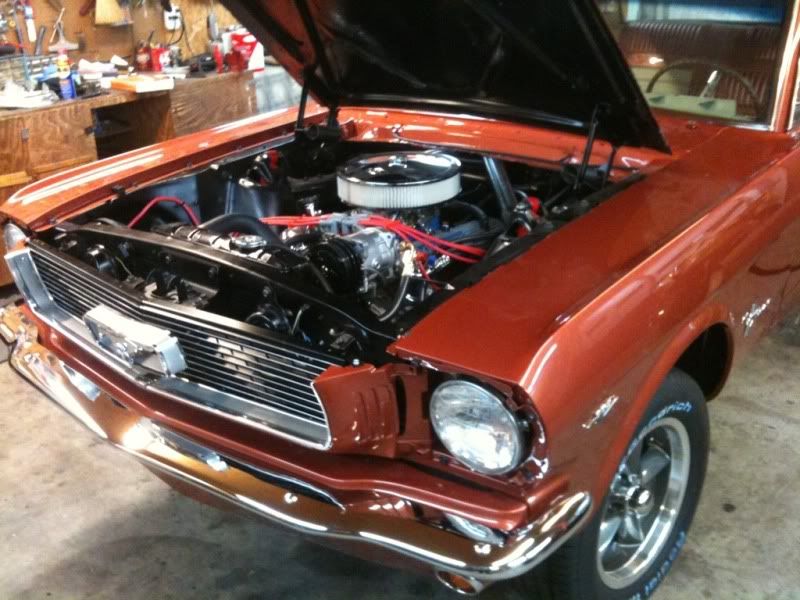
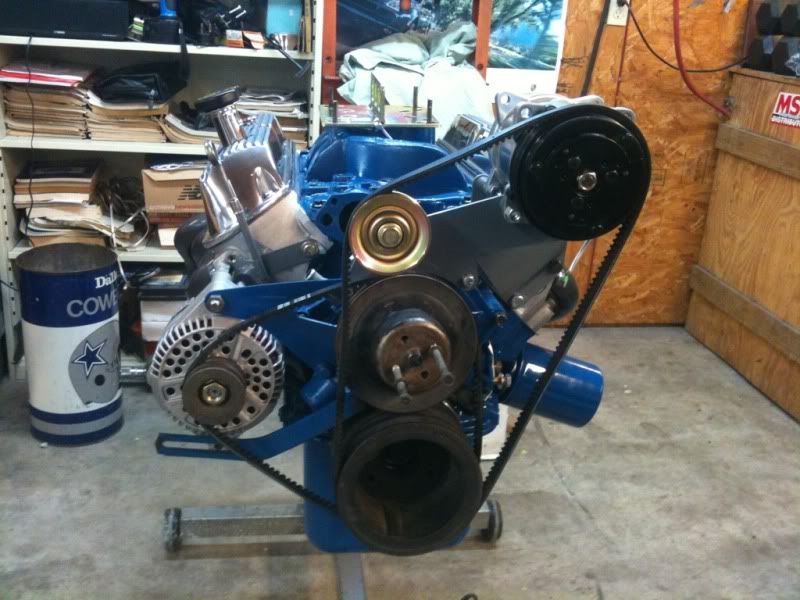
    I thought I would share my current project that is wrapping up. It's a 1966 Mustang C code, original 289 2barrel 3-speed, Emberglow and Parchment. The owner is my Dad's best friend, who has owned the car since 1980. It saw quite a few road trips and weekend cruises, and his daughter drove it to college in the late 80's. He parked it in 1994 in his garage where it has sat since, until February of this year.

    Updated Pics post 82


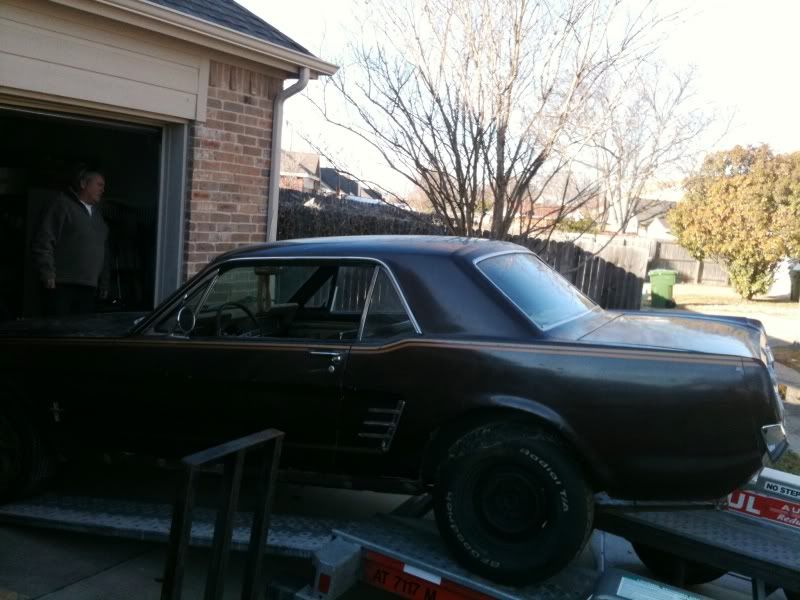
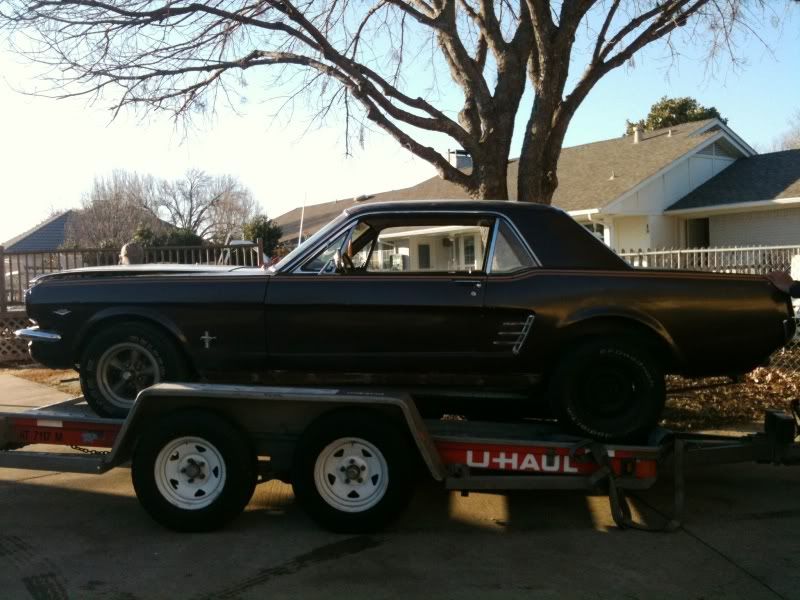
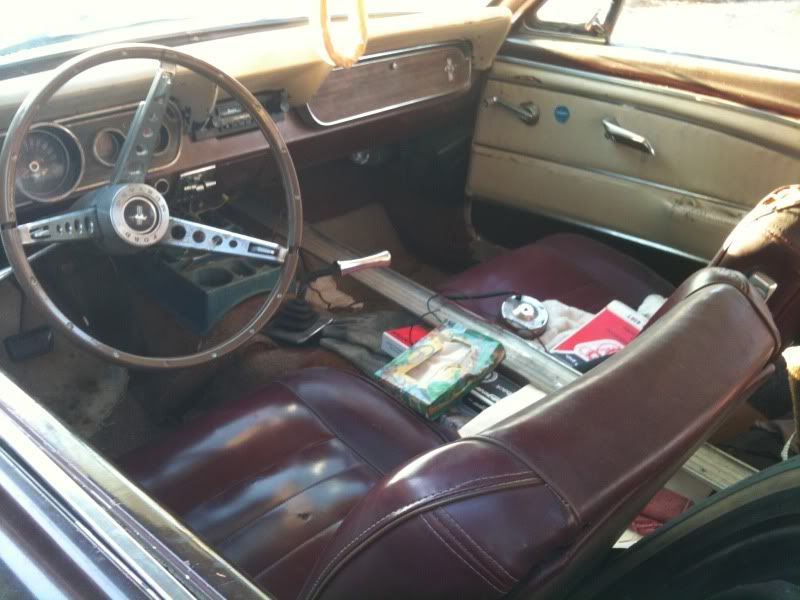
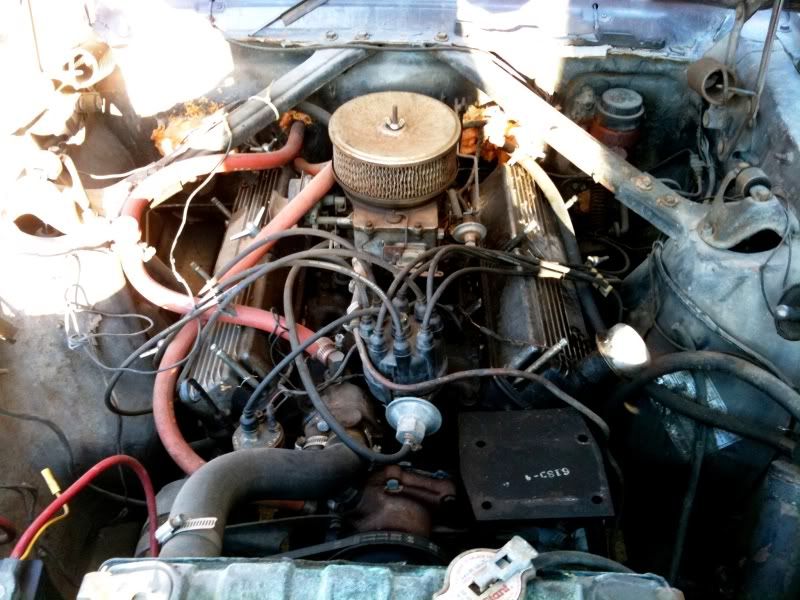
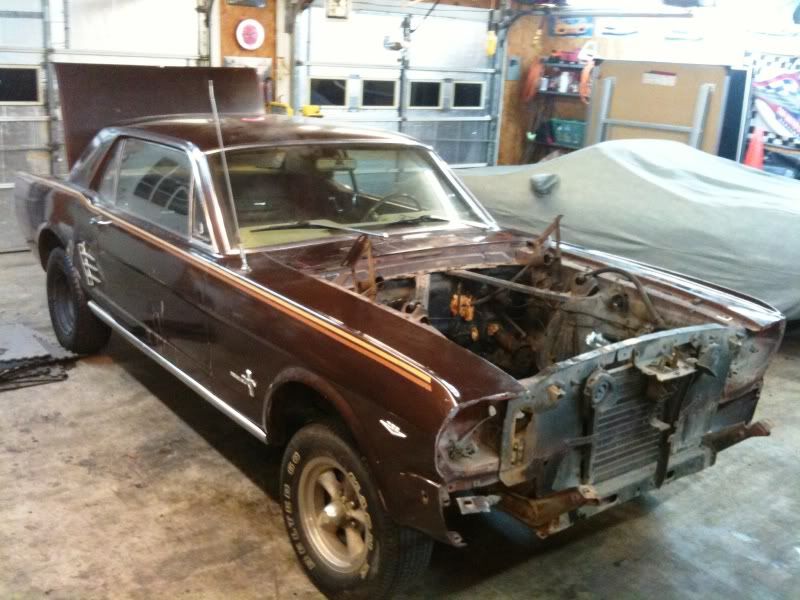
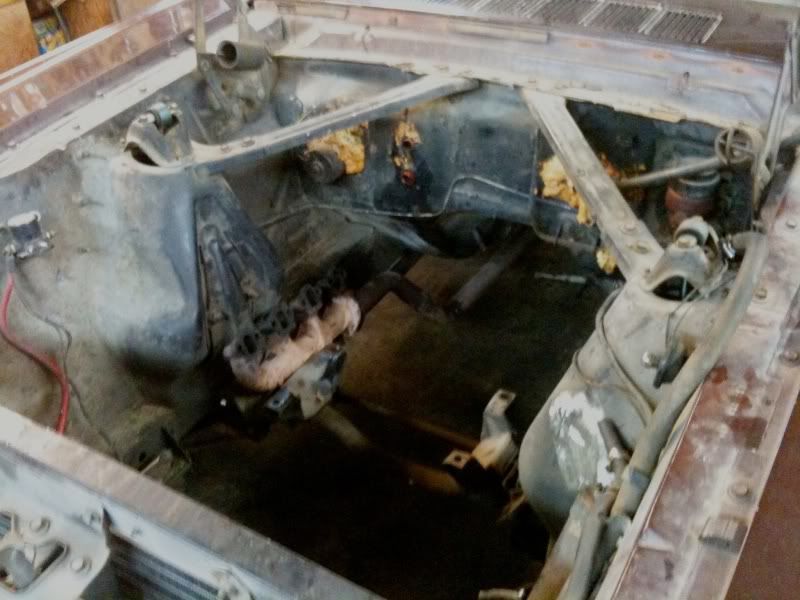
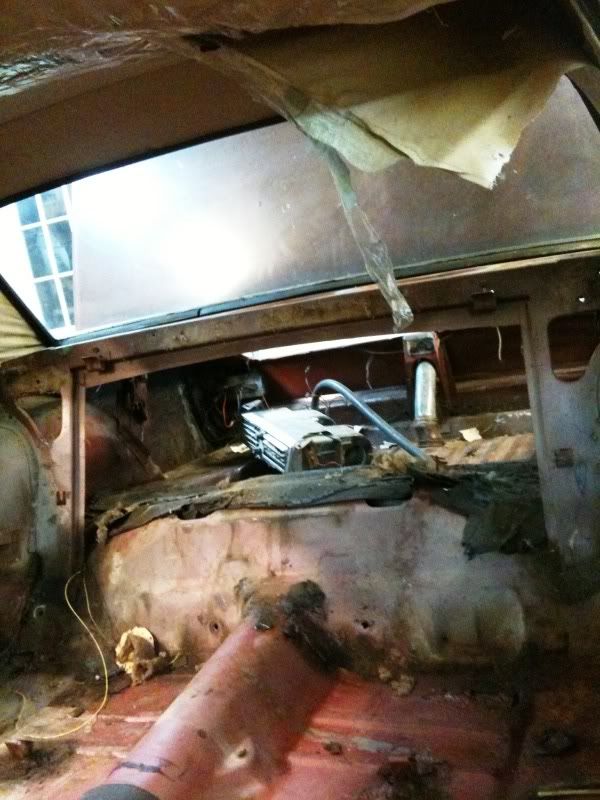
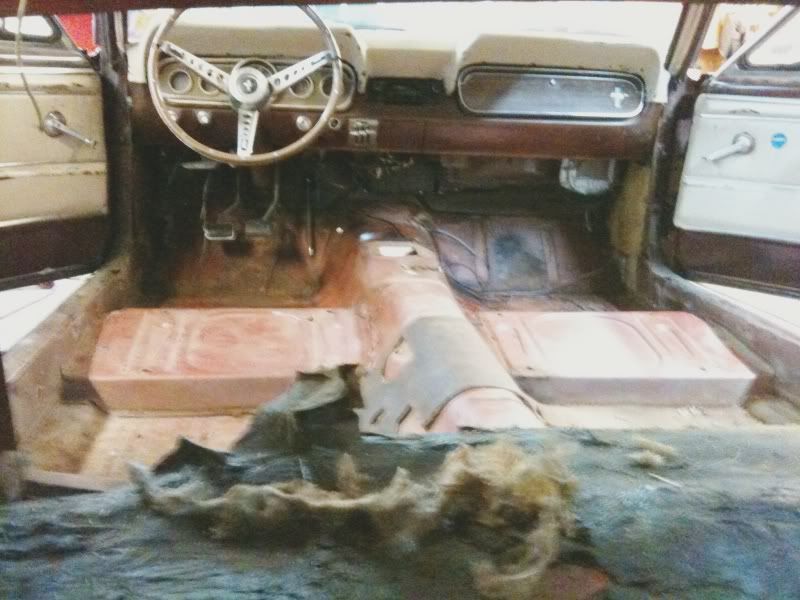
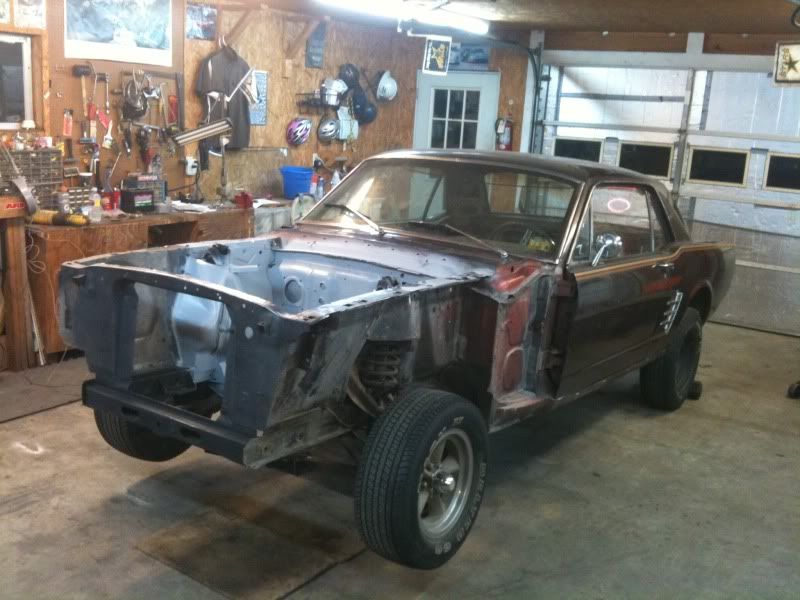
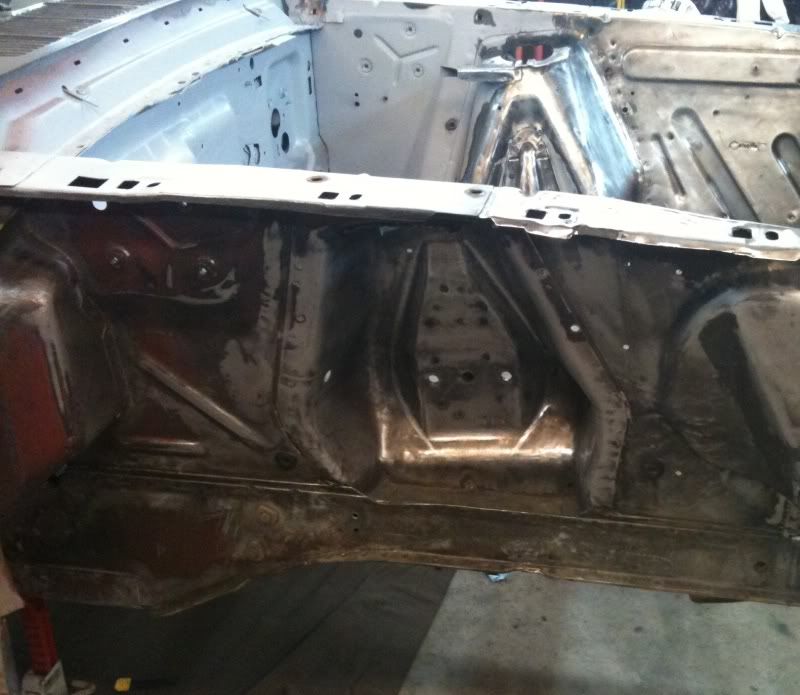
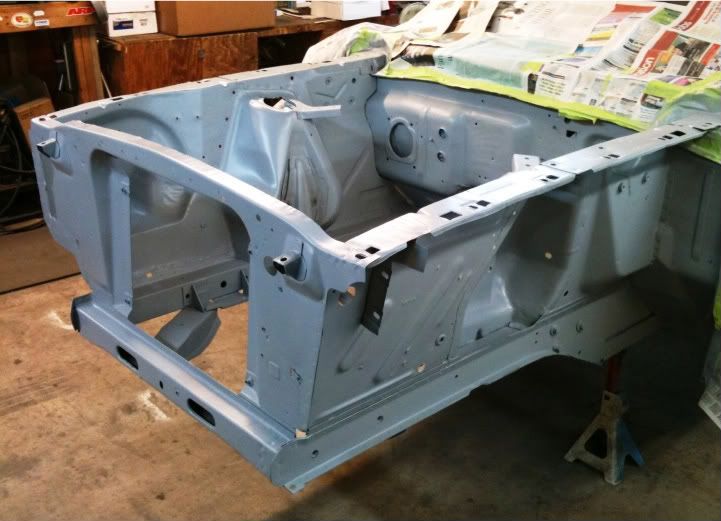
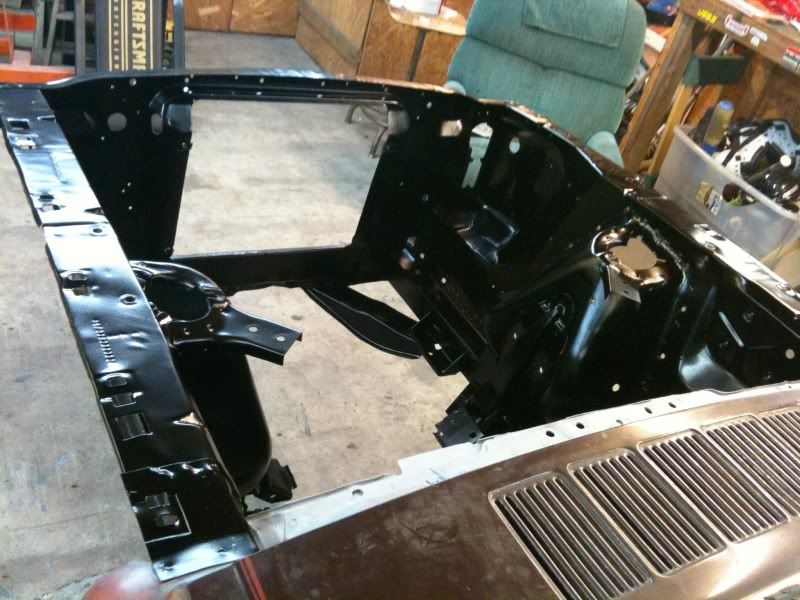
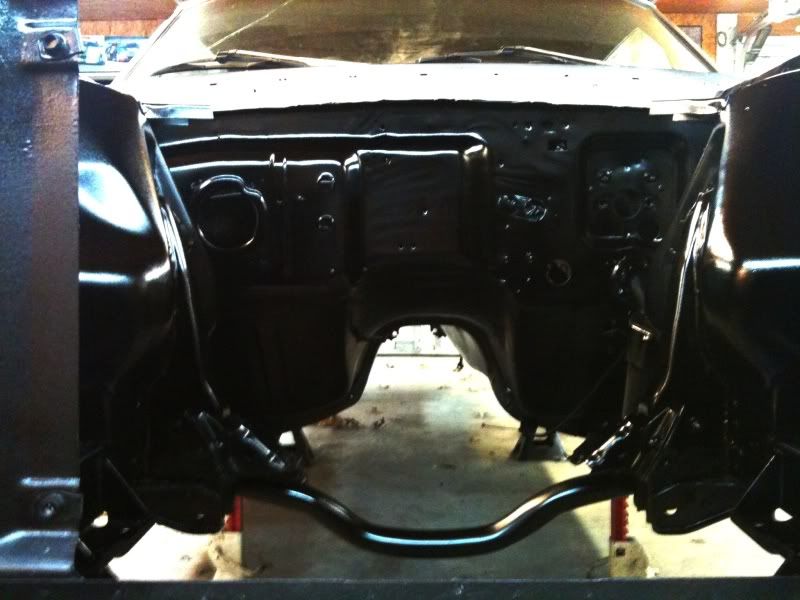
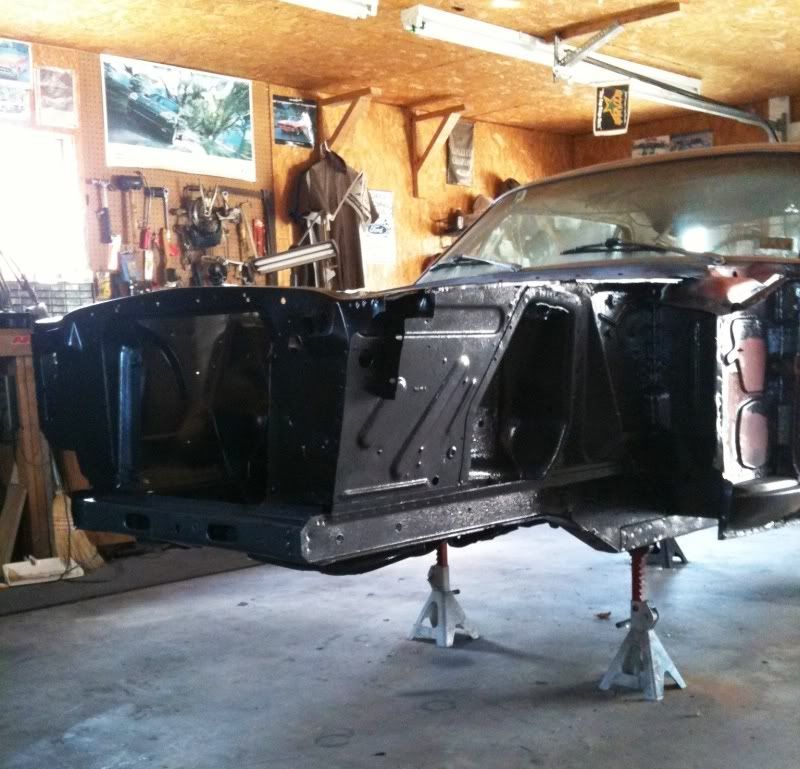
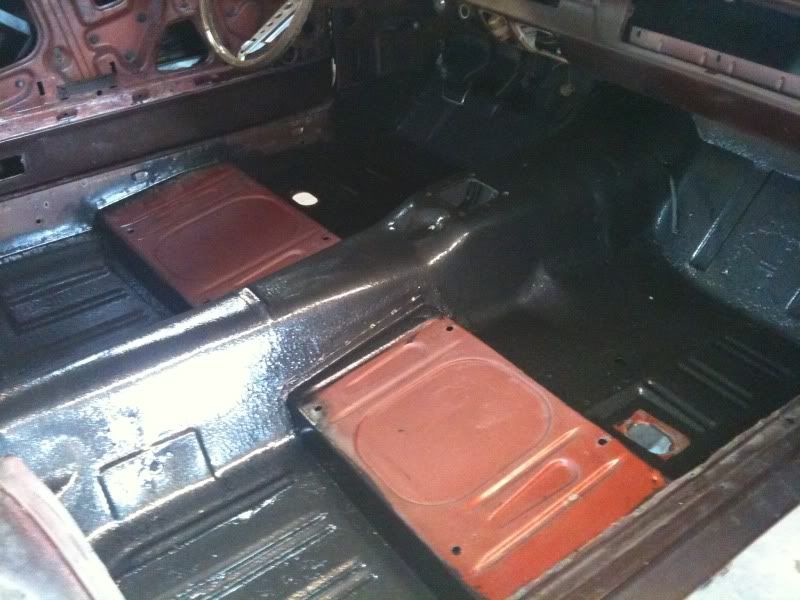
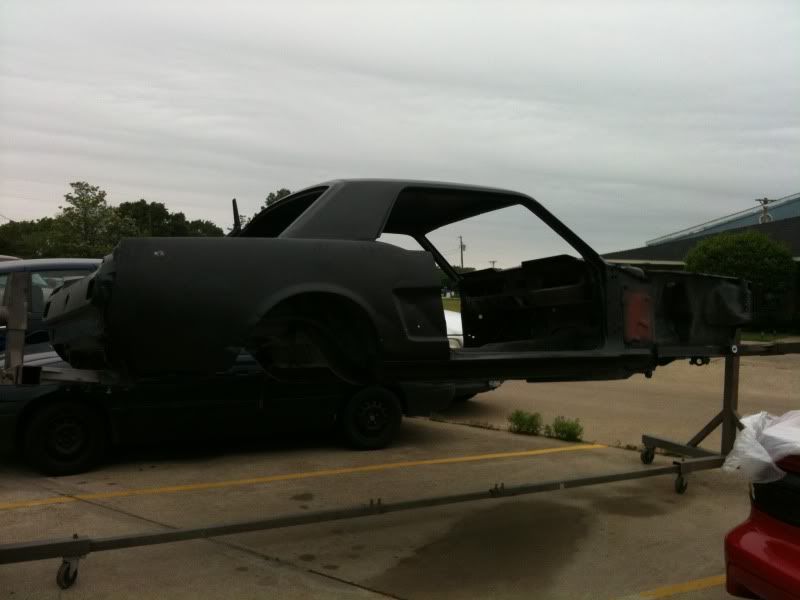
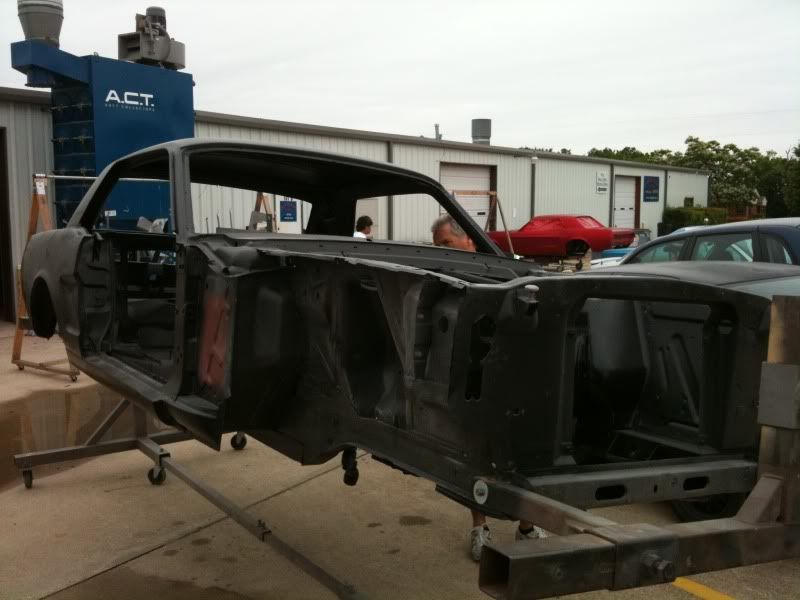
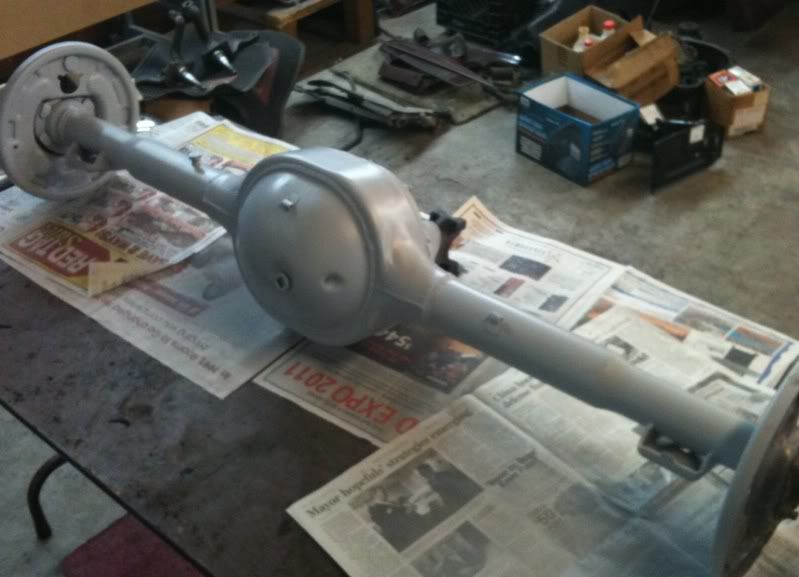
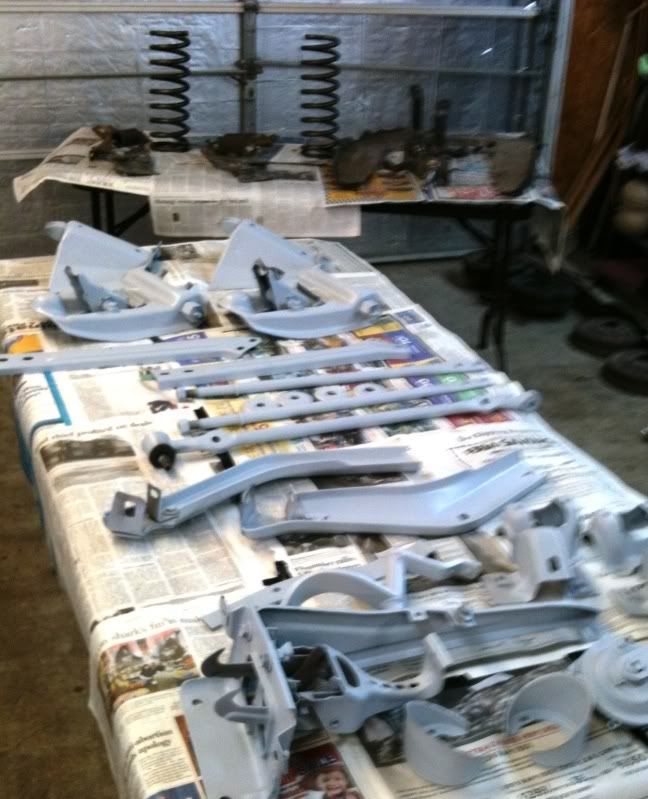
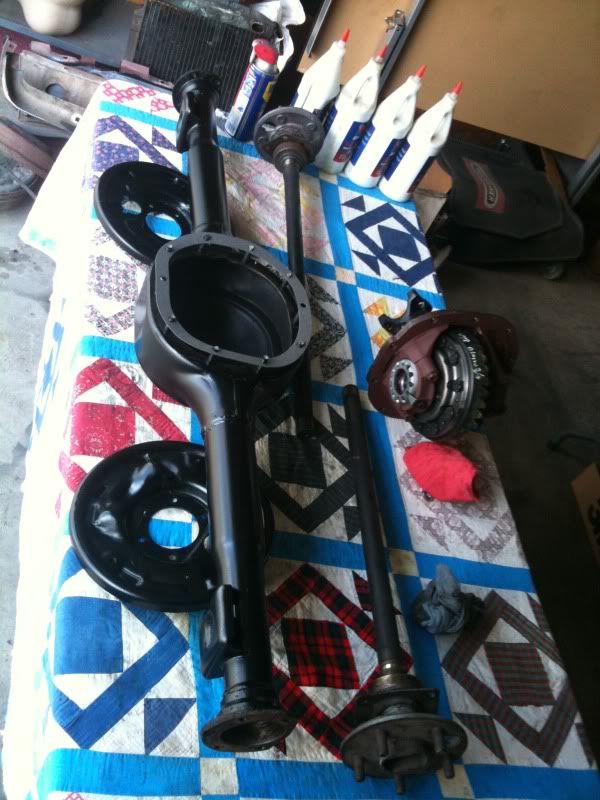
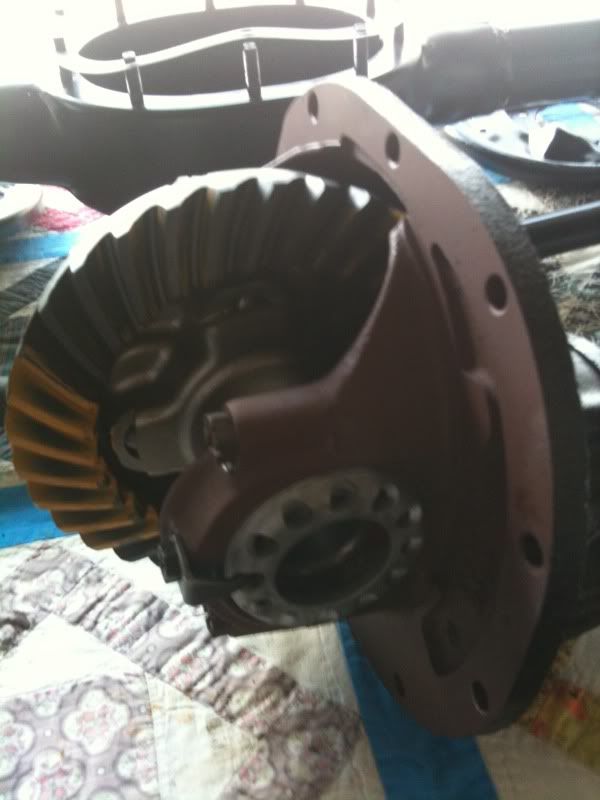
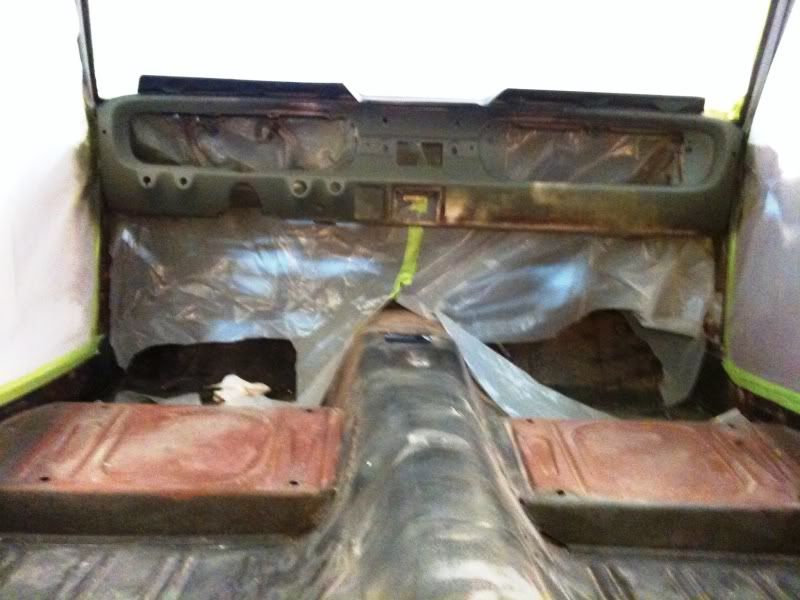
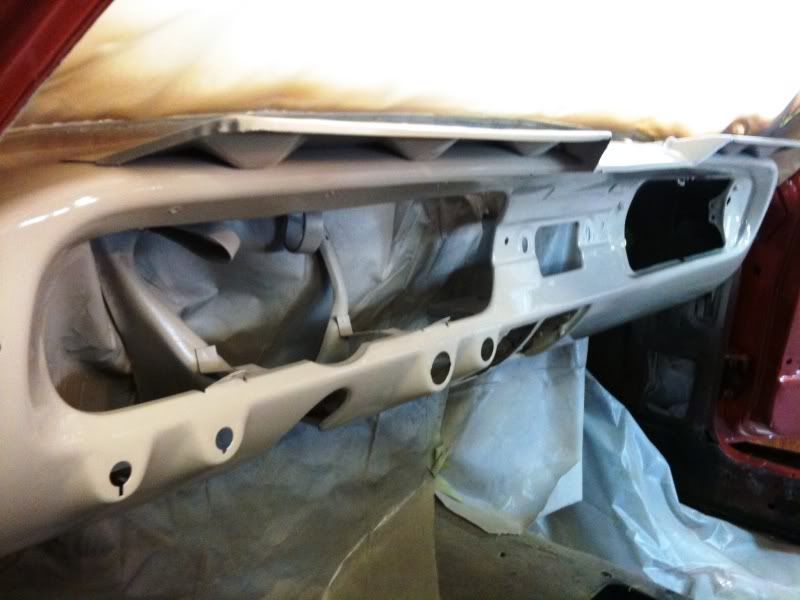
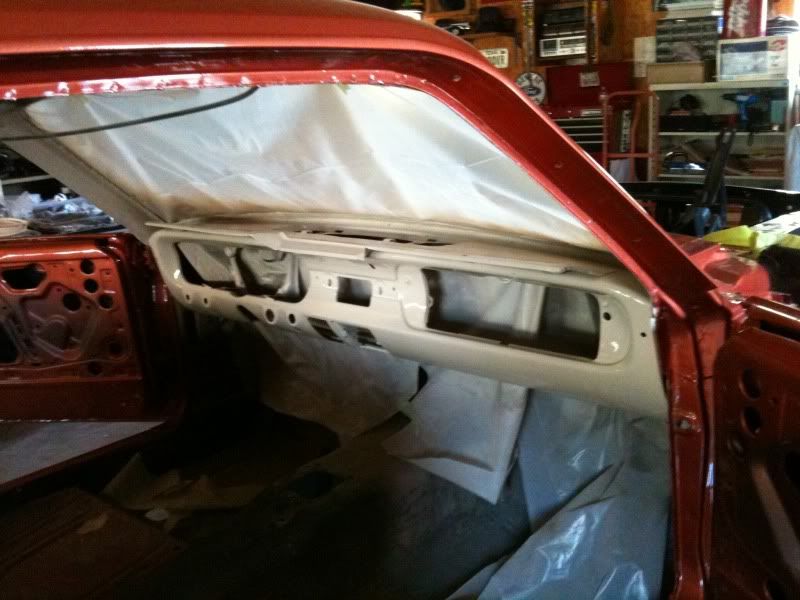
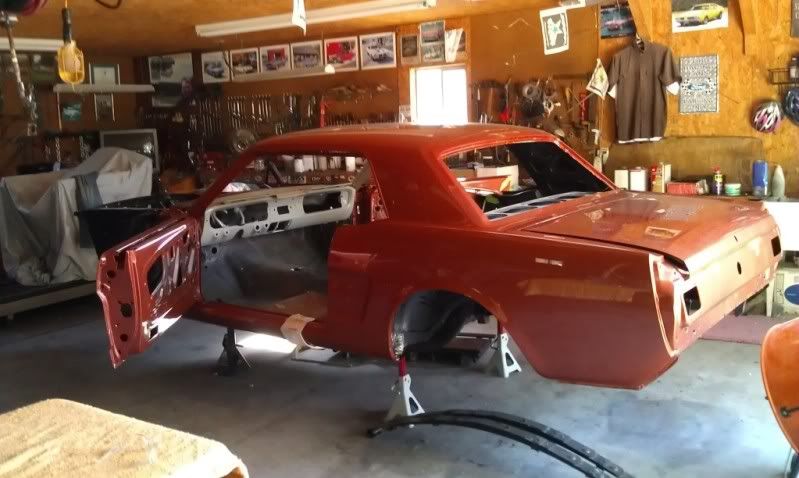
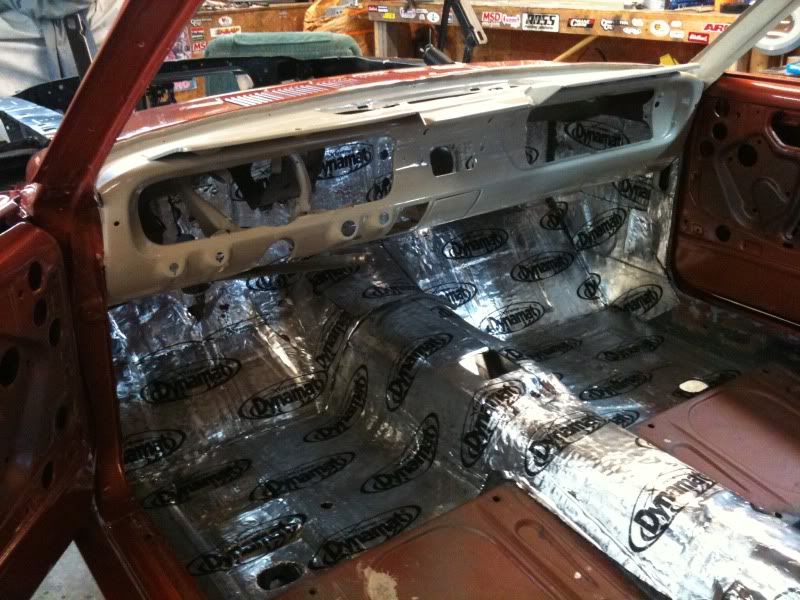
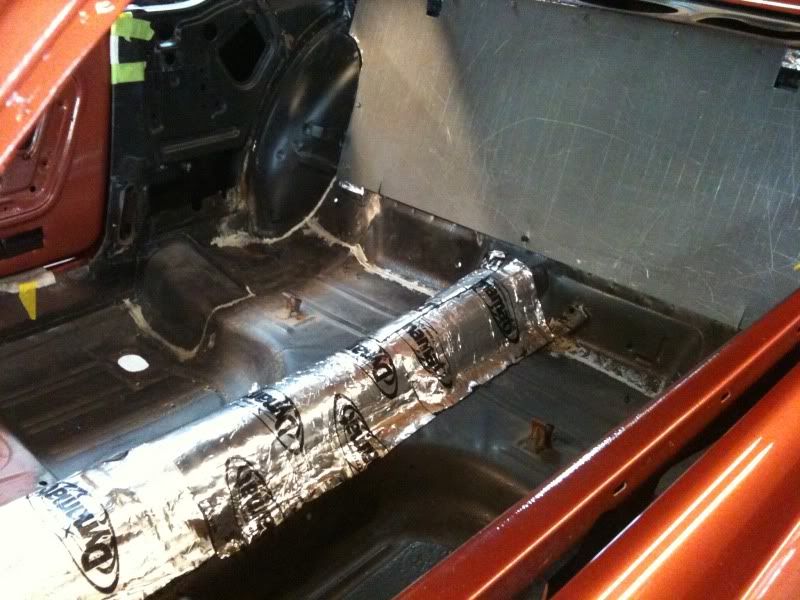
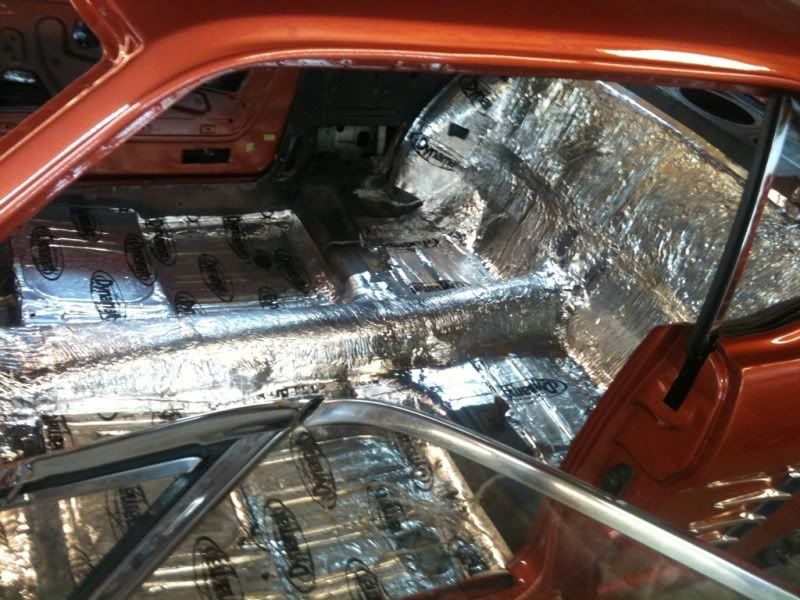
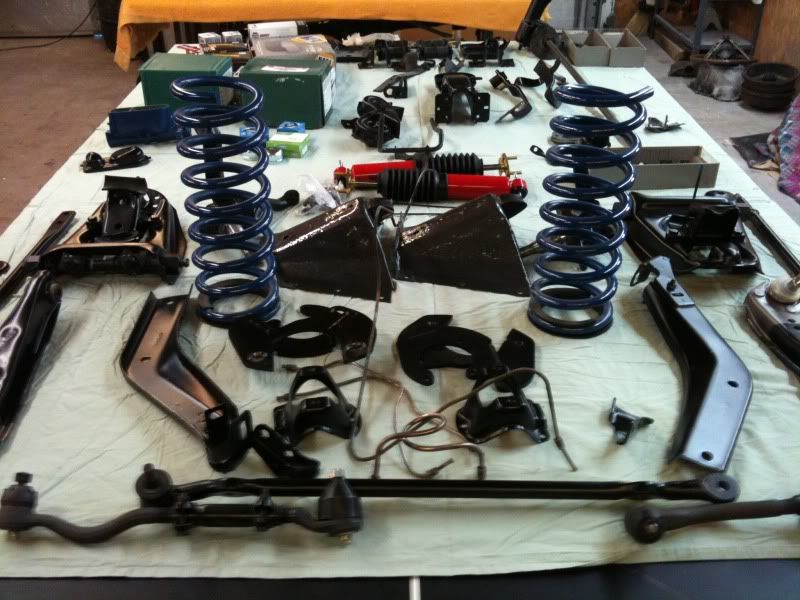
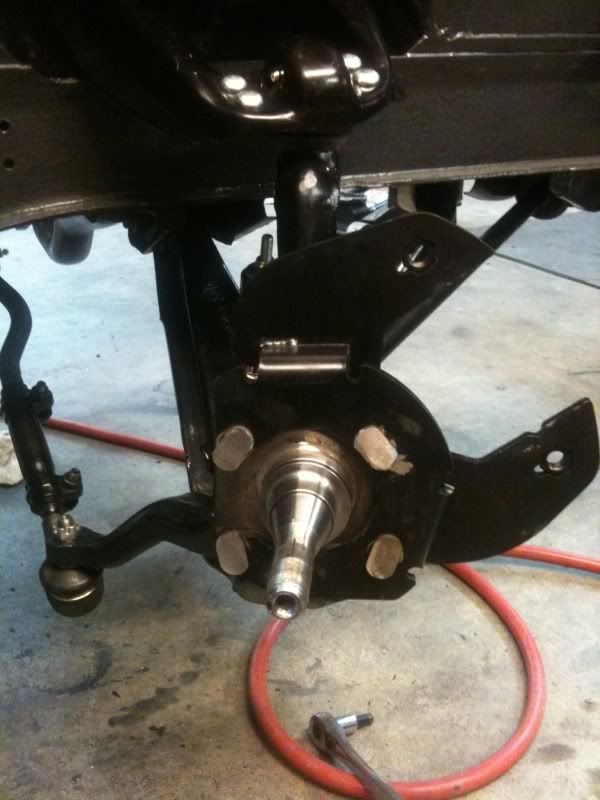
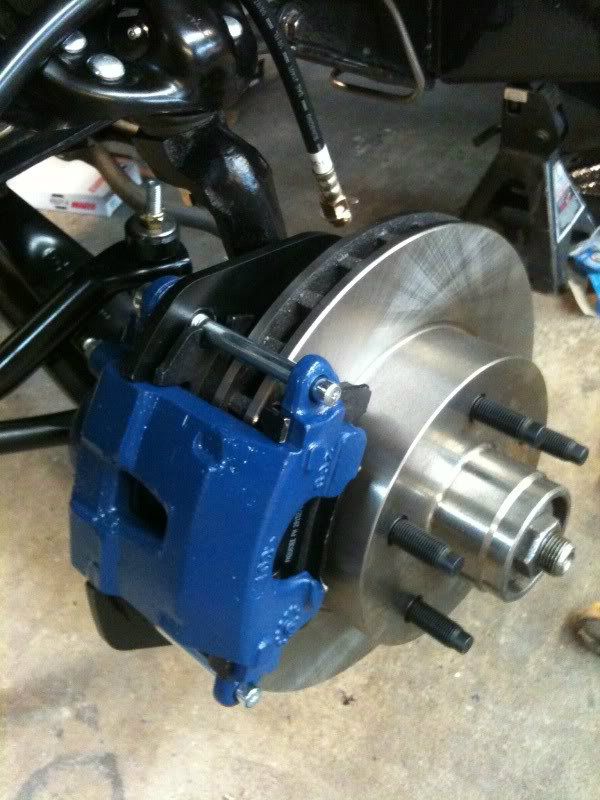
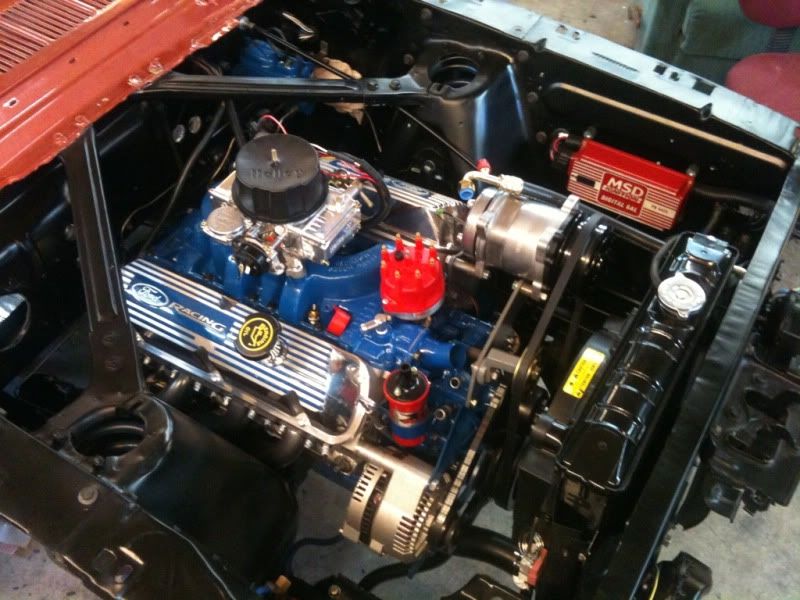
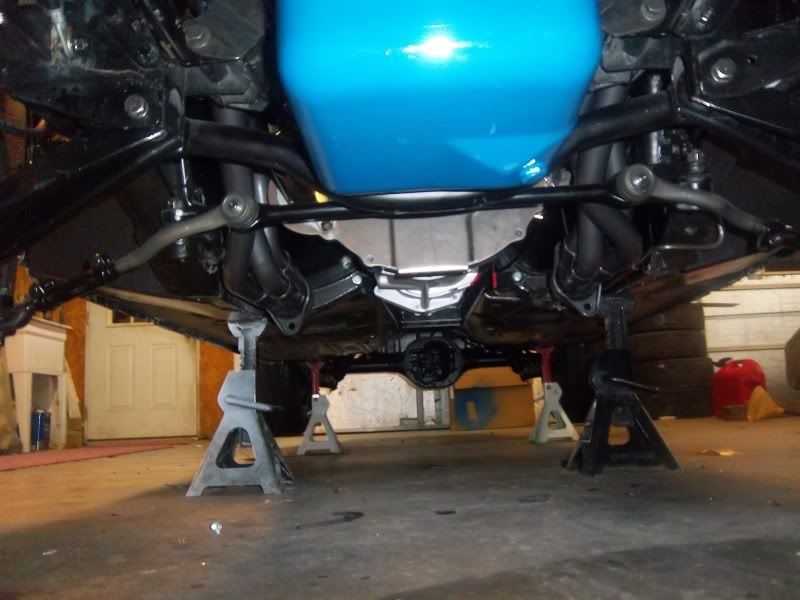
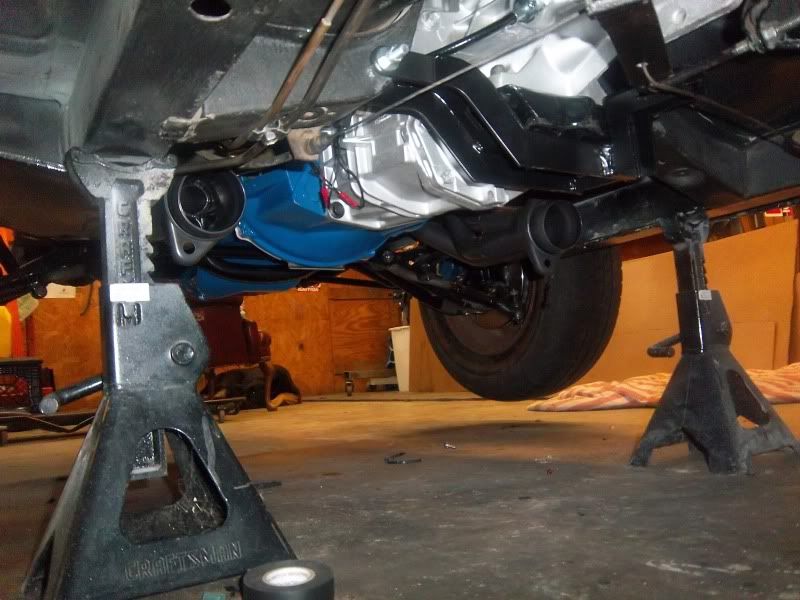
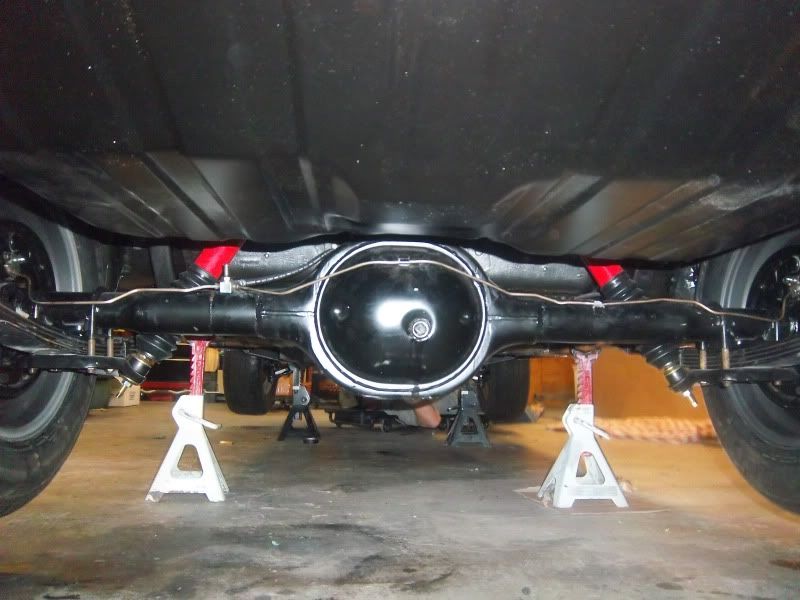
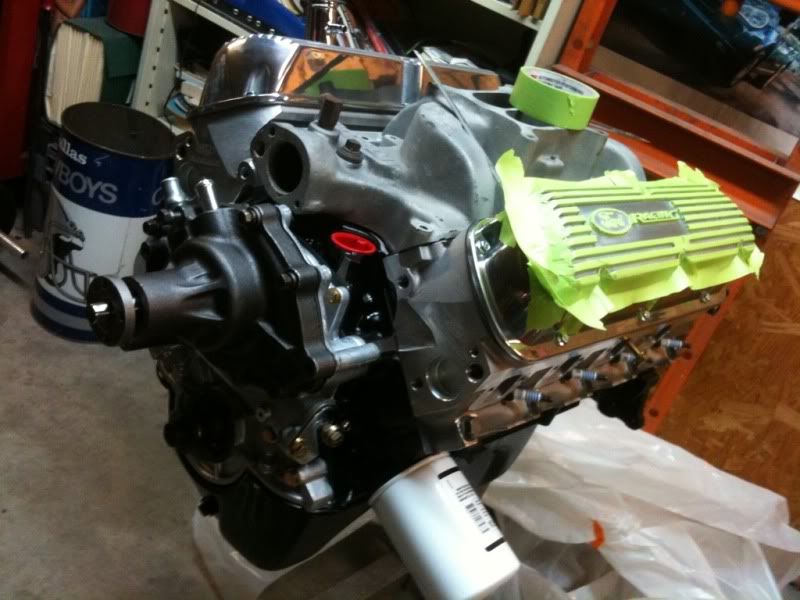
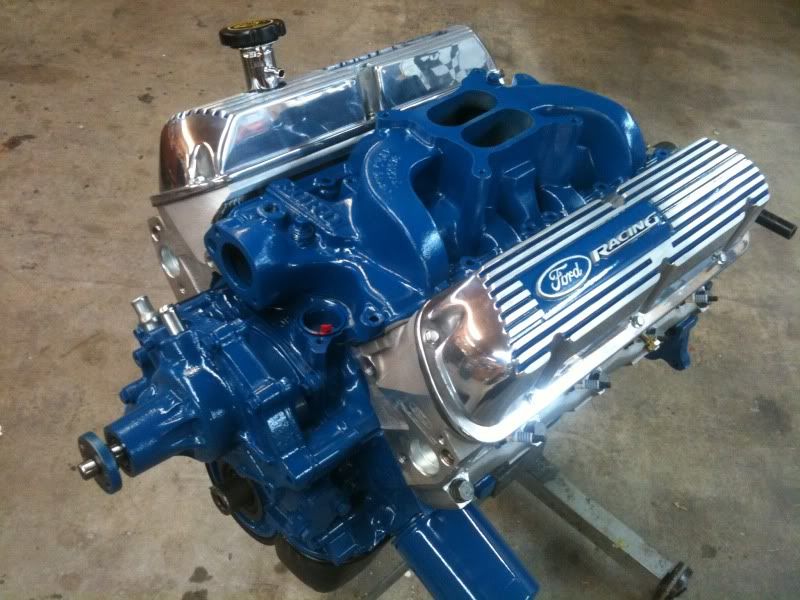
    Under the 70's metal flake disco brown paint and the less than stellar interior was a beautiful car trying to get out. It was in rough shape, but because it was stored in a garage undisturbed, it was almost cancer free, but the battery tray and the floor pans had minor rust issues. We made a plan and started tearing her apart.


    Last edited by Baba Ganoush; 12-17-2011, 06:43 PM.

  • #2
    As you can see we had a lot of work to do. While stripping the car, we saw more and more of the original color, Emberglow. We decided to return it to it's original color, and restore the interior to it's original appearance. We wanted a nice cruiser and were not concerned too much about the originality. While the appearance would mostly return to the '60s, we decided to update the engine and drive train to a late model roller 302 and a T-5, with a rebuilt 8' rear with 3.55 and trac-loc. We decided to "farm out" the majority of the paint work, so fixing the rust and getting a head start on the prep was priority one, as to cut down on our body shop bill. After hours of wire wheeling, blasting, and shooting some primer, we were ready to take our shell to the body shop.


    We also cleaned up the floors and added some protection for the future.


    Comment


    • #3
      So it was off to the magicians at North Texas Customs in Wylie for the new skin.


      While it was gone, we turned our attention to other areas, like the rear end, suspension, and interior. In some pictures, you can see "FoMoCo". There were a ton of original parts on this car and we tried to save as many as we could. Most of the exterior panels were original, as well as small things like the blower and wiper motor were simply cleaned, tested, painted and reused. Every lens on this car with exception of the headlights are original. We decided to reuse them, blemishes/cracks and all. It just adds to the character of this old girl.


      Comment


      • #4
        Finally, it had some color on it. It was time to take delivery of our freshly painted Emberglow coupe. I must say, we weren't too sure about the color, but it turned out beautiful!


        It was time to get her home and get started on the assembly. But, before I could turn a wrench, I had to finish up the undercarriage and paint the dash.


        We finished our seats and for the first time could see this thing starting to come together.


        We also picked up a Ford Racing crate engine. It truly was Christmas in July.


        Comment


        • #5
          hurry up with the pics lol

          Comment


          • #6
            It was time to get the passenger compartment fixed up and start the wiring. We also put all the original glass back in and started on the suspension. We went with a Scarebird front disc setup which worked out perfectly. We liked it because unlike the kits offered by most mustang suppliers, it was a single piston floating caliper setup, it cost less than $500 total, and everything besides the Scarebird brackets is available at NAPA.


            Last edited by Baba Ganoush; 12-12-2011, 12:12 PM.

            Comment


            • #7
              When it came to the wiring, we trashed everything but the under-dash harness. We tested, cleaned, and reinstalled it. Also, we decided to go with a complete MSD setup and an electric fan, so the under-hood wiring was completely changed. We also used a mini-starter so the factory fender mounted solenoid went in the trash. We updated the alternator as well, using a 100+amp one wire alt from a 94-95 mustang. First picture of it in the car, topped off with a Holley 4-barrel, and a Classic Auto Air AC system.


              So we turned our attention back to the interior. New headliner, carpet, and plans for our sound system. Thanks to EW (Eric) at Autosound for setting us up with a very nice sound system. We also picked out some wheels.


              Some shots of the underside.


              Comment


              • #8
                We got it up and running and were ready to get it back to the body shop to have our front end fitted. We didn’t want to scratch that beautiful paint so we left the “pretty parts” to the professionals. A HUGE thanks to Tyler and Eddie and the guys at North Texas Customs for working with us and helping us create this beauty.


                We picked it up this past week and got the rest of the front end together this weekend. We plan to get it finished up on time for a Christmas delivery to our good friend. Here is how she looks as of today.


                I still have a ton of work to do. I have to finish the exhaust system, get the brakes working, tune the carburetor, and most of all get it ready to pass an inspection. I also need to run a few tanks of gas though it and get all the bugs worked out before I return her to her owner. He’ll probably get in it and drive it for a month without stopping, he’s so ready, so I don’t want any issues. It was a real challenge to restore this car, even with all the available parts, most had to be “customized” or massaged a little to work. Luckily we saved as many original parts as we could, and they went on without a hitch. It’s when you start throwing things away, thinking “I can get that new for $xx.xx”. Don’t kid yourself, the new stuff is made overseas and cheap, so reuse everything you can!!!

                I’ll post up my final pictures when I get it all cleaned up. Thanks for looking!

                Comment


                • #9
                  nice!

                  Comment


                  • #10
                    Oh, I forgot the engine pics...........


                    .....and my entire album of the build. I really didn't take enough pictures (or good pictutres, damn iPhone) of all the work I've put into this thing, but I think the final result will show it.

                    Store your photos and videos online with secure storage from Photobucket. Available on iOS, Android and desktop. Securely backup your memories and sign up today!

                    Comment


                    • #11
                      thats awesome!!!!the car looks great!!!!!

                      Comment


                      • #12
                        Originally posted by AMJ View Post
                        thats awesome!!!!the car looks great!!!!!
                        I appreciate it. I cant wait to get some good final shots of it. I just need to finish the little stuff, and I need the weather to cooperate.

                        Comment


                        • #13
                          Very classy! I really like it, great job.

                          Comment


                          • #14
                            Nice!

                            Comment


                            • #15
                              Looks tits!! People underestimate the work and $$ it takes to make an old car nice all over. I like the emberglow.
                              Putting warheads on foreheads since 2004

                              Pro-Touring Build

                              Comment

                              Working...
                              X