Announcement

Collapse
No announcement yet.

DIY Budget home theatre

Collapse
X
 
  • Filter
  • Time
  • Show
Clear All
new posts

  • DIY Budget home theatre

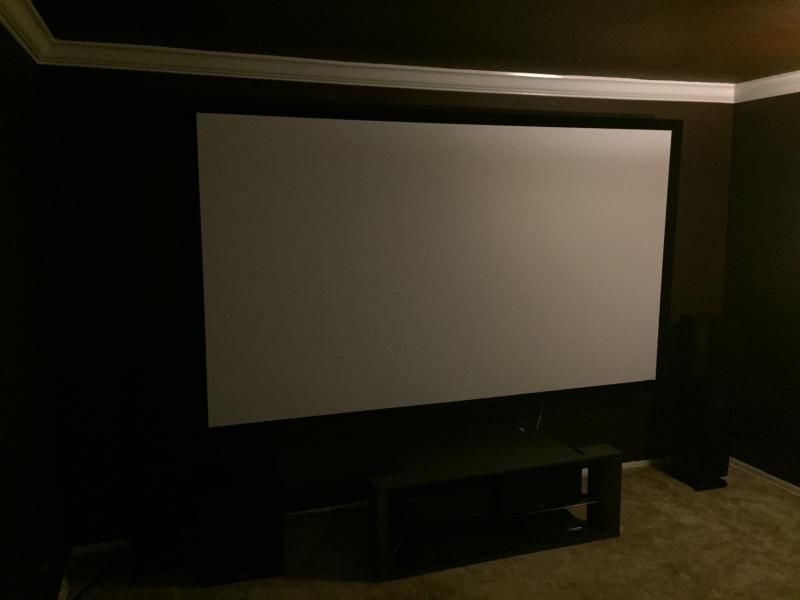
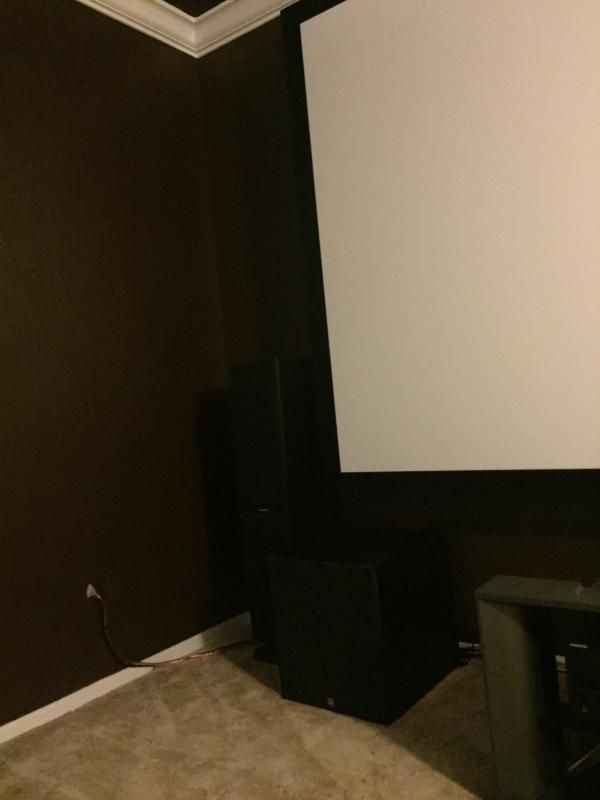
    I finally completed the build on my home theatre and thought that I would share the pictures and what I chose with you guys...

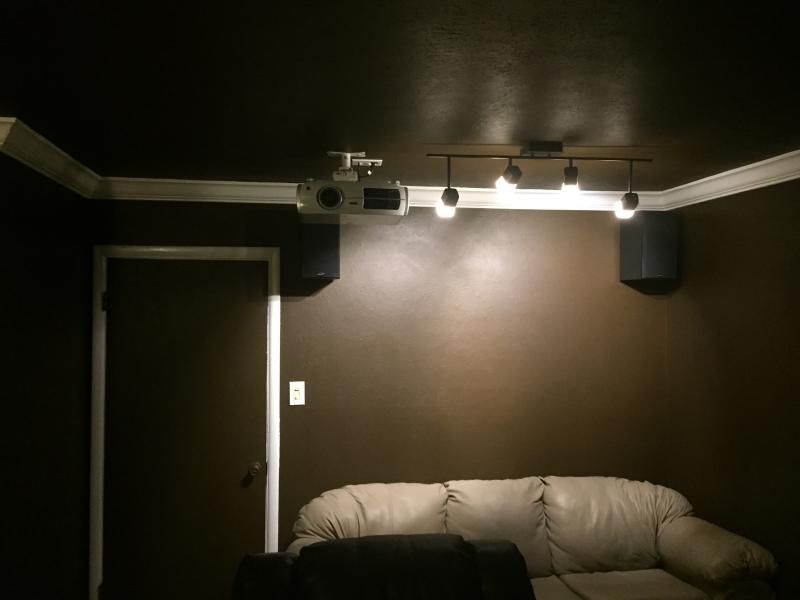
    Projector: Epson 8350
    Screen: 120” Elite Screens Sableframe(16x9, 1.1 gain Cinewhite material)
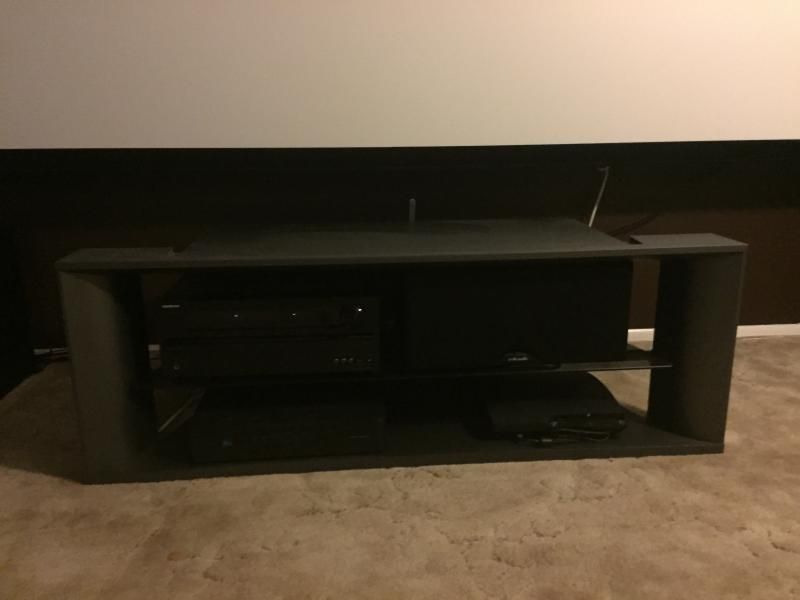
    Receiver: Onkyo TX-NR509(Inputs are PS3, Direct TV, Laptop)
    Center Channel: Polk CS400i
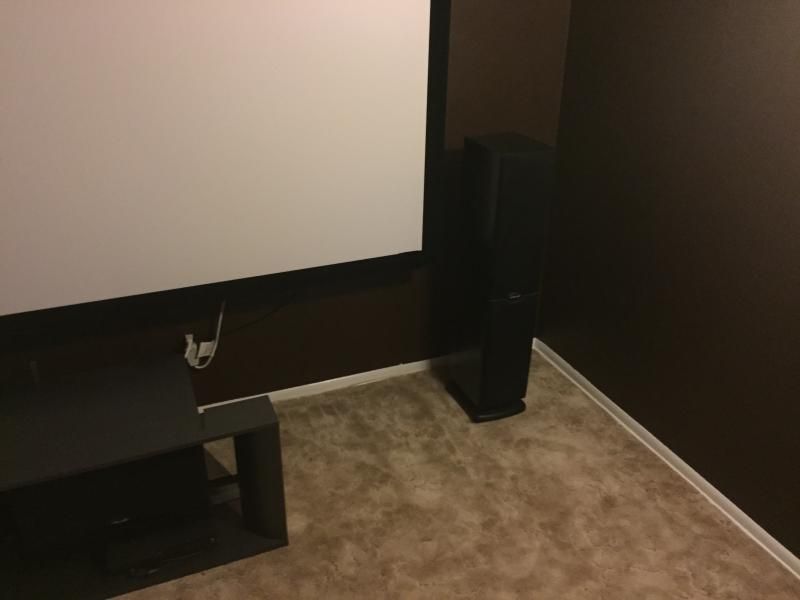
    Front Speakers: Polk RT800i
    Rear Speakers: Polk RT35
    Subwoofer: BIC America F12
    Logitech 650 universal remote

    Dimmable LED track lighting
    French Roast matte latex paint on the walls and bright white enamel for the trim
    5 ΒΌ” Crown Molding

    All wires are run through the walls(could not get to outer wall very well due to eve, so you can barely see some wire exiting a side wall but it’s not a big deal to me at all).
    Audio was tuned based on speaker locations within the room.
    Video was tuned with Disney WOW Blu-ray.
    I am very impressed with how everything turned out and won't be leaving this room very often!


    CLICK HERE FOR A VIDEO...

    Store your photos and videos online with secure storage from Photobucket. Available on iOS, Android and desktop. Securely backup your memories and sign up today!


    Last edited by stangin4lyfe; 11-24-2014, 11:58 AM.

  • #2
    Looks great! I have a 8350 (i think) but it's just up in the ol lady's yoga room so she can pull up videos on her PC and stream them to the wall. I've really been thinking about turning one of my spare rooms into a media/game room. what did the screen cost you?

    Comment


    • #3
      Thank you, I am 100% happy with deciding to build this room and the turnout.
      The screen was $300 shipped and is a fixed screen with velvet.
      I was also considering a Jamestown screen.

      [ame]http://www.amazon.com/Elite-Screens-120-Inch-SableFrame/dp/B00366S0UW[/ame]

      Comment


      • #4
        I bought the material, built a frame and wrapped it around the edges. I think Im in my whole screen for $50 or less.

        [ame]http://www.amazon.com/Carls-Blackout-Projector-Material-66x110-inch/dp/B007KA07YM[/ame]
        "If I asked people what they wanted, they would have said faster horses." - Henry Ford

        Comment


        • #5
          Everything looks pretty good. Rear speaker placement is a bit less than ideal, but I guess it sounds good? If it were me, I'd move them to the sides and mount them horizontally in order for the one on the right to clear the door, if possible.

          That's about how I'd build mine though.

          Comment


          • #6
            Originally posted by CWO View Post
            Everything looks pretty good. Rear speaker placement is a bit less than ideal, but I guess it sounds good? If it were me, I'd move them to the sides and mount them horizontally in order for the one on the right to clear the door, if possible.

            That's about how I'd build mine though.
            I had it there vertically before but then decided to go with the crown and had to move them down.
            A friend suggested mounting them horizontally as well.
            I might give it a shot but running wires through walls and being 250lbs ain't much fun.

            Comment


            • #7
              I know the feeling lol

              you can run the wires behind the crown molding

              Comment


              • #8
                Originally posted by CWO View Post
                I know the feeling lol

                you can run the wires behind the crown molding
                Just don't forget wire placement and nail into them.....I've seen that happen before lol

                Comment


                • #9
                  Looks pretty good to me. Like stated above, the rear speaker placement needs to corrected if you want accurate imaging.

                  Comment

                  Working...
                  X