 Tweet
Tweet
It's cool to see how real men build shit. My hands are smooth as a babies butt and so is my brain, so I won't ever be able to do this.
-
-
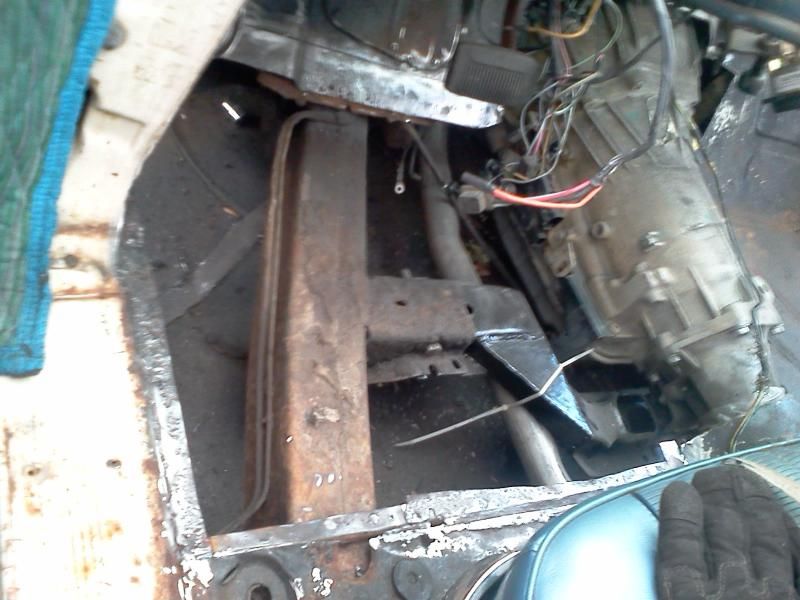
Let do some sheetmetal work. Both front and rear floor pans were shot along with the trans tunnel I cut out. Wagons, sedans, hard tops and verts were all a little different in 62 so there aren't a lot of options for patch panels. So that means I had to make my own.
Over the years, the front floor pans had been patched and those patches were patched and those patches rusted out. So once again, out with the old.
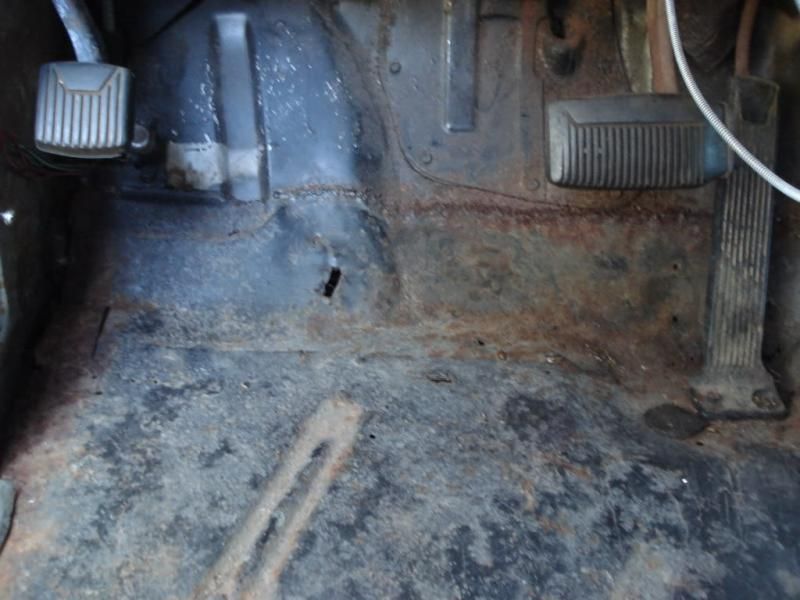
Time for some cutting
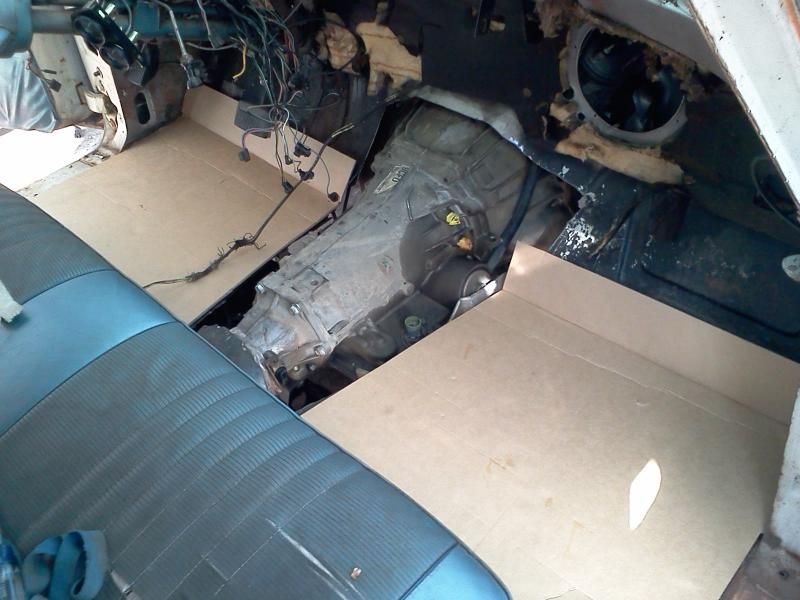
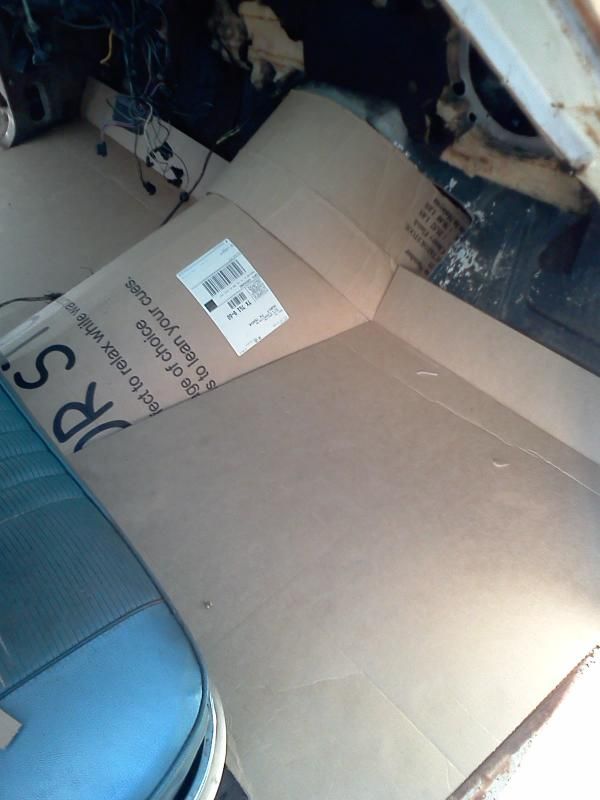
Started with a couple cardboard patterns.
Comment
-
hell, i wish i could just make a cardboard pattern as good as that....Comment
-
-
Badass!Comment
-
This is where I wish I had some actual metal forming tools. I have cutoff wheels, hand shears and some body hammers but the majority of my forming is done using stuff around the place. Blocks of wood, clamps, some of the structure on my trailer, the telephone poll in the neighbor's yard, etc, etc.
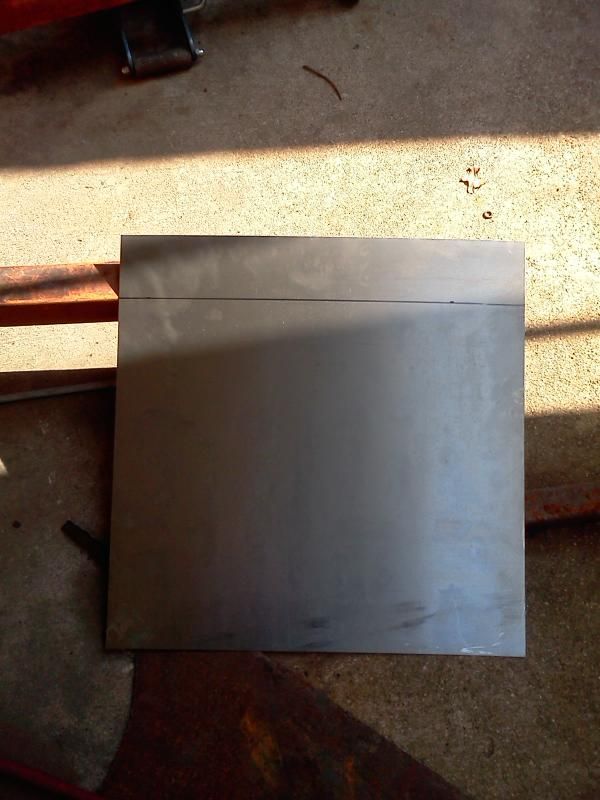
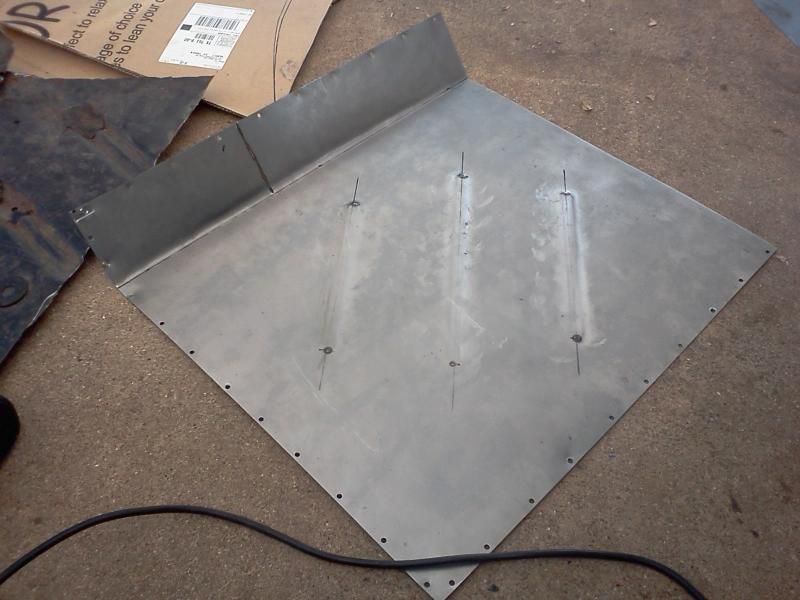
Lets start with a piece of sheetmetal.
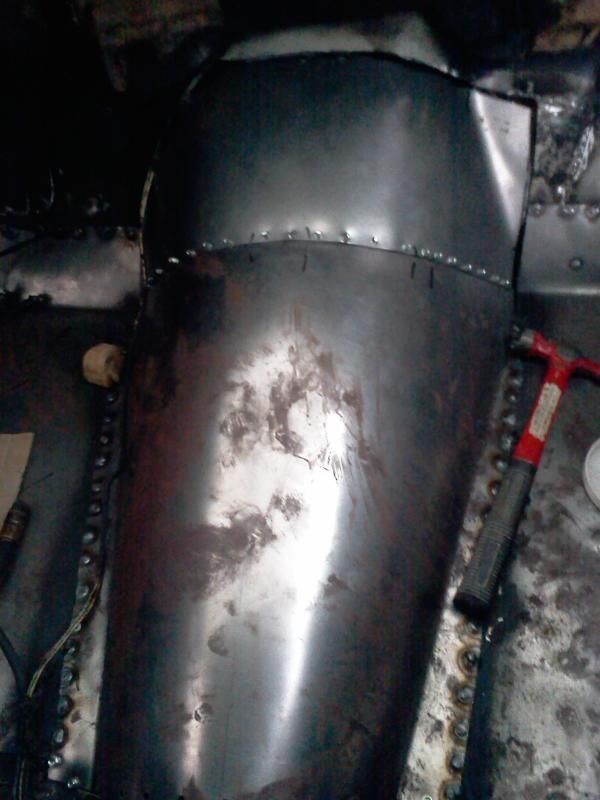
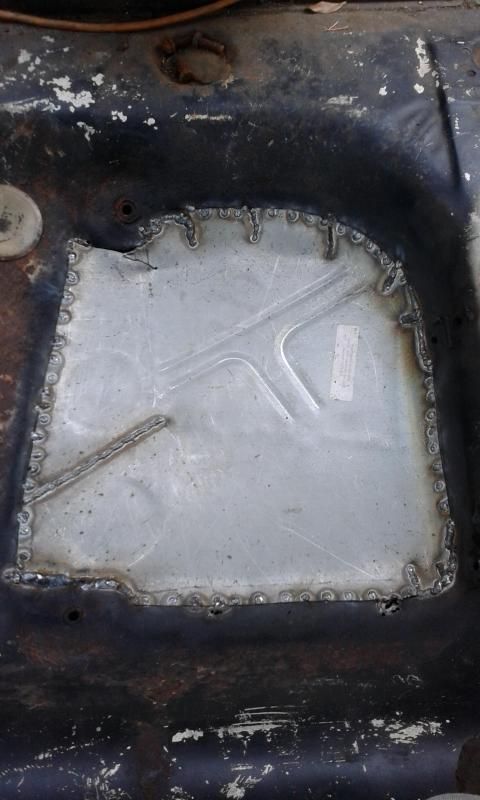
I wanted a few beads to add rigidity to the floor but I don't have a bead roller. So I tack welded a few pieces of chain link fence tension bar to the bottom of the panel.
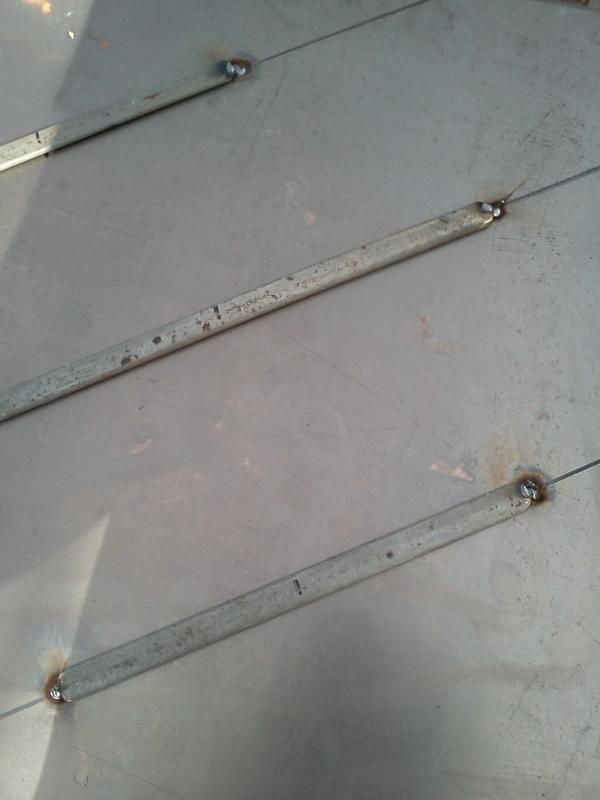
Then it's laid bars down on the driveway and pounded several times with a dead blow hammer or mallet. This will raise the area creating a bead. Once that was done, I clamped it to the leg of my engine hoist and broke the edge over. Don't forget to remove the bars.
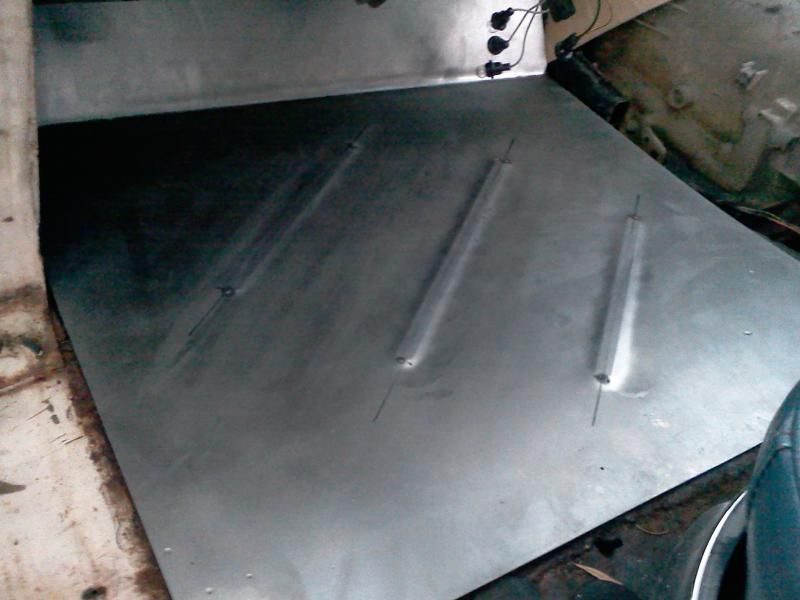
Punched holes about 1 1/2" apart around the perimeter and plug welded in place.

Passenger side formed, fitted, and welded in.
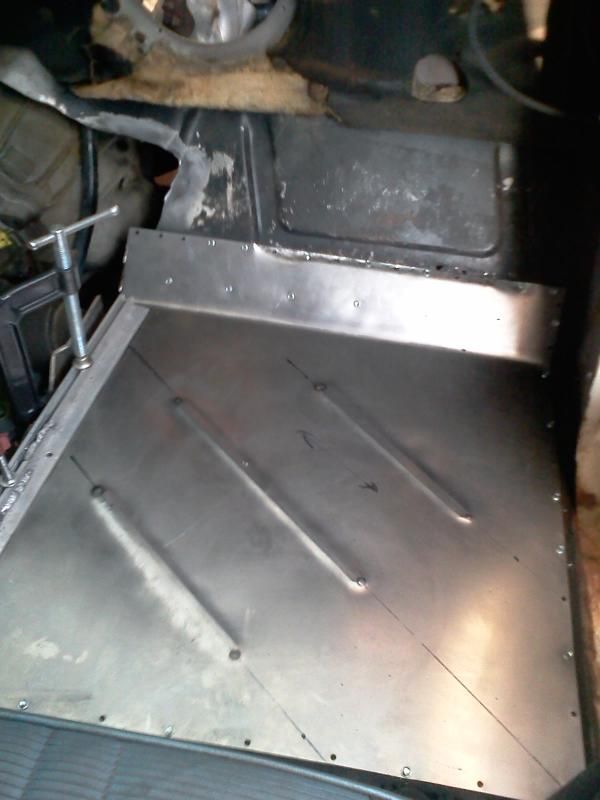
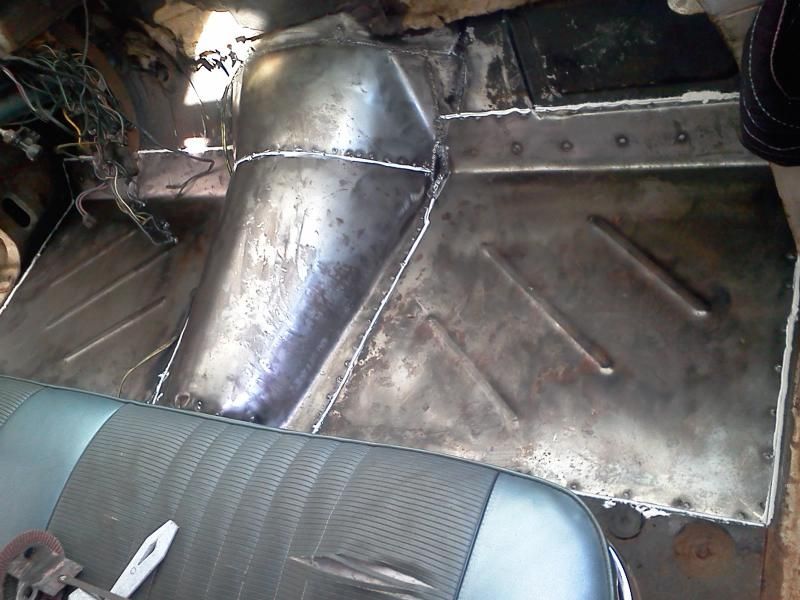
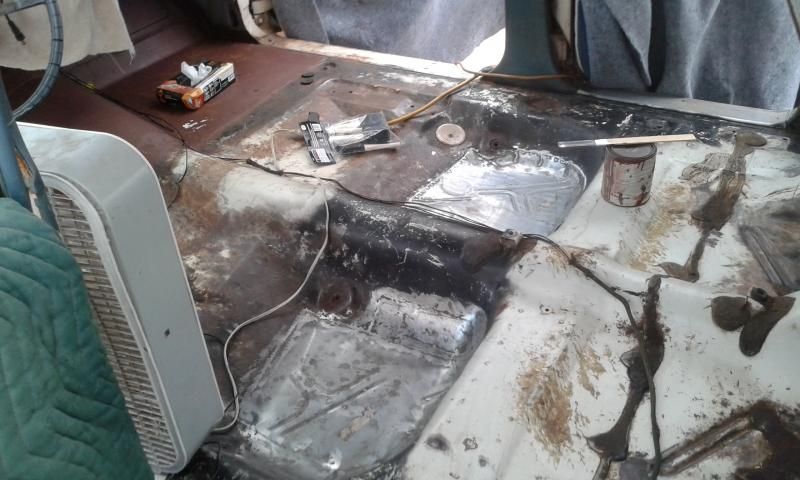
I had to form the trans tunnel in two pieces, remember I mentioned the neighbors telephone pole? I used it to "roll" the tunnel.
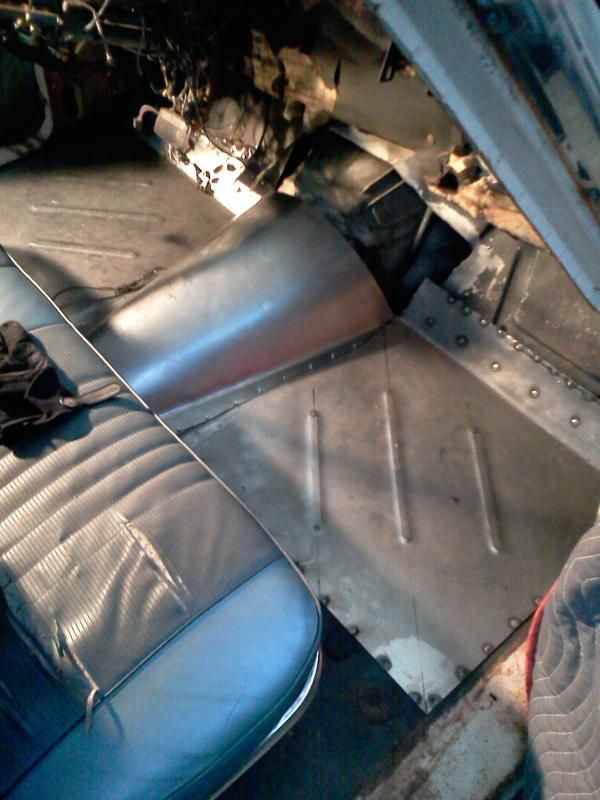
Tunnel to firewall transition
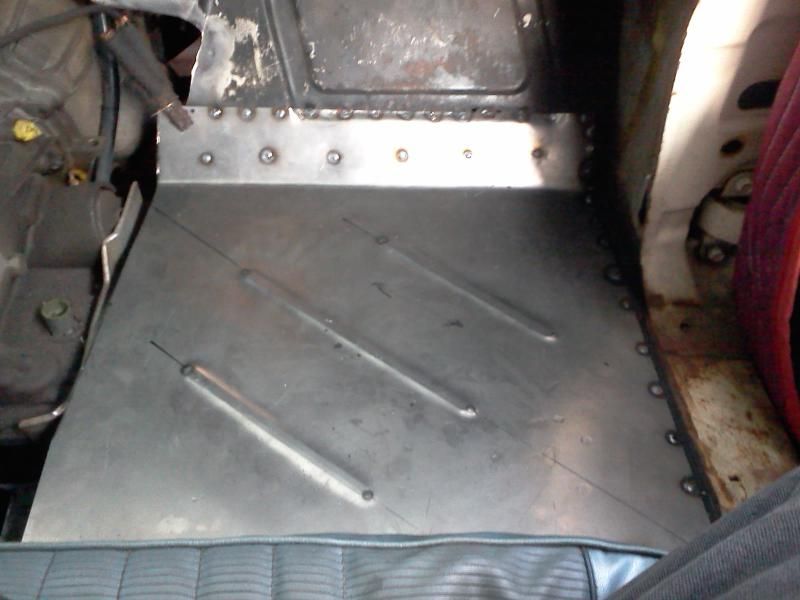
Fully welded and sealed. It's not show car quality but it beats the majority of "Professional" work I've seen over the years.
Comment
-
Nice. Probably stronger than original sheet metal when it rolled out the plant.Fuck you. We're going to Costco.Comment
-
Thanks, I'd hope it was just as good. I used the same gauge steel and was able to make use of the two side and rear factory seams.Originally posted by kbscobravert View Post
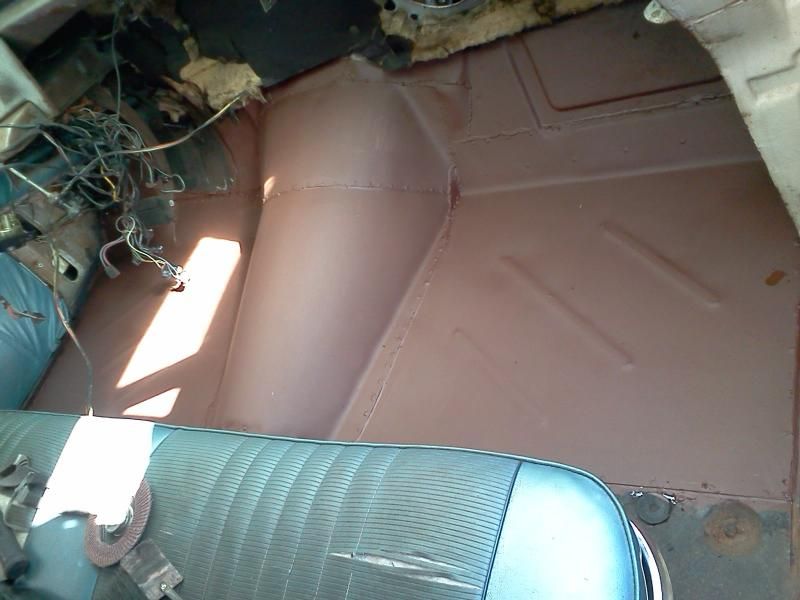
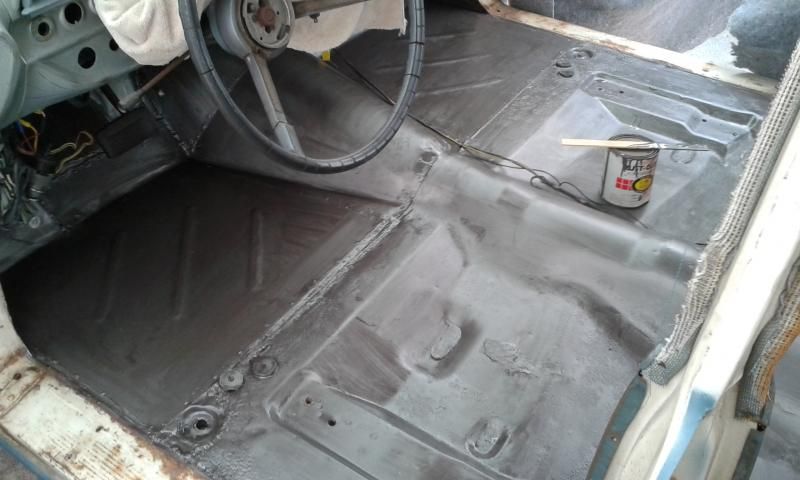
Last pic and I'm taking a break. Finished up with a coat of Rustoleum.
Comment
-
Looks great man! Loving the fab workComment
-
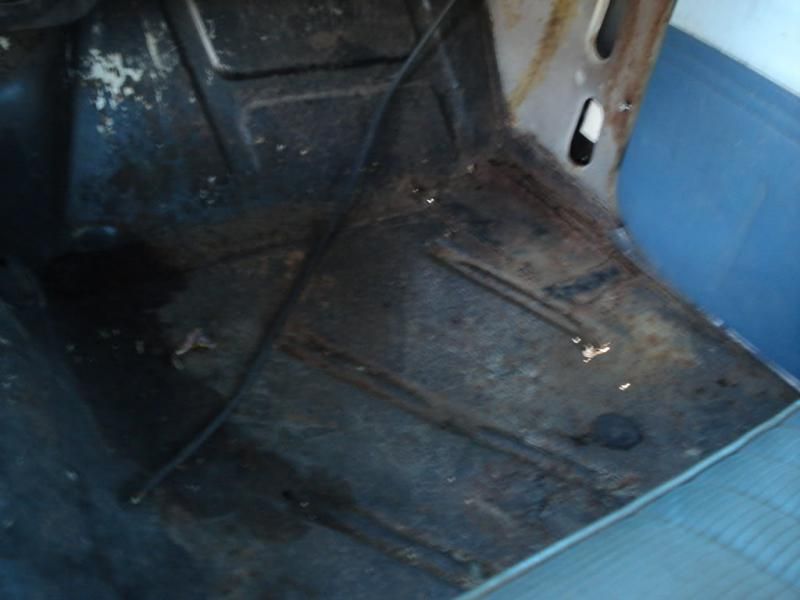
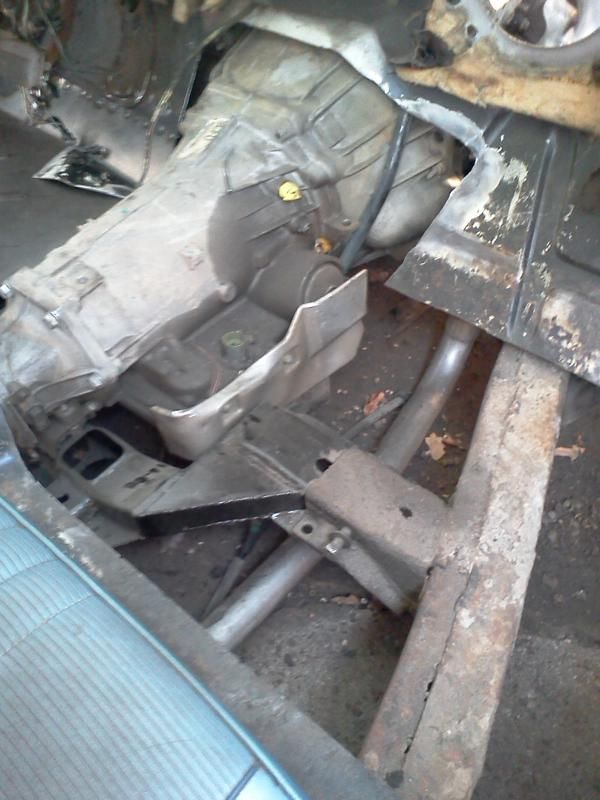
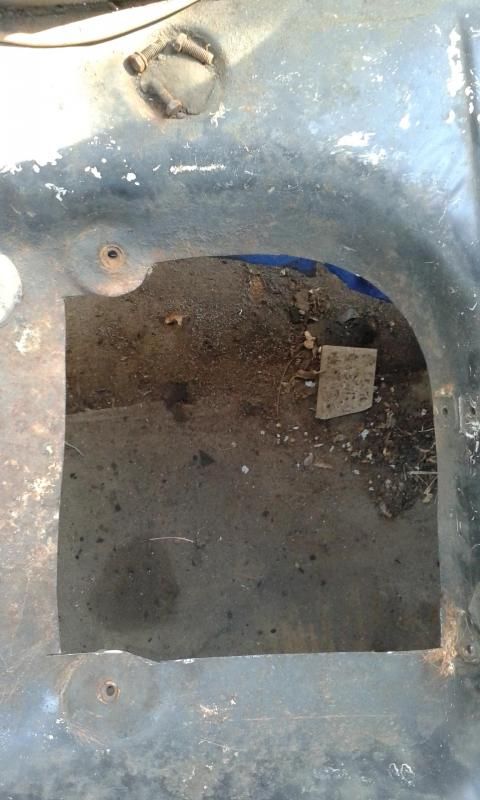
Time for some rear floor pans. Once again, the floor had patches which had patches which were rusted out. I neglected to take enough pictures on the drivers side but you'll get the idea.
See the leaves? They're not on the floor, that's the ground.
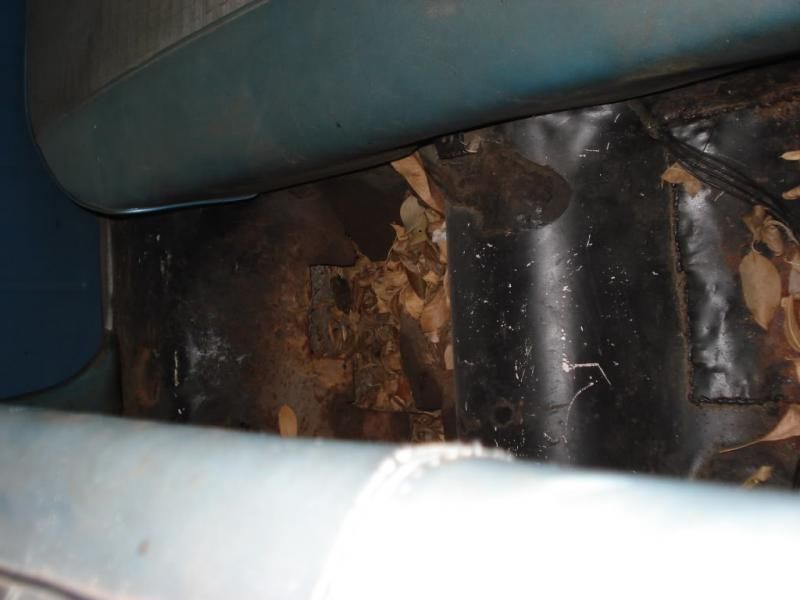
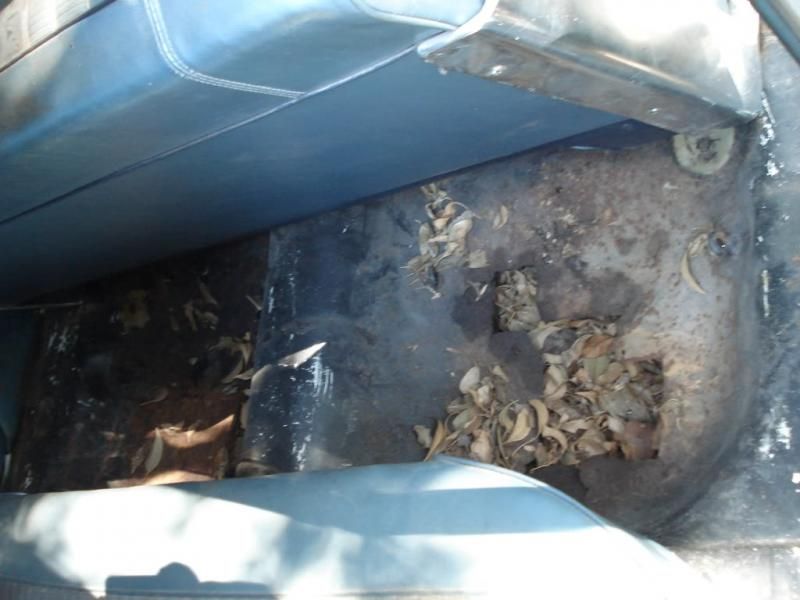
I cut out someone else's handy work. It was setting nearly 2" higher in floor and there was enough MIG wire hanging off the bottom to give a porcupine a run for it's money. Then I followed up by cutting out all the rust.
This is where I missed a few photo opportunities. I had ordered a set of rear pans. One company makes them and they are absolute crap. Essentially they are flat sheet metal, pie cut and bent at overlapping 45 degree angles to form the foot well. No rounded form to them what so ever.
I ended up flattening them out and hand rolling them into shape. So here is one side partially welded into place. This side was butt welded to make the repair less visible.

And fully welded and dressed. One side down, one to go.
Side 2. This side I chose to flange and plug weld the panel in. Not as nice as plug welding but I had issues with blow though with the old metal on the other side.
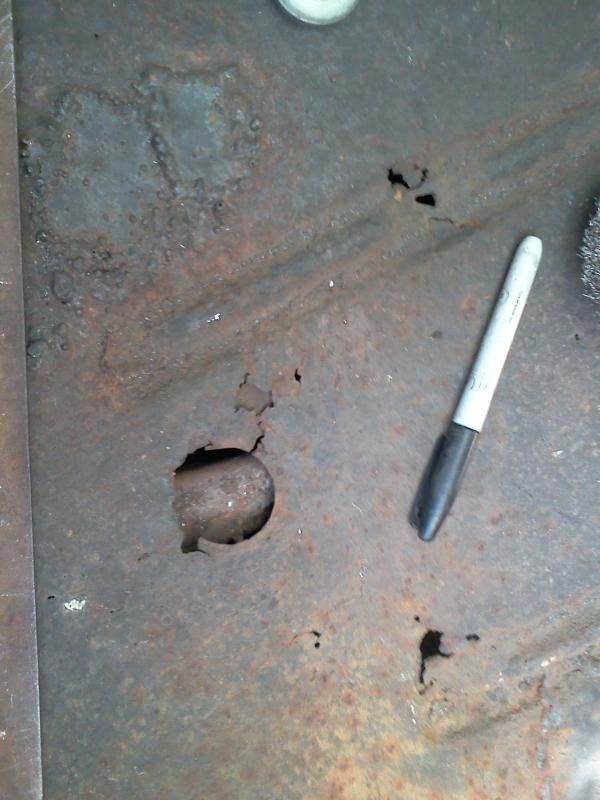
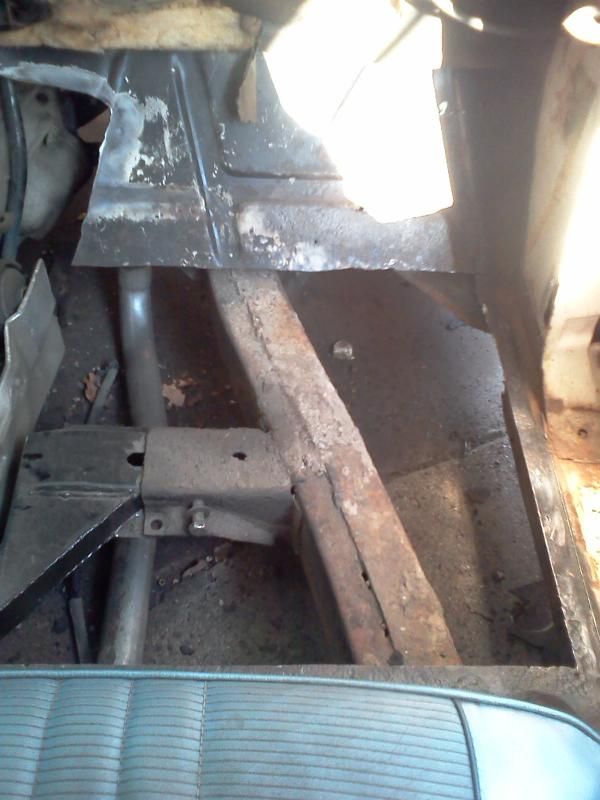
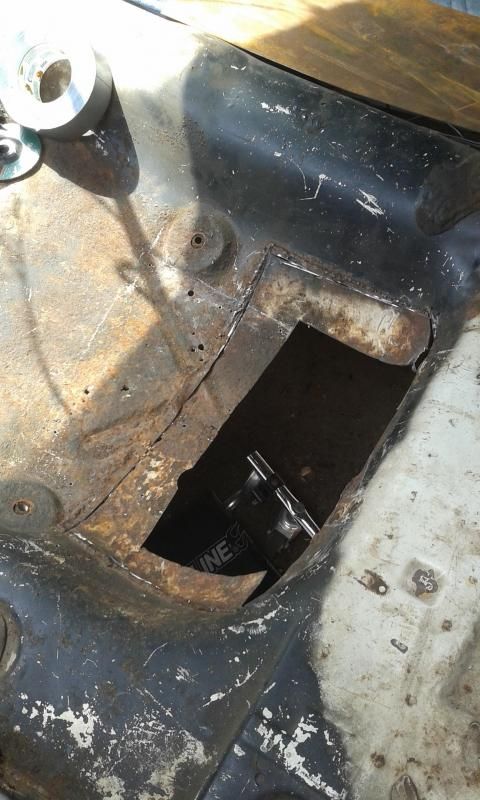
Step one, find the hole. I think this is it.
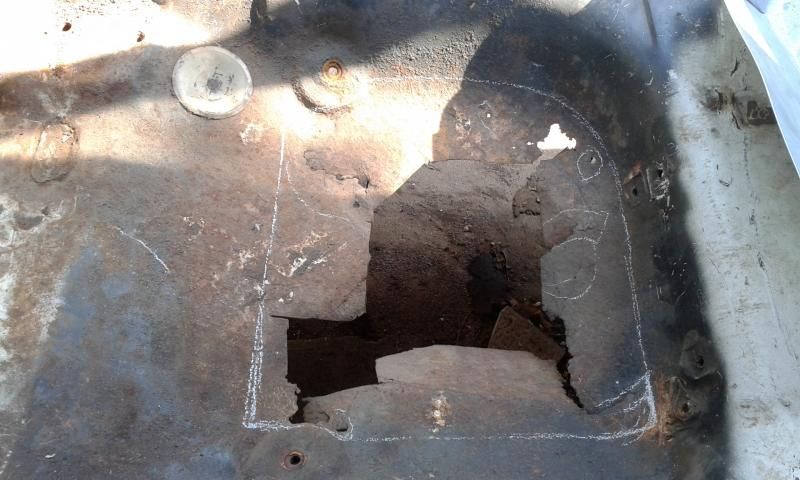
Step two, make the hole bigger.
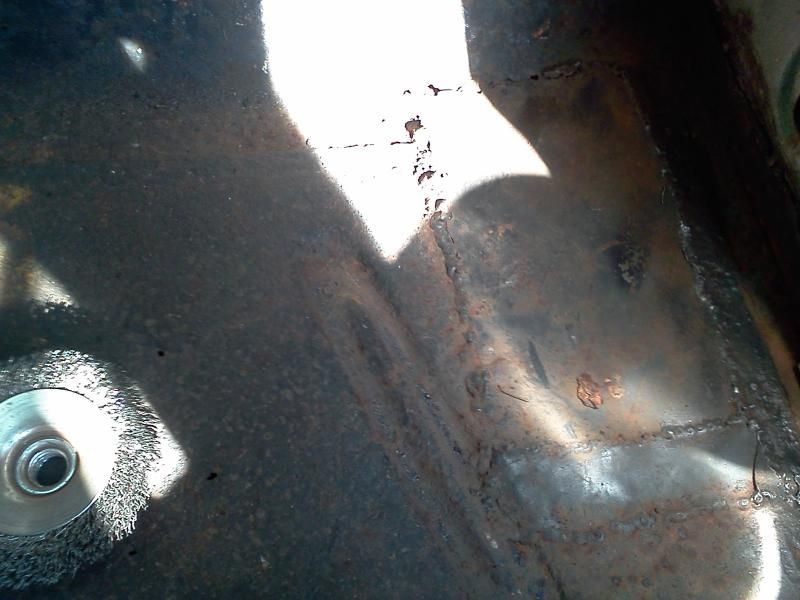
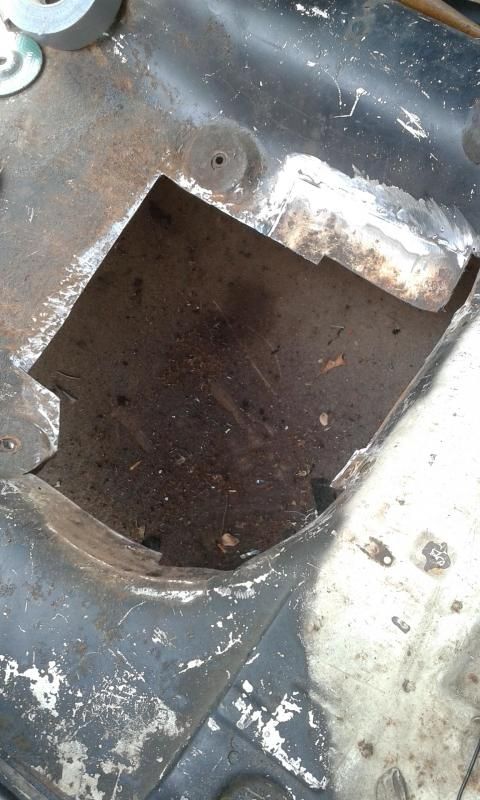
Rough cut and form the new patch panel.
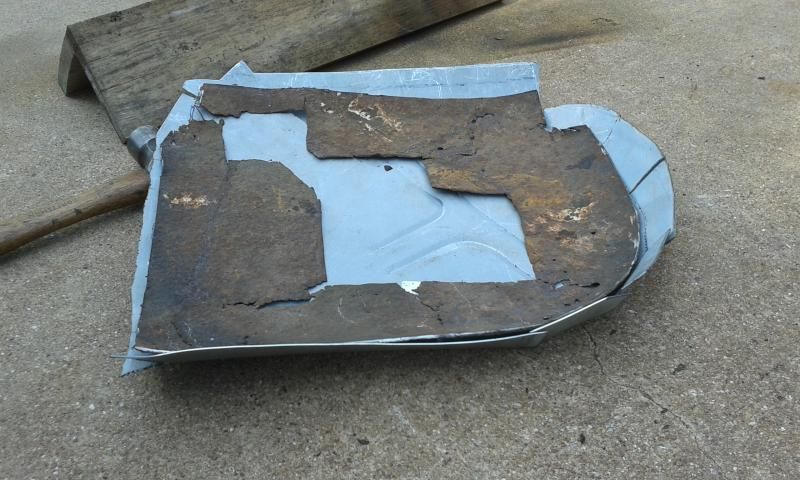
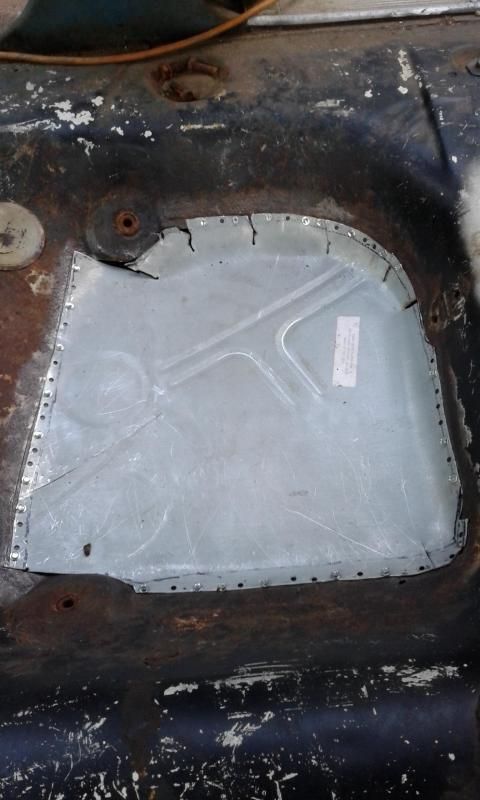
Next the panel was trimmed, fitted and punched a series of holes in it for welding. The existing pan was flanged so the patch would sit level with the floor.
Comment
-
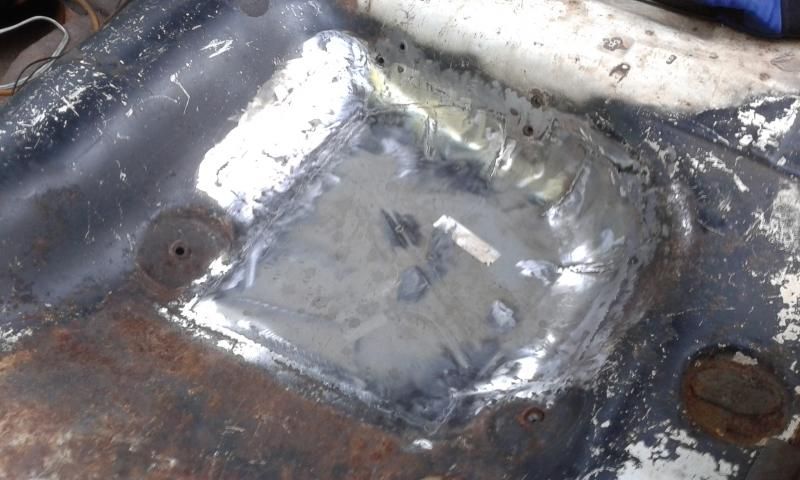
Temporarily attached and then welded.

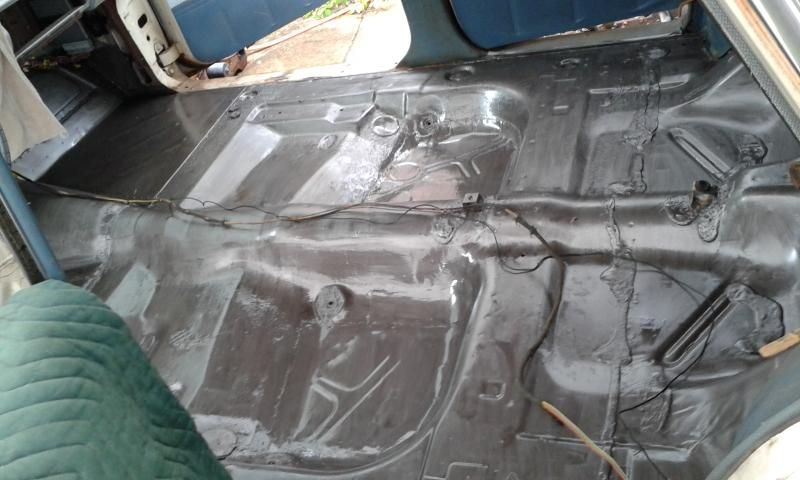
And done. All the floor pan rust has been replaced. Should be good for another 50 years.
After a little cleanup and prep, the entire floor was coated and sealed with a few coats of Rustoleum.

Comment
-
Good gawd man! I wish you would put that much effort into some of your other projects. You know which one I'm talking about.
Nice job on the front floor pans!Comment
-
This is bad ass work, man! Great job. Really turning into a nice car.
+1 for supremes.Comment
-
Awesome work."It's another burrito, it's a cold Lone Star in my hand!"Comment
Comment