 Tweet
Tweet
I am currently in the middle of planning out my remodel on an older 60’s/70’s style bathroom. This is a smaller sized bathroom as you can see and I do not want to break the bank on the remodel, but on the other hand, I do not want to cheap out on purchasing nice equipment where it is needed(such as the valves and so forth).
I have tried my best to learn what I can and put some thought into this and here is what I THINK I have decided on and wanted to run my plans by some of you with more experience and get your opinions…
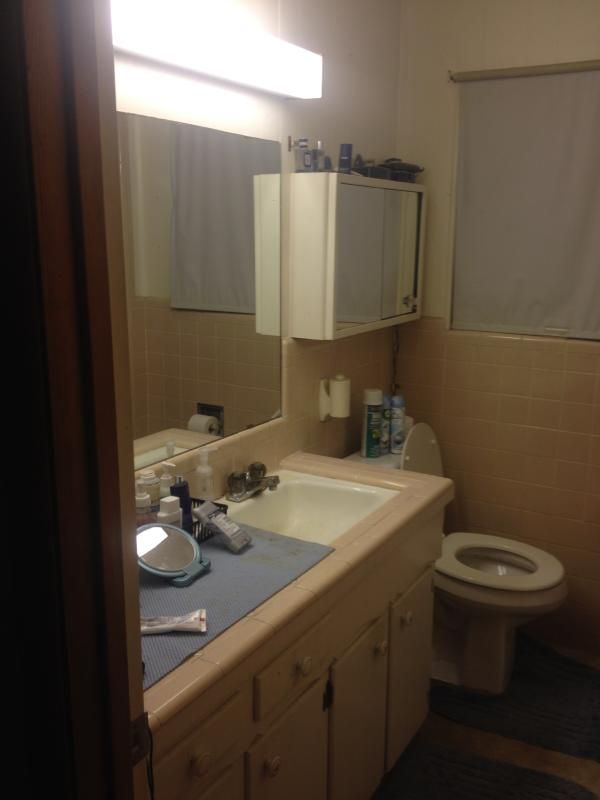
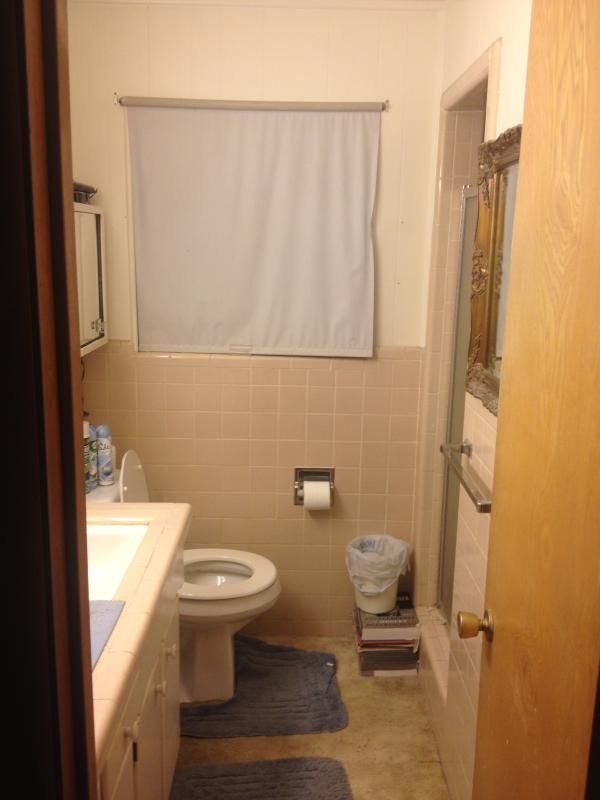
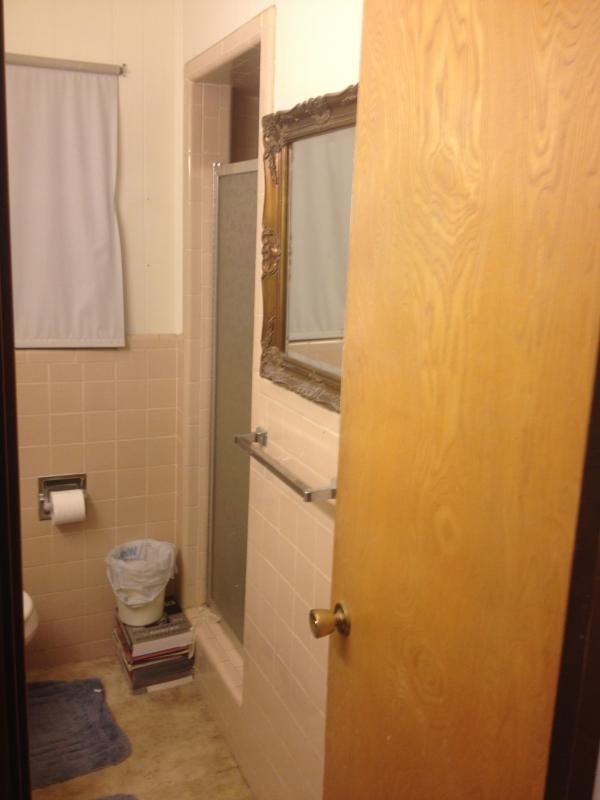
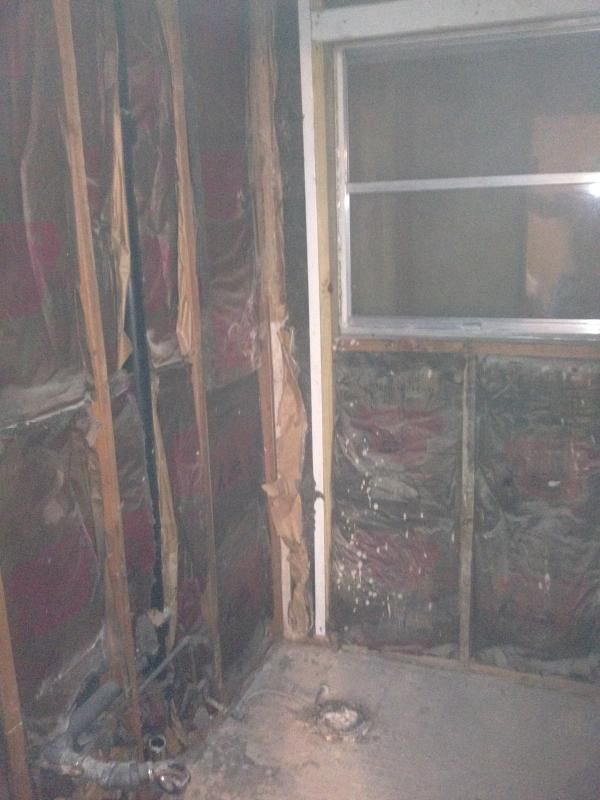
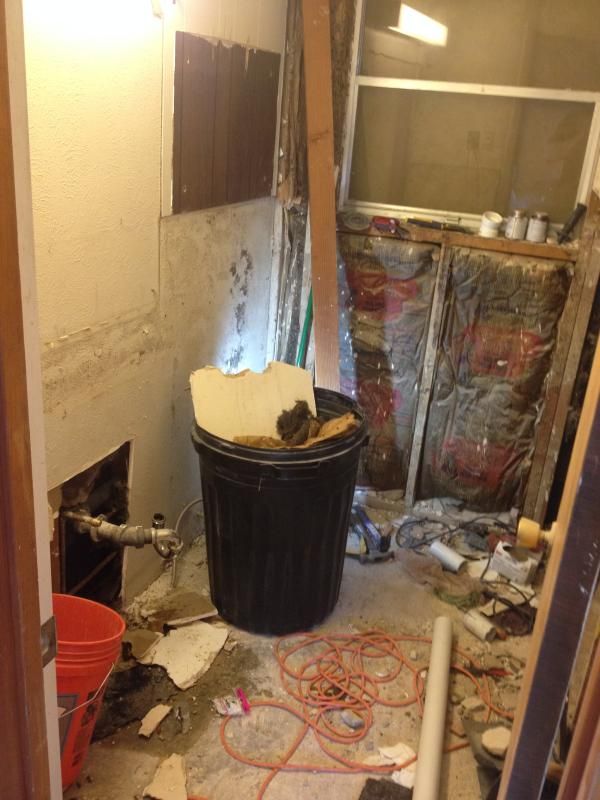
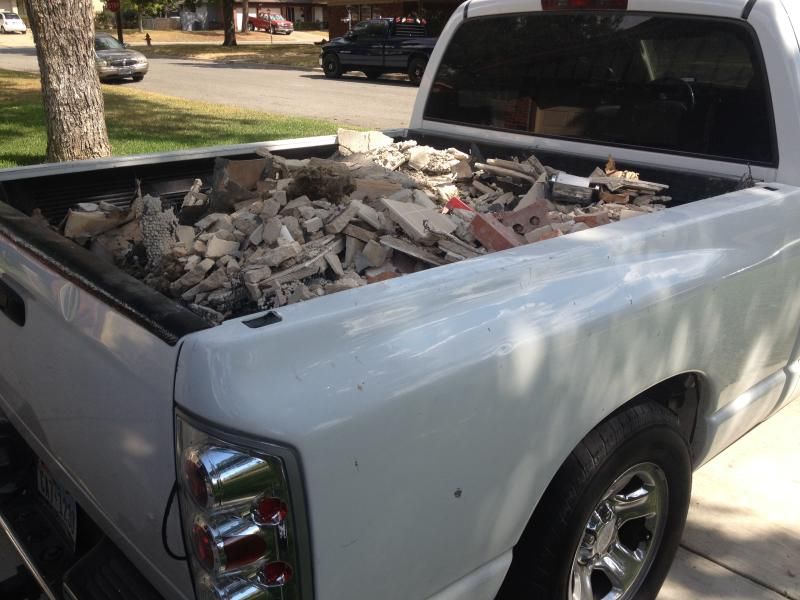
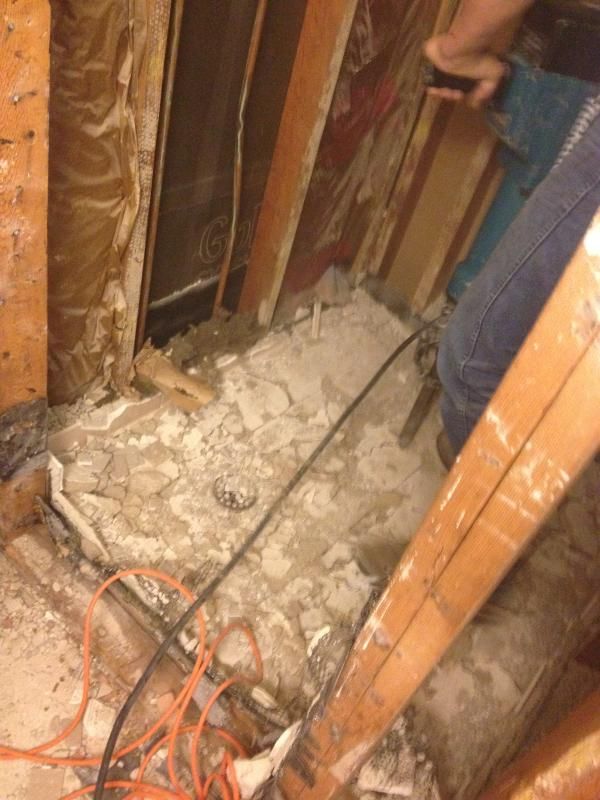
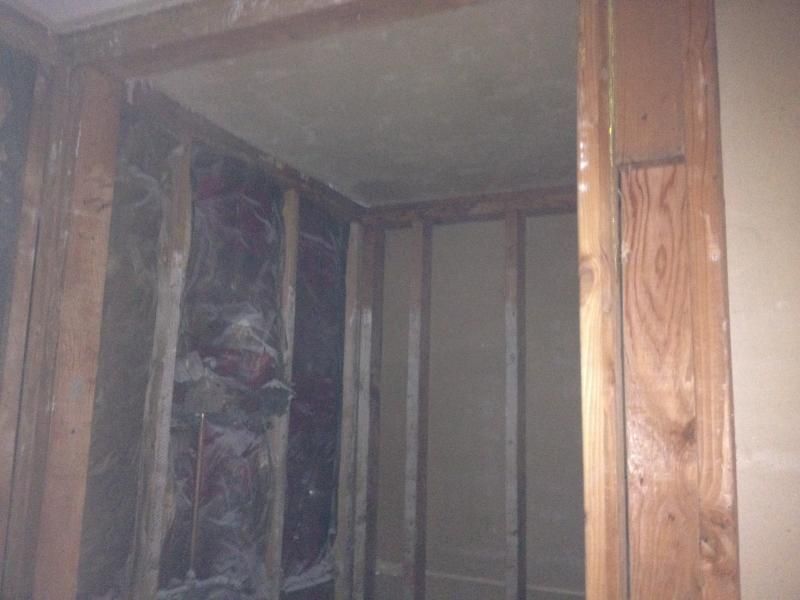
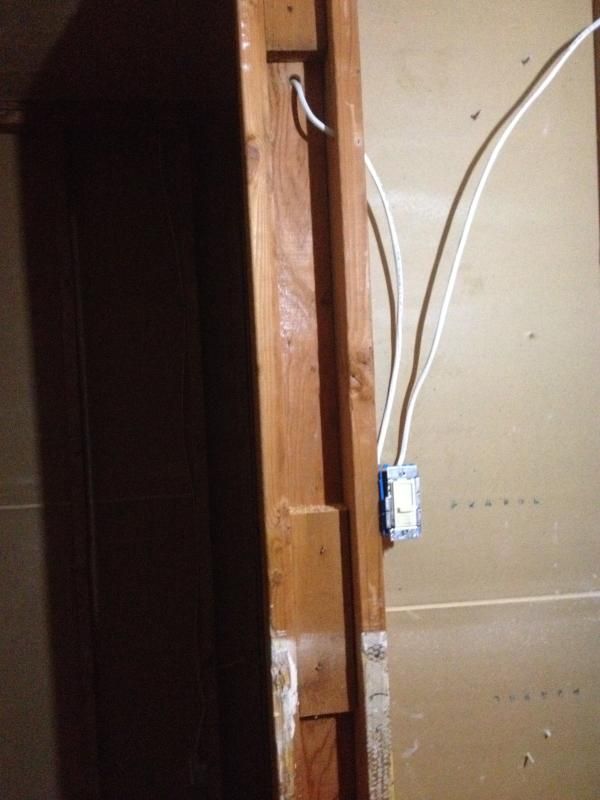
I plan on demoing out pretty much everything currently in the bathroom(removing the tile on the walls, removing the window and frame(no longer can see out of due to an added room) and sheet rocking over it, removing the vanity, light fixture, mirror, and medicine cabinet).
Basically gutting the bathroom and also the shower area.
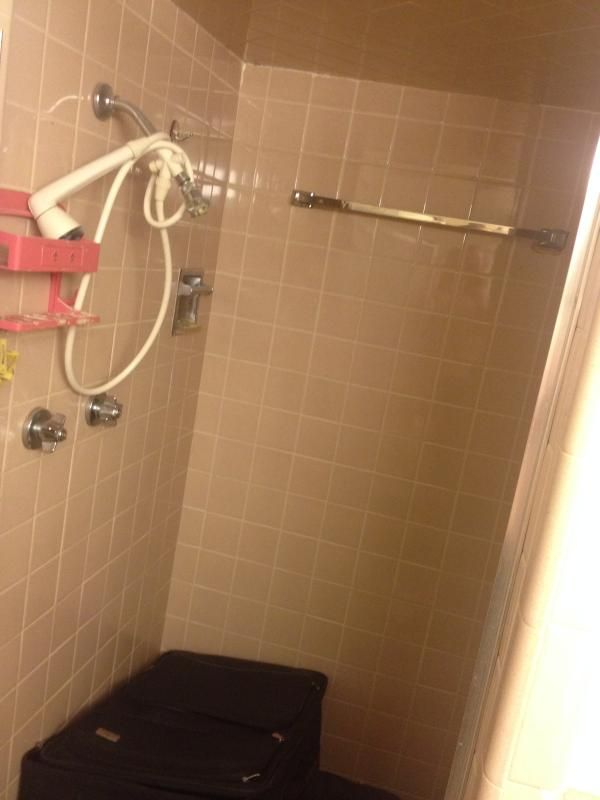
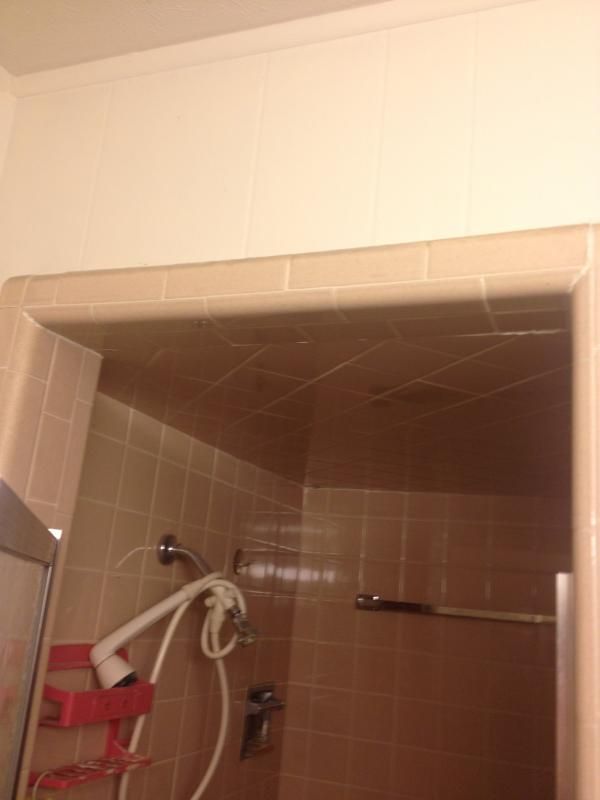
Here are pictures in the current condition…
Here is what I have purchased…
Vanity: The current vanity is 55” and I am replacing it with the one below. The new vanity is only 49” and will free up some space by the commode, which I will probably place a trashcan or TP holder in. The vanity is dark brown in color and has brushed nickel hardware.

Faucet: I wanted a waterfall faucet but I notice the pressure is regulated, but I will be shaving in the shower so not a deal breaker for me. Hopefully it is regulated inline so I can get my plumber to “modify” it for me, but I have no clue if the ceramic cartridge is what regulates it or not.

Vanity Mirror:
Rear Mirror: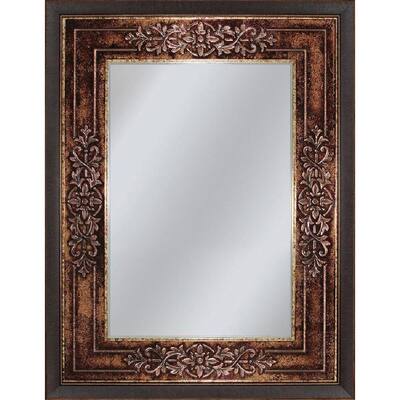
Light Fixture:
Toilet: Not being replaced
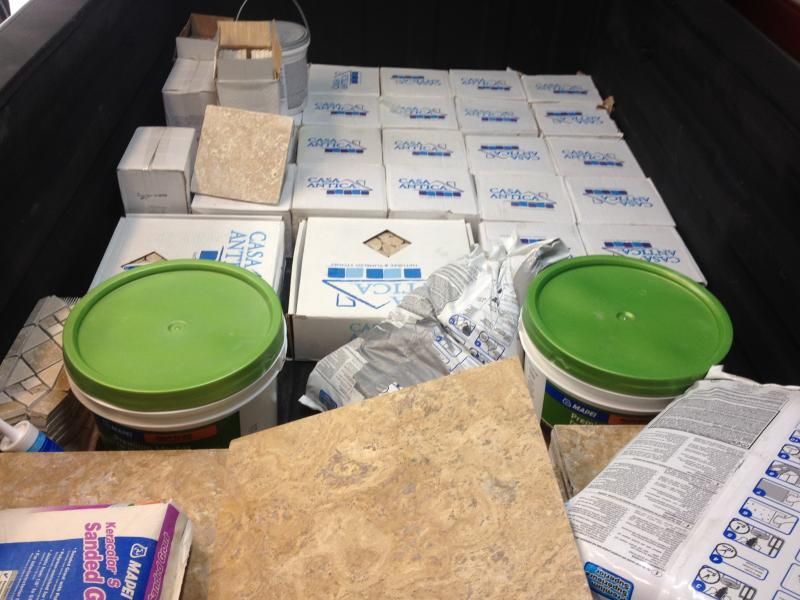
Flooring: I am undecided here, but most likely it will be some sort of travertine laid in a diagonal pattern. But I have also seen the Travertine Vinyl tile flooring as well and that is a thought currently as well. I feel this might minimize the chance of it cracking but question the durability.
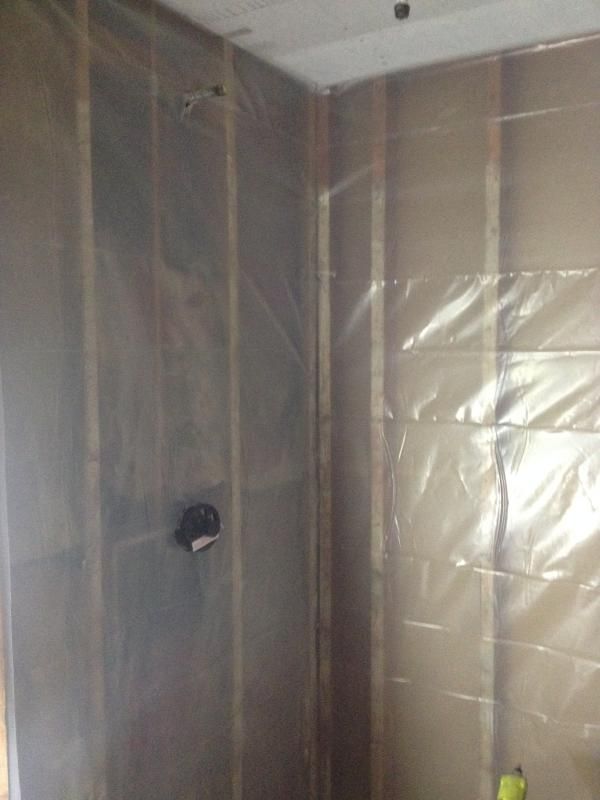
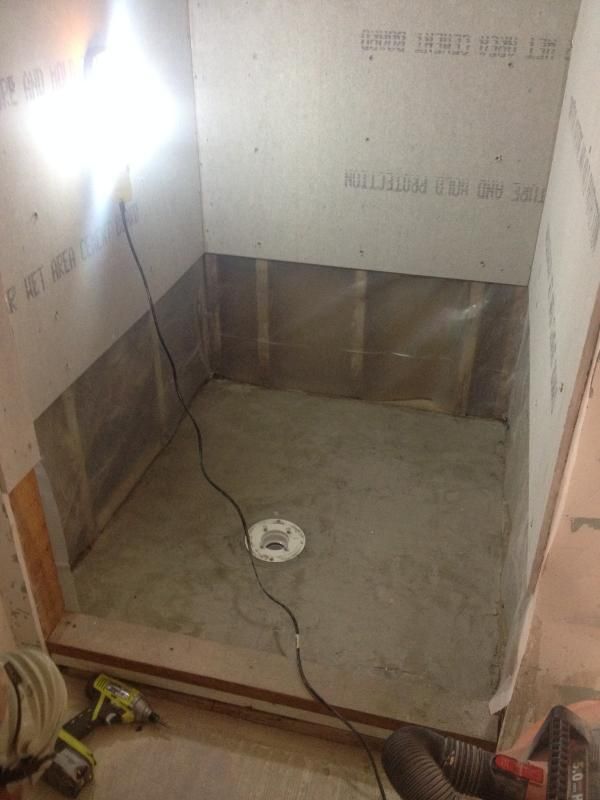
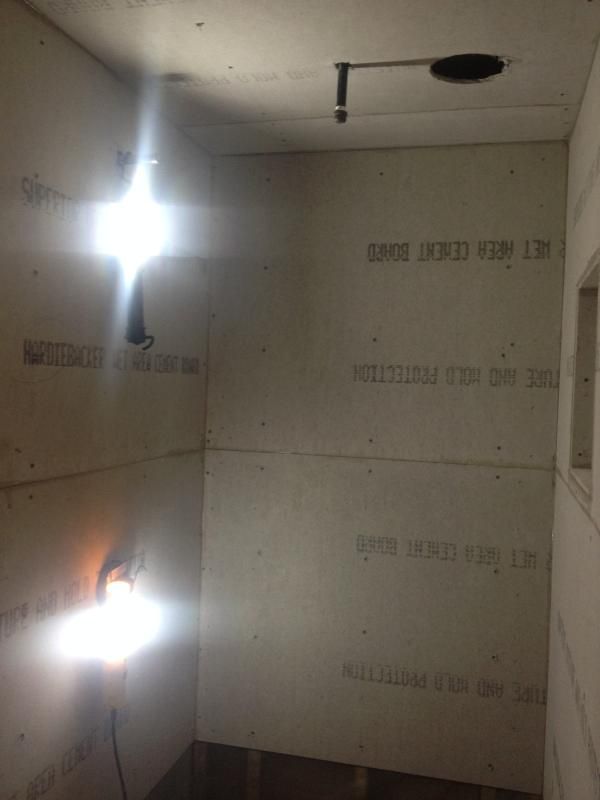
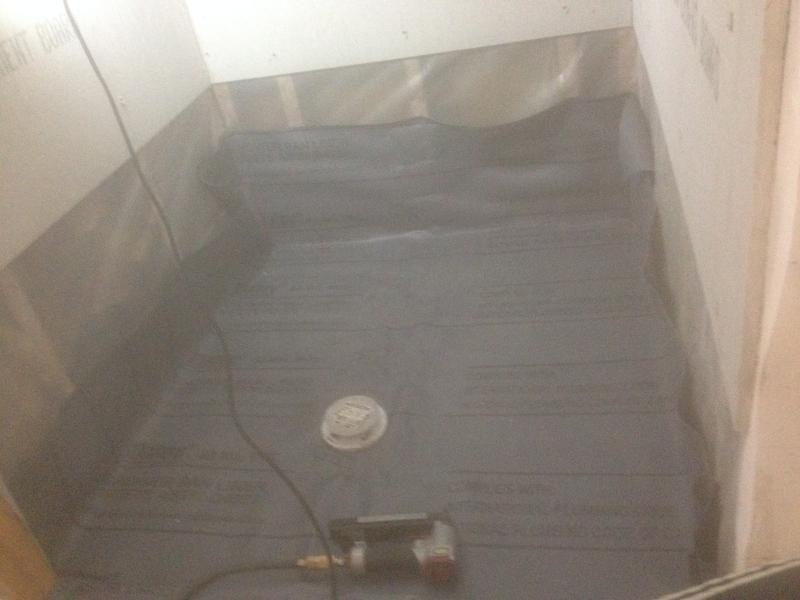
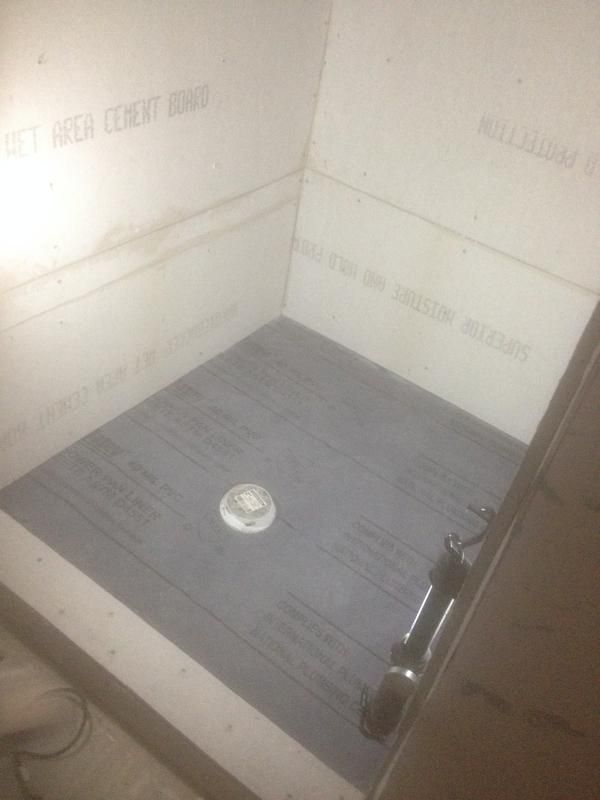
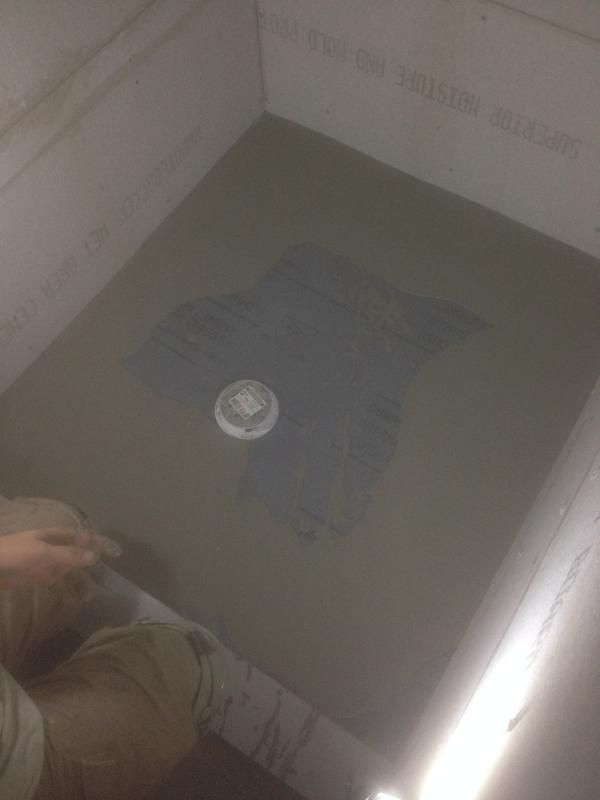
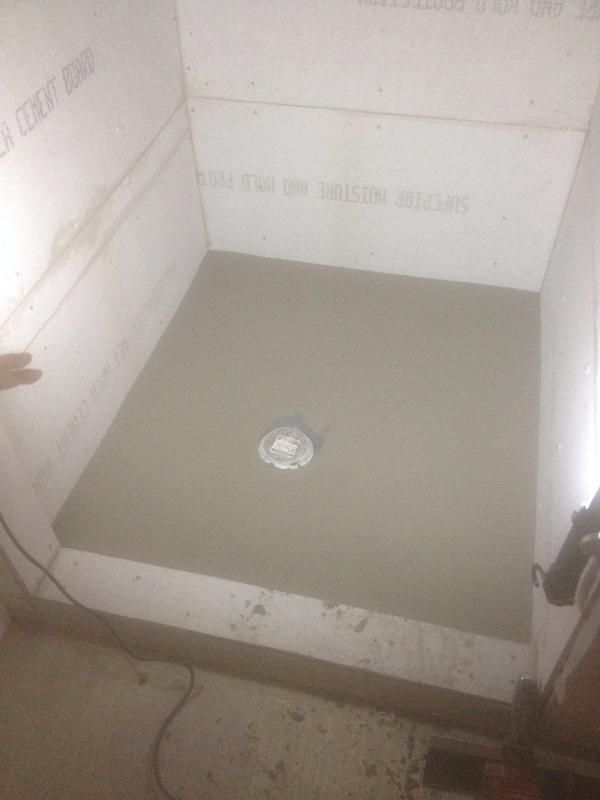
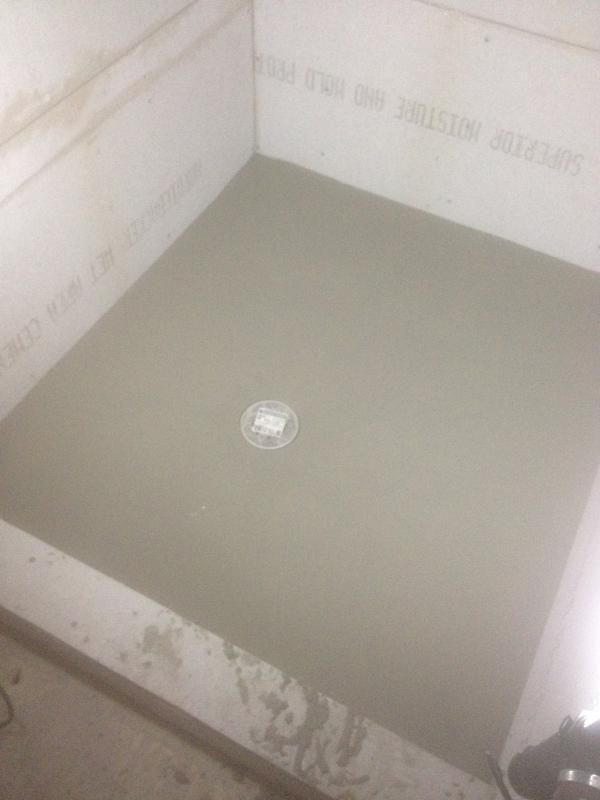
Shower: Since this is an older shower, it will be raised by about 10-12” to the ceiling. The old shower pan will be removed and new shower pan poured out of mortar, sloped, and lined correctly. Everything will be sealed with rediguard afterwards. I plan on using real travertine in the shower area with minimal grout lines. I am not sure about the tile size or the pattern lay in this area, but I do know that I want a breaker about eye level. I also plan on doing a frameless glass door. I want a handheld shower head as well as a rainfall overhead shower head in the shower. I also am going to install one overhead shower LED light to light the area a bit.
I found a place online for the shower door that seems to be a manufacturer and is dirt cheap and even has a price calculator.
Mine was only $365 with all hardware and $65 for delivery.
If anyone wants to know the site, it is here…
Walls: The tile will not be put back on the walls(hopefully this is a good decision), but there will be tile on the floor, shower, and a 3” tile footer. The walls will be painted tan in color to match the other areas. The door will be painted white.
If there is anything that can be improved or any advice given in any way, I sure would appreciate it.
The project is due to start in a week or two, but just trying to plan ahead and make sure that I do everything right.
I have tried my best to learn what I can and put some thought into this and here is what I THINK I have decided on and wanted to run my plans by some of you with more experience and get your opinions…
I plan on demoing out pretty much everything currently in the bathroom(removing the tile on the walls, removing the window and frame(no longer can see out of due to an added room) and sheet rocking over it, removing the vanity, light fixture, mirror, and medicine cabinet).
Basically gutting the bathroom and also the shower area.
Here are pictures in the current condition…
Here is what I have purchased…
Vanity: The current vanity is 55” and I am replacing it with the one below. The new vanity is only 49” and will free up some space by the commode, which I will probably place a trashcan or TP holder in. The vanity is dark brown in color and has brushed nickel hardware.
Faucet: I wanted a waterfall faucet but I notice the pressure is regulated, but I will be shaving in the shower so not a deal breaker for me. Hopefully it is regulated inline so I can get my plumber to “modify” it for me, but I have no clue if the ceramic cartridge is what regulates it or not.
Vanity Mirror:
Rear Mirror:
Light Fixture:
Toilet: Not being replaced
Flooring: I am undecided here, but most likely it will be some sort of travertine laid in a diagonal pattern. But I have also seen the Travertine Vinyl tile flooring as well and that is a thought currently as well. I feel this might minimize the chance of it cracking but question the durability.
Shower: Since this is an older shower, it will be raised by about 10-12” to the ceiling. The old shower pan will be removed and new shower pan poured out of mortar, sloped, and lined correctly. Everything will be sealed with rediguard afterwards. I plan on using real travertine in the shower area with minimal grout lines. I am not sure about the tile size or the pattern lay in this area, but I do know that I want a breaker about eye level. I also plan on doing a frameless glass door. I want a handheld shower head as well as a rainfall overhead shower head in the shower. I also am going to install one overhead shower LED light to light the area a bit.
I found a place online for the shower door that seems to be a manufacturer and is dirt cheap and even has a price calculator.
Mine was only $365 with all hardware and $65 for delivery.
If anyone wants to know the site, it is here…

Walls: The tile will not be put back on the walls(hopefully this is a good decision), but there will be tile on the floor, shower, and a 3” tile footer. The walls will be painted tan in color to match the other areas. The door will be painted white.
If there is anything that can be improved or any advice given in any way, I sure would appreciate it.
The project is due to start in a week or two, but just trying to plan ahead and make sure that I do everything right.


Comment