 Tweet
Tweet
Yeah, by all means - please elaborate.
-
-
Do tell sosoe
I guess I did steal the rotors from sosoes shop Meaning he gave them to me
Comment
-
You stole my prideOriginally posted by Matt View Post Interested in being a VIP member and donating to the site? Click here http://dfwmustangs.net/forums/payments.php
Comment
-
-
Security cameras caught you rolling them away from my shop!Originally posted by Matt View Post
Lol
Or was it me?Comment
-
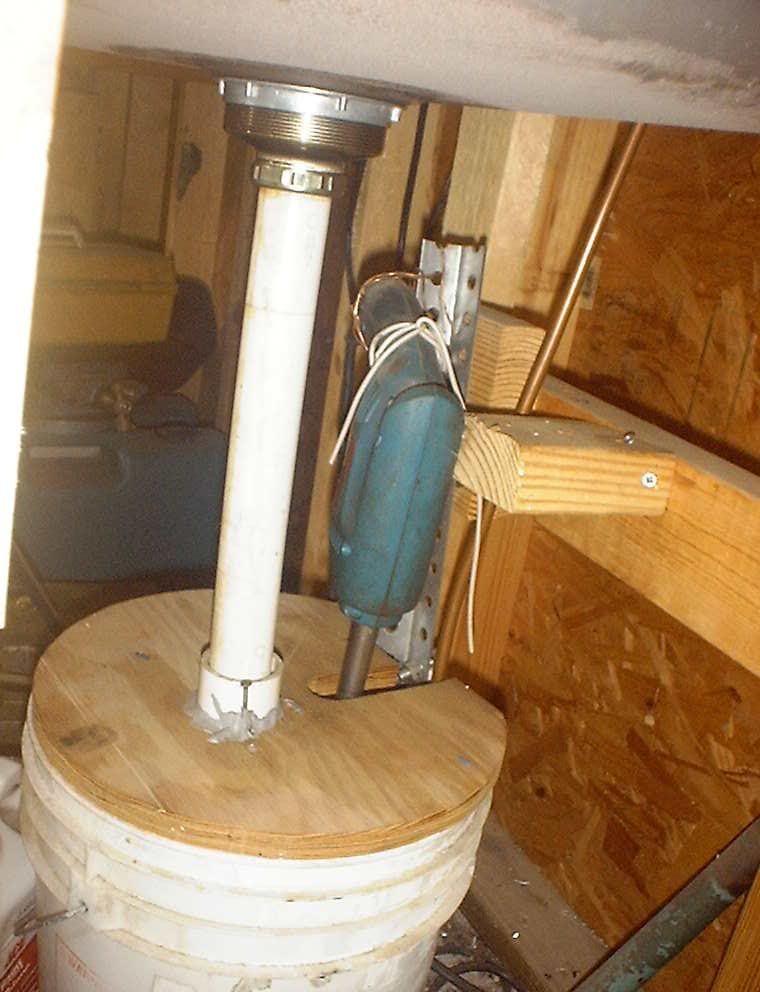
DIY parts washer system
I couldn't pass this one up.
This is an old junk drill that's attached to a SBC oil pump down in a bucket. There's a return tube that goes up to the basin this is all sitting under. plug the drill in and the fluid flows.
No, it's not optimal, YES, it is ghetto - but with some old 'junk' laying around and a few spare minutes.. you get stuff like this
Comment
-
Brilliant!!! I built an "injector cleaner" for our Lemons car last year and it worked pretty well. I used some short/large diameter threaded pipe with barbed nipples, rubber fuel line, and a stock 2.3 lower intake manifold/injector harness. I filled up the steel pipe with B12, pressurized the chamber to 50 psi with my air compressor, and pulsed the injectors with a 9V battery. At first the injectors were not spraying too great, but after a few minutes they were all shooting probably better than brand new...Comment
-
Made a stand to hold material cage material while i set everything else up.

Comment
-
the idea was stolen for the OP or fabricator who came up with it - very common in fab especially among weldors.Originally posted by racrguy View Post
for instance, im going to steal the idea of the plate for re-tapping stud holes, its genius - no more messed up first and second row threads for me, or having to use a drill pressComment
-
-
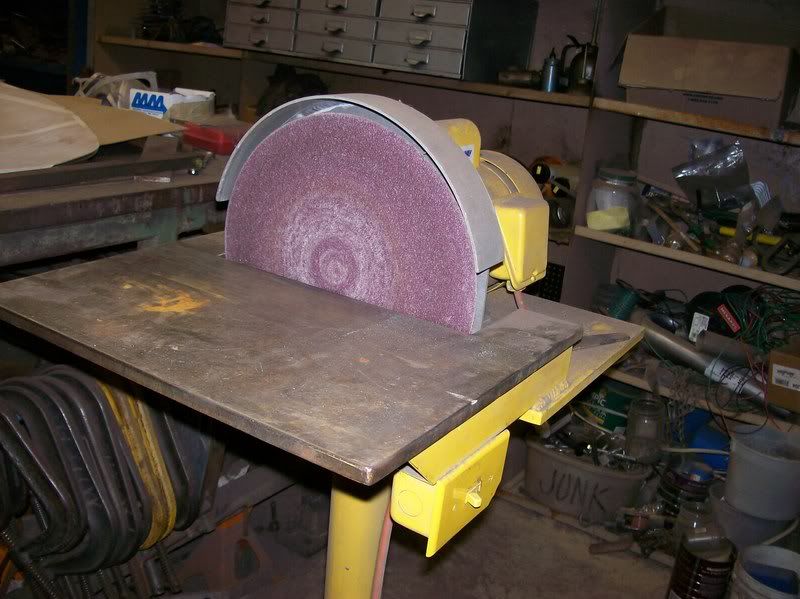
Stumbled across this site - There are more than just automotive tools on it, Thought I would share.
.Comment
-
I don't want to detract from DFWMustangs but the mother of all home made tools thread can be found on The HAMB.
Originally posted by Taya Kyle, American GunComment
-
Good thread, now I know who to hit up when I need tools.
Vortex rear stand $75
8.8 410s. $50
**SKAGG NASTY**
My goal in life is to not arrive at the grave in a well preserved body.
but rather to skid in sideways, totally worn out, shouting "holy shit!!!.. what a ride!"
1990 Foxbody GT for that ass
11 4 door
13 FX2 White 5.0Comment
-
I made this valve spring compressor.
The frame is 1" square tube, the threaded part is 5/8" - 11 threaded rod. A thrust bearing is mounted on the end of the threaded rod to prevent scoring of the valve face.
Total cost was about $25.
Comment

Comment