Announcement

Collapse
No announcement yet.

My Remodel Thread

Collapse
X
 
  • Filter
  • Time
  • Show
Clear All
new posts

  • black2002ls
    replied
    Well, we have been here long enough, that we are finally starting to get agitated with some of the areas of the home, and have begun to create solutions for them. We are working on removing ALL of the carpet. The only areas left are the master bedroom and closet, and the entry coat closet. Before we do the master, we are re-doing our master closet. Once that is done, we will pull the carpet for laminate.

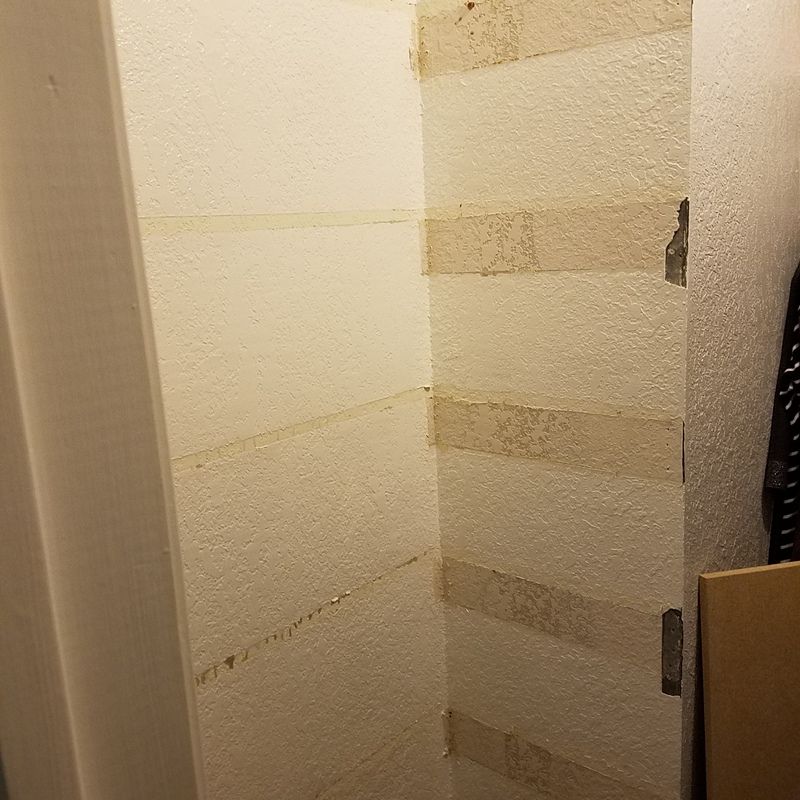
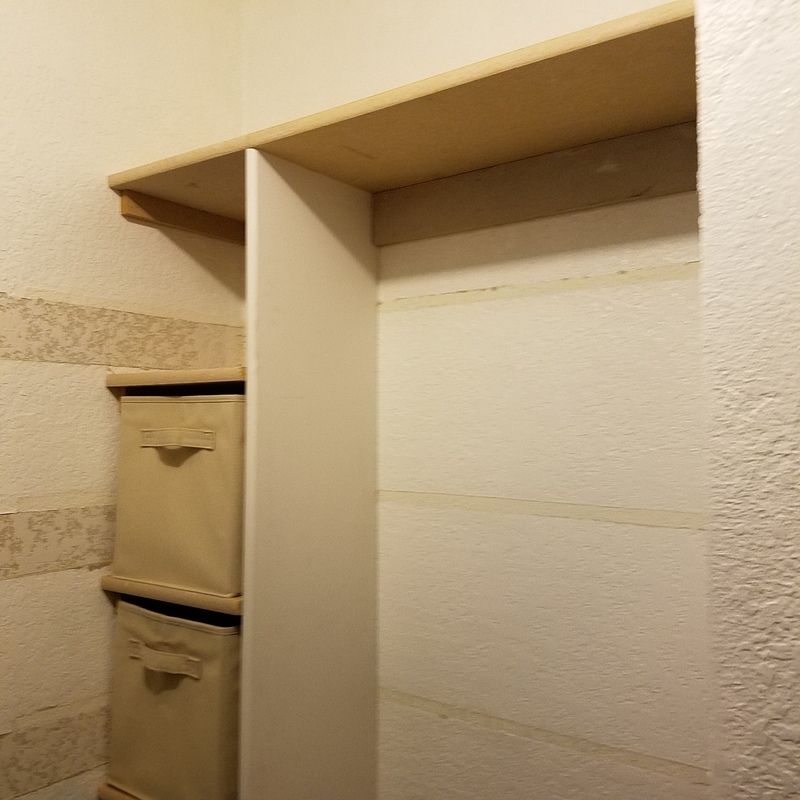
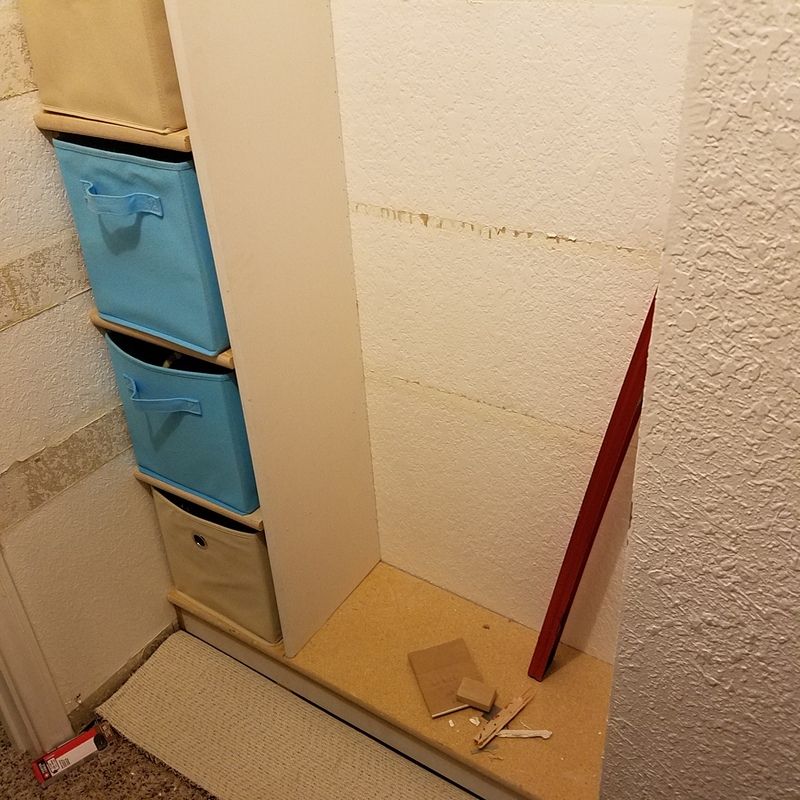
    This is the beginning of the closet. There is a little niche to the left of the closet that had 5 basic shelves in it. They were about 18" deep. We used 11x11 cloth bins for storage on the shelves, which left us with a good bit of unused space behind them. I've worked up a plan for re-building the closet last week and did phase 1 yesterday. I tore out the shelves and built a "built in" unit that has bins on the left, a shelf along the top, and a space for a closet rod to hang her long clothing. The right wall of the closet will be converted to double rods for more hanging space, and a single along the back wall. We also want to work in some shoe racks or pull outs on one of the other walls to help with organization and space savings.

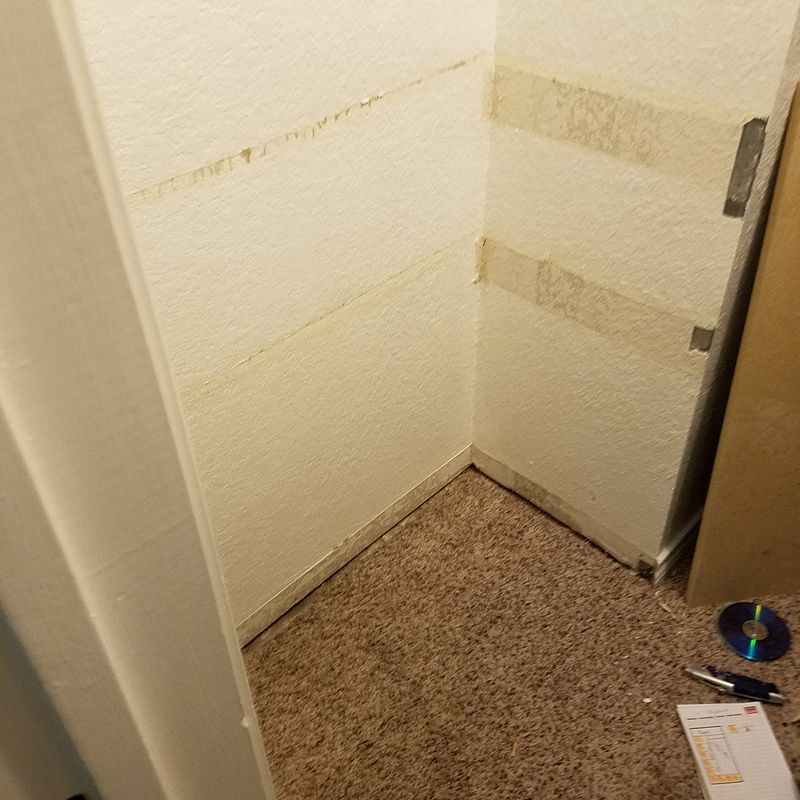
    I forgot to get before pictures. Here are a couple after removing the shelves. You can also see the associated drywall damage:


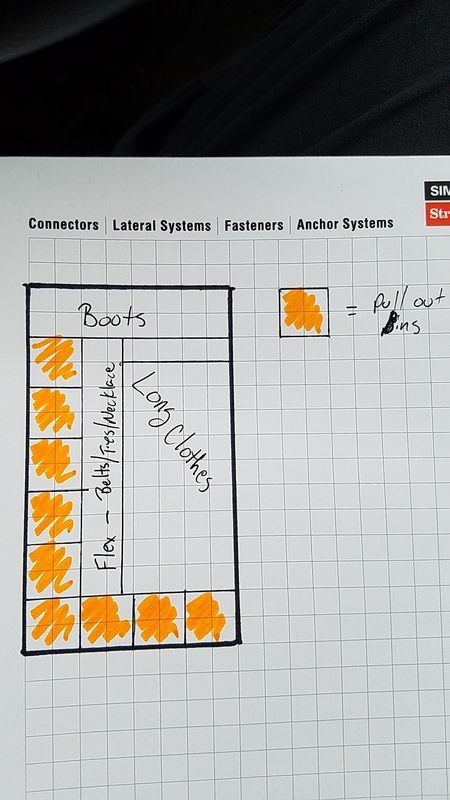
    Here is the design, I haven't done the bins along the bottom, as we haven't decided whether we want those, a drawer, or to leave it open:


    And my finished product. It still needs caulked and painted, but it is functional until I get time to do that.


    Leave a comment:


  • black2002ls
    replied
    I figure it is about time to update this thread. The front yard is finally shaping up, I'm filling in low spots here and there to help with some of the standing water, and that is in turn helping the grass thicken up in those areas. Now that the front is looking good, I've turned my focus to the back yard. The kiddo will be 1 in June, so he is going to want to start playing outside soon, and with the current state of things, it is only possible when it hasn't rained for a week.

    My plan has always been to fix the grading/drainage in stages.

    1. complete the patio
    2. set up the raised flower beds
    3. re-grade yard

    The patio has been complete since last year and late last year I began work on the flower beds. The original plan was to have the stone come up high enough so that it was almost level with the patio, thus pushing the water out further away from the house and into the yard. I finally decided to split the stone and lower the height of the stone. This allowed me to use less dirt to fill the beds, and the original height, I don't think, is really necessary.

    Here is where I left it yesterday evening:


    I started the flagstone path that will lead out to the storage building


    Now comes the decisions on how to start fixing the drainage. The number one issue at this point, I believe, is that the ground on the outside of my fence where the yard should drain into the street is higher than the ground on the inside of the fence, thus damming up the water. I have some surface drains along the fence line, 3 to be exact, that has aided in draining the water off and allowed the yard to dry up quicker. I don't want to lose any fence height, so I'm thinking the best course of action here is going to be to knock the level of dirt down so that it is the same as what I have on the inside of the fence and grade it down to the side walk and install a toe board along the fence to close the gap. The other issue is the water that stands at the right side and between my house and the neighbor.

    Here is a reminder of where I started and the water issues:

    Right side:


    Left side looking towards street


    Back of home

    Leave a comment:


  • black2002ls
    replied
    I had some time to finish up some projects while the HVAC guys were dwapping out the furnace and coil.

    I finally got around to finishing up the bench seat in the nook. It needs sanded and the final coats of varnish put on it, as well as the walls touched up, but I can finally scratch this off of the list.

    I'm not 100% happy with it. There are some areas that didn't take the stain, and the piece of the top that will be most visible is very different from the other two. It has a rough texture, and took the stain differently than the other two. At this point, it will stay as is. The stain is kona brown with Deft satin varnish.


    When we designed our kitchen, we had a few ideas for organization and this was one of them. I didn't want to pay the cabinet company to build and install things I could do cheap and easy. This drawer was built a bit deeper to accomodate our kitchen utensils in utensil cups. In between coats of varnish, I put this together.


    I still need to come up with a better solution for storing and organizing the measuring cups and spoons.

    Sent from my SAMSUNG-SM-G930A using Tapatalk

    Leave a comment:


  • black2002ls
    replied
    Originally posted by lincolnboy View Post
    We have several brick as in pic that we are about to trash. Still in good condition. Wish I had a house still.
    How many? I had several hundred left and got ~.40 each out of them from craigslist

    Sent from my SAMSUNG-SM-G930A using Tapatalk

    Leave a comment:


  • lincolnboy
    replied
    Originally posted by black2002ls View Post
    For something a little different. I have put in a little time in the back yard recently, trying to spruce it up, and help push the water away from the house more. I extended my paver patio, built a raised deck to put the grill on, and planted some bushes I pulled from our model home that we are converting for sale. The grill deck will get a 26" granite prep station/counter as well, from a left over piece from the kitchen.

    What I started with


    Before trimming the decking and staining


    I thought I had more after pictures, I will get some this weekend. I now have a problem with the end of the paver extension washing out, I am going to have to take that apart Saturday morning and reset them and hope that the dirt I packed in before finishing up the deck takes care of the problem. If not, I may have to try a polymeric joint sand in that area to "seal" the joints in the bricks to keep the water from washing out the bedding sand.
    We have several brick as in pic that we are about to trash. Still in good condition. Wish I had a house still.

    Leave a comment:


  • black2002ls
    replied
    I haven't updated this in a while. We have been here almost three years, meaning it was about time to freshen up the paint. We started working on shifting away from the beige to a gray color scheme. We have a few rooms that are a dark grey, the whole home is a light grey color. I made the mistake of taking my wife to the new model homes in my subdivision and it led to this...


    Excuse the mess on the couch, that is all of the stuff that came off of the walls.

    We are trying to decide what kind of art work to hang. We are leaning towards a bicycle wheel mosaic, so if anyone has a lead on some vintage bicycle wheels, feel free to share!

    Sent from my SAMSUNG-SM-G930A using Tapatalk

    Leave a comment:


  • black2002ls
    replied
    For something a little different. I have put in a little time in the back yard recently, trying to spruce it up, and help push the water away from the house more. I extended my paver patio, built a raised deck to put the grill on, and planted some bushes I pulled from our model home that we are converting for sale. The grill deck will get a 26" granite prep station/counter as well, from a left over piece from the kitchen.

    What I started with


    Before trimming the decking and staining


    I thought I had more after pictures, I will get some this weekend. I now have a problem with the end of the paver extension washing out, I am going to have to take that apart Saturday morning and reset them and hope that the dirt I packed in before finishing up the deck takes care of the problem. If not, I may have to try a polymeric joint sand in that area to "seal" the joints in the bricks to keep the water from washing out the bedding sand.

    Leave a comment:


  • black2002ls
    replied
    Originally posted by Goku025 View Post
    the hardware made it look even better man!
    It changed the entire look! We bought these to go on the old cabinets and never got them all installed. The style is perfect for this kitchen!

    Sent from my SAMSUNG-SGH-I337 using Tapatalk

    Leave a comment:


  • Goku025
    replied
    the hardware made it look even better man!

    Leave a comment:


  • black2002ls
    replied
    I got the majority of the cabinet hardware on tonight. It really transforms everything. I couldn't find my drawer template so I had to hand measure those locations, which slowed me down quite a bit.


    Sent from my SAMSUNG-SGH-I337 using Tapatalk

    Leave a comment:


  • black2002ls
    replied
    I found the market analysis my realtor did for me at the beginning of the year when we were looking at refinancing. We bought our house at $63/sq ft. After she ran the numbers she felt we could sell, if we wanted to, at the upper end of the market in our area, and this was before this kitchen renovation. A good friend of ours just sold their home at $90/sq ft. Which would put our house in the $125-130K range. WELL over what we paid

    Leave a comment:


  • SVT Lurch
    replied
    That looks awesome - congrats on getting it done!

    Leave a comment:


  • Goku025
    replied
    Man you did a great job !

    Leave a comment:


  • black2002ls
    replied
    It makes the space feel so much bigger than it did before. I will all be finished up by Saturday, we are hosting out baby shower at the house, so I have to get it finished up.

    Leave a comment:


  • CWO
    replied
    turned out real nice man

    Leave a comment:

Working...
X