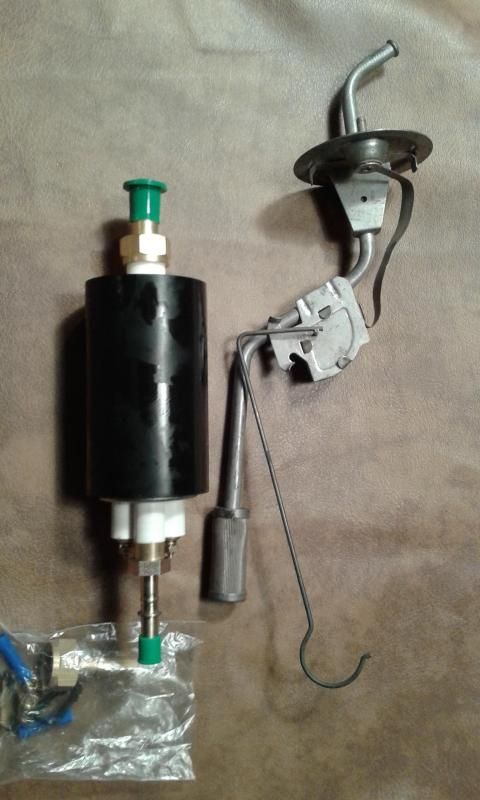
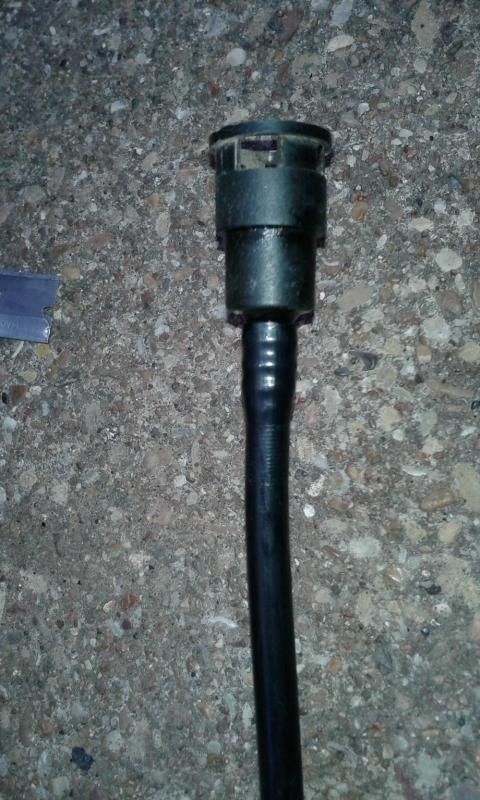
I was able to find a NOS 62 Country Sedan sending unit. Being year and model specific made finding a replacement less than easy.
For a pump I went with a mid 80's F-150 high pressure inline pump.
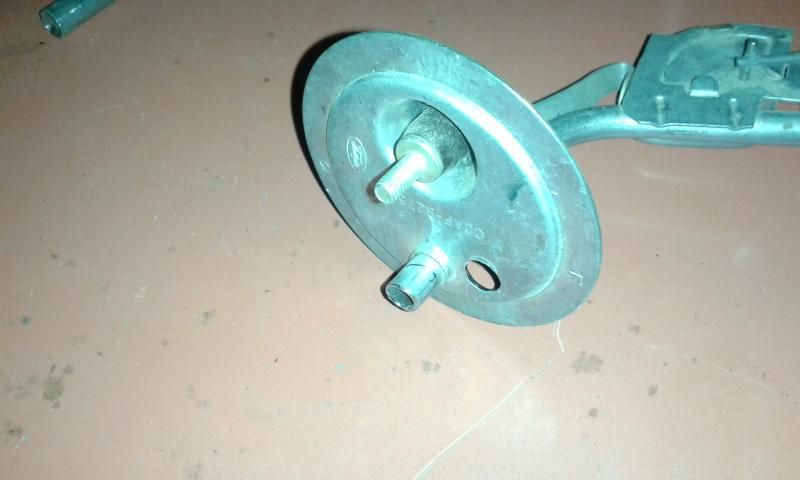
So what do you do with a new old stock part you probably can't replace? Cut the feed tube off of it and drill a hole for a return line.
Splice on a new feed line and add a return line. Followed by a little solder and call it done.
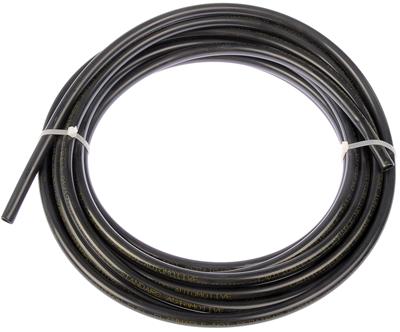
If any of you have priced fuel line for efi applications, you know how expensive it can be. Having to run 50+ft, using high pressure rubber line, steel line, braided, etc, was not in the budget. So, having faith in my fellow development/design engineers, I did what the factories have been doing for years.
Nylon fuel lines. Runs about $20 for 50ft.
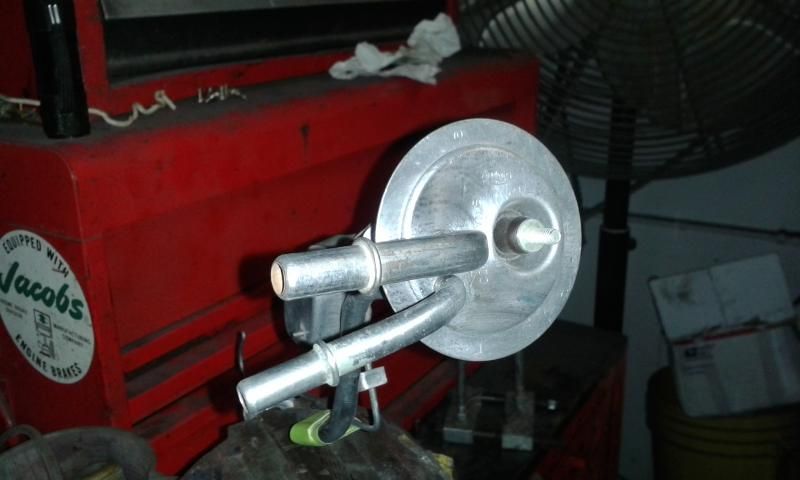
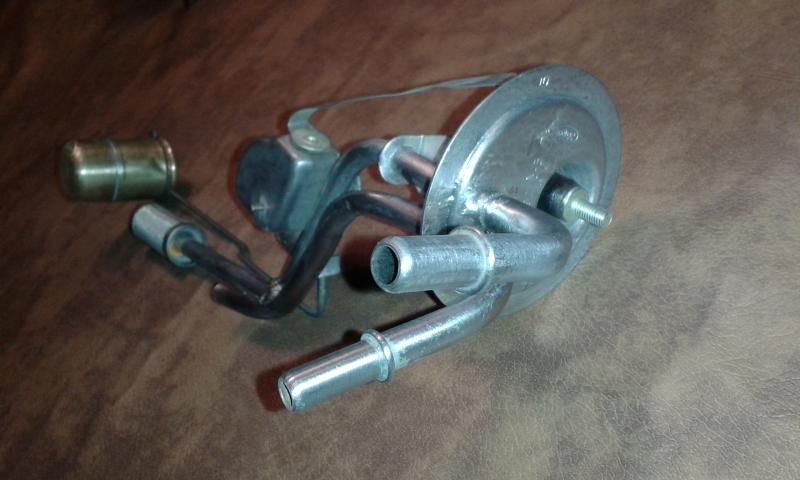
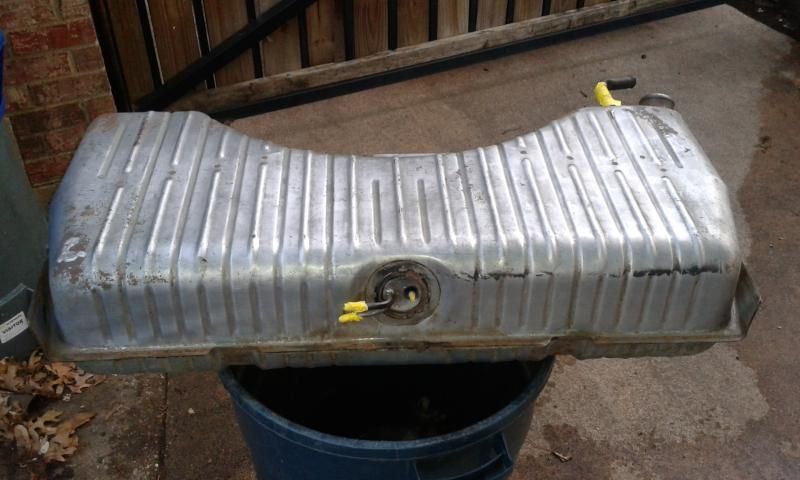
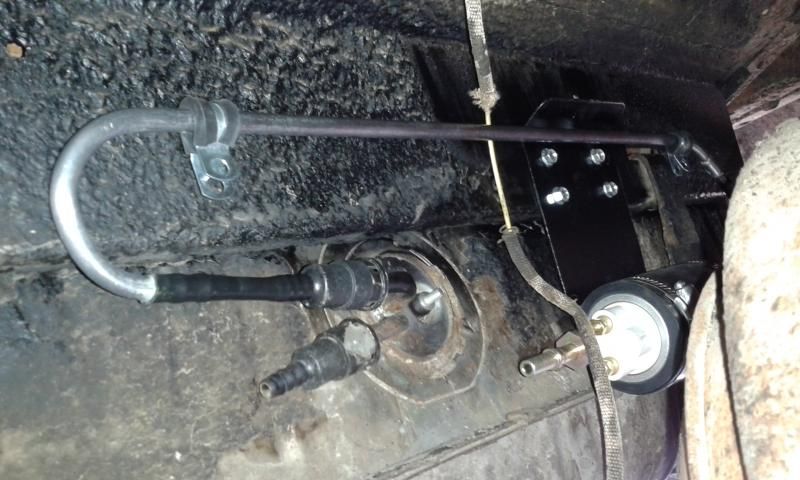
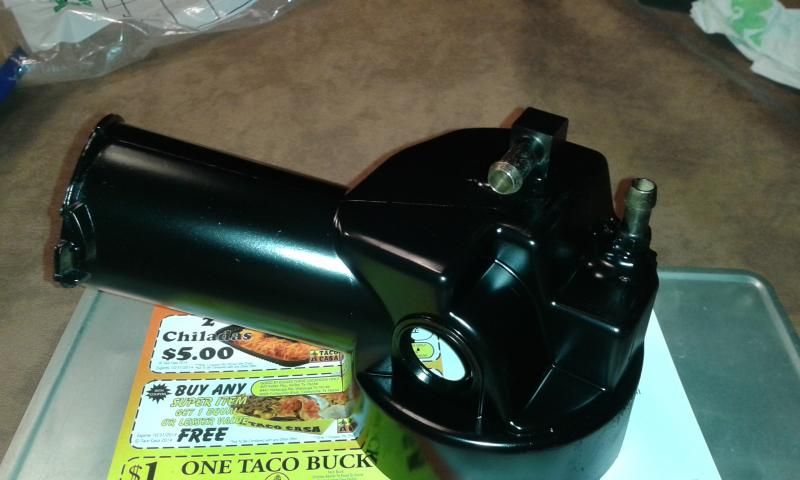
Next was the fuel tank. After cleaning off 50+ years for road grime and undercoating, I found it was in excellent shape. One previous repair and rust free on the inside.
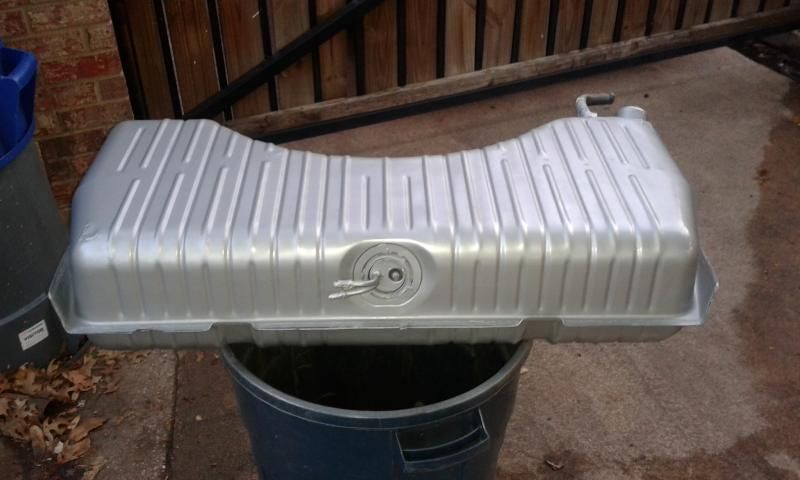
Cleaned up, sending unit installed and a good coat of paint. Ready to install.
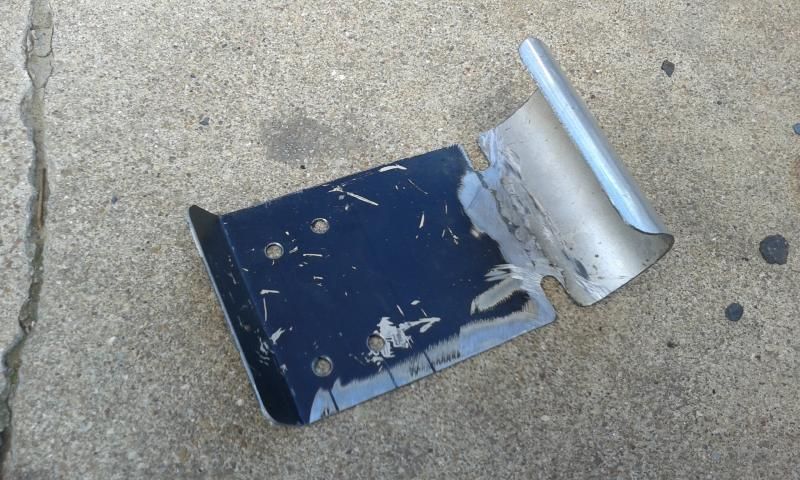
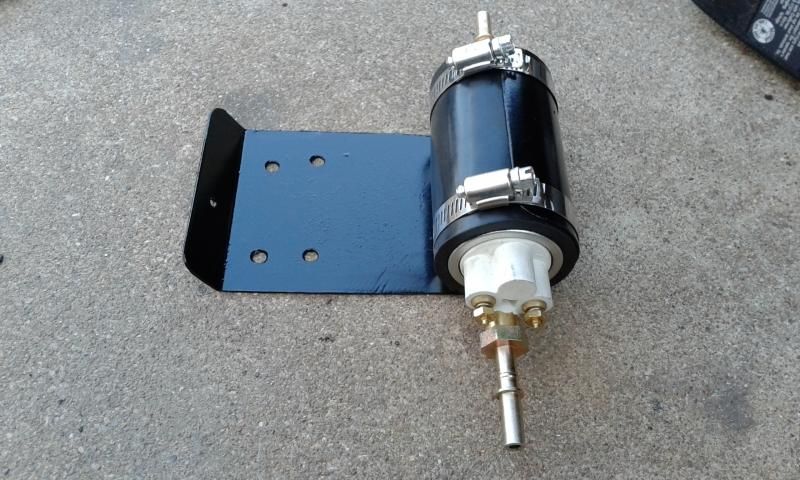
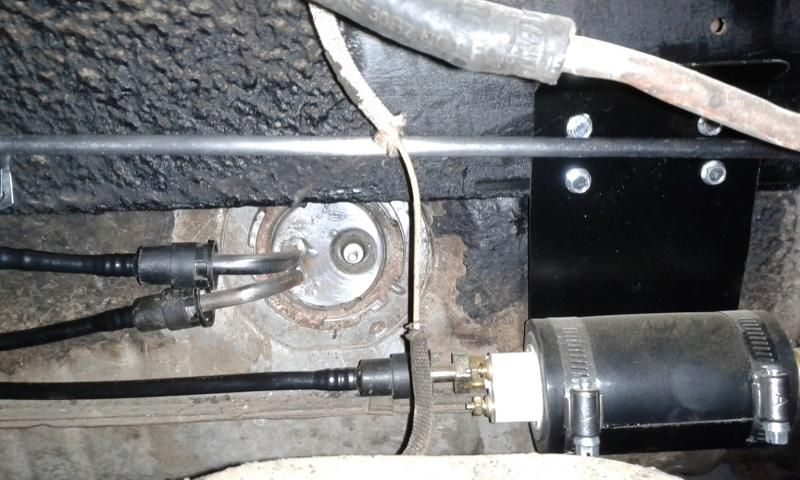
Next I hung the fuel pump. We all know you want the electric pump as close the pickup and low as possible. So like a lot of things I make, I reuse scrap materials. I made this bracket out of a piece of my house's heat exchanger case and some exhaust tubing. Cut some slots and added a couple of hose clamps. Tip of the day, Stainless steel hose clamps. Lowes and they are cheap.
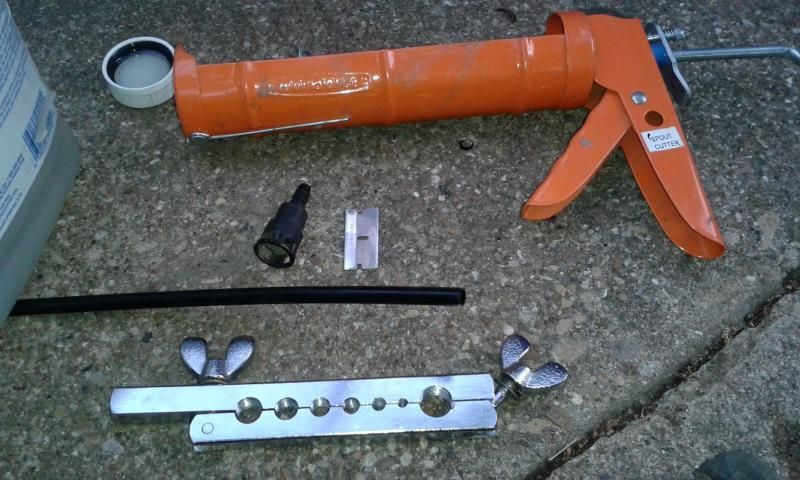
Lets make some fuel lines. Now for about $100 you can buy a tool to do this. I guess if you do it everyday, it would be worth it. My case, not so much.
Here is what I did. You will need a few things: Your parts, a caulking gun, the tube holding tool from your flaring kit and a splash of mineral spirits for lube.
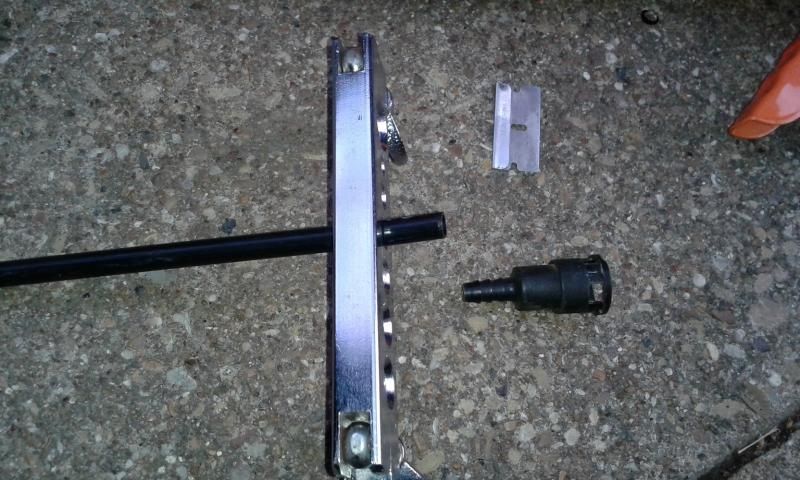
Clamp the tubing leaving a hair more than the barb length sticking out. Just clamp it until it holds, no need to smash down on the tubing.
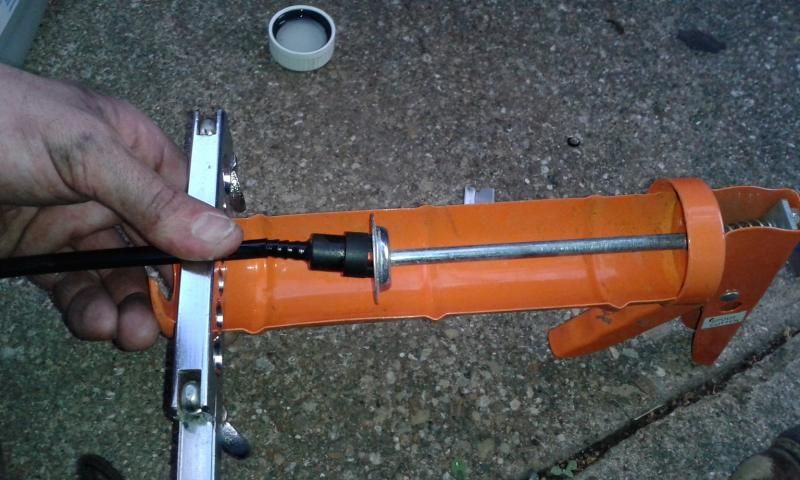
Now the fun part, using all three of you hands, wipe a little lube on the fitting, place the flaring tool in the caulking gun using the end off it to stop the tool, line up the fitting and squeeze. Take you time, go slow and don't stop until you seat it.
And there you go, one completed fuel line end. 5 more to go.
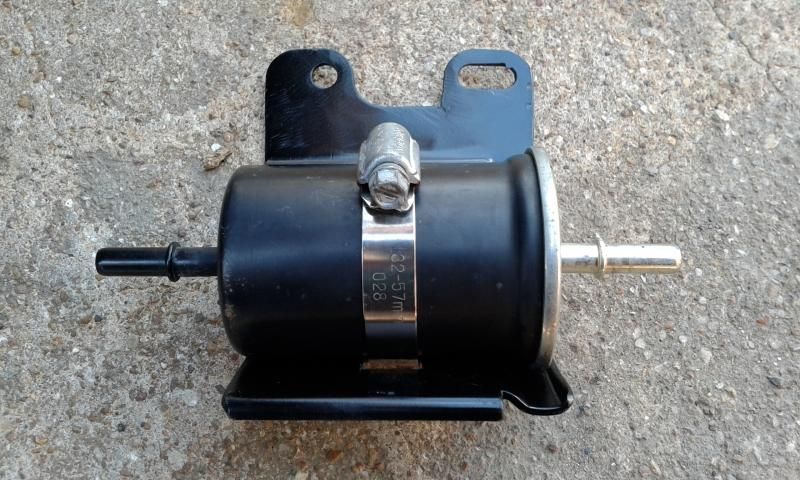
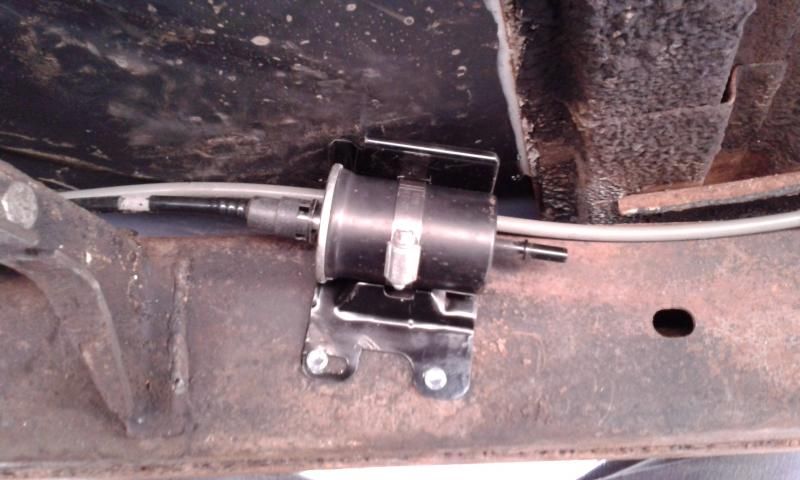
I was able to reuse the T-Bird front fuel lines including the filter and bracket. They ran from the motor, across the inner fenders, down the firewall and stopped at the frame.
T-Bird fuel filter and bracket. It was shortened and I relocated one of the mounting tabs.
Formed a metal feed line and ran all the fuel lines.
Let's run some exhaust and then we can fire this little up.
There was a fairly new exhaust system on the wagon when I got it. But two issues, it was set up for the 352FE and it was muffler-less straight pipe exiting through Bell Flower exhaust tips.
So I set out to change that a little.
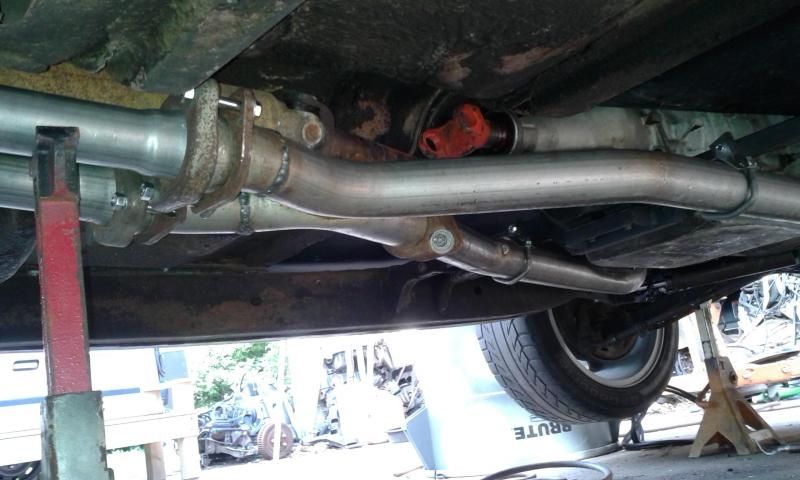
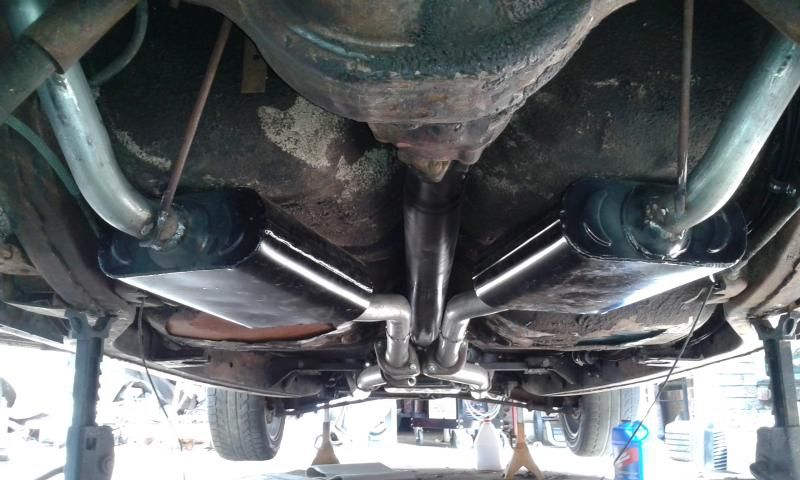
Fox Body X Pipe supplied by Tyler (Mach I). I had to shorten and pie cut the ends to relocate them a little.
The pics are a little out of order so you will see things like the old floor pans. I had an exhaust shop make a couple flared adapters I welded into place.
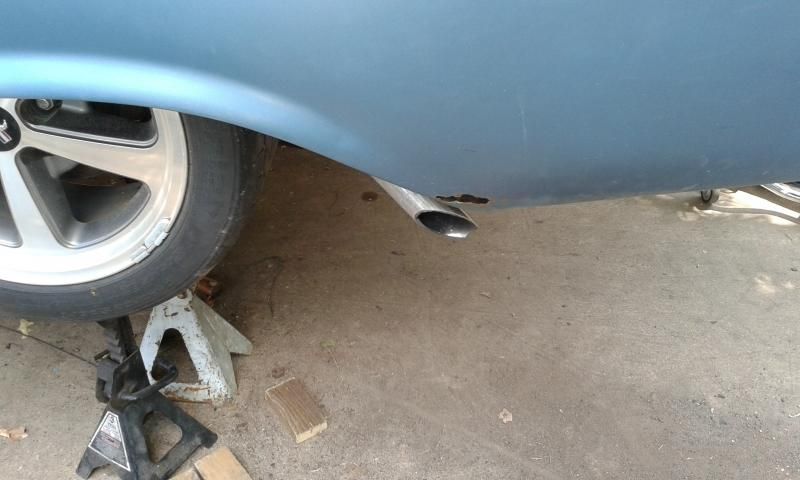
And a shot of it running out the back.
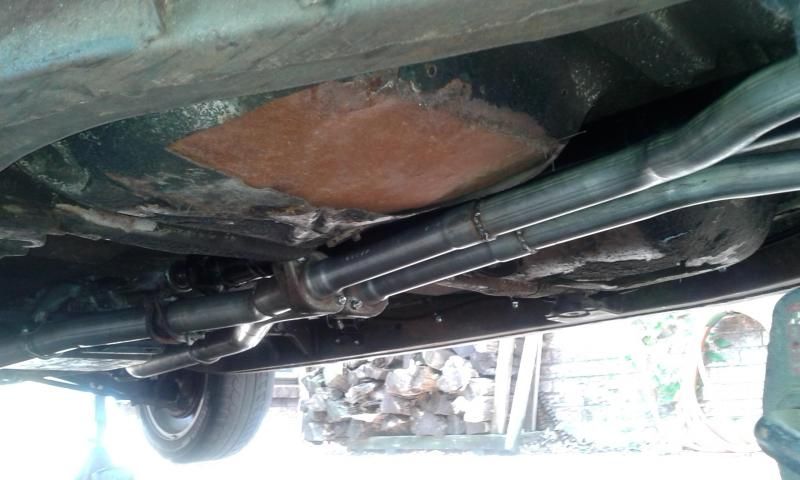
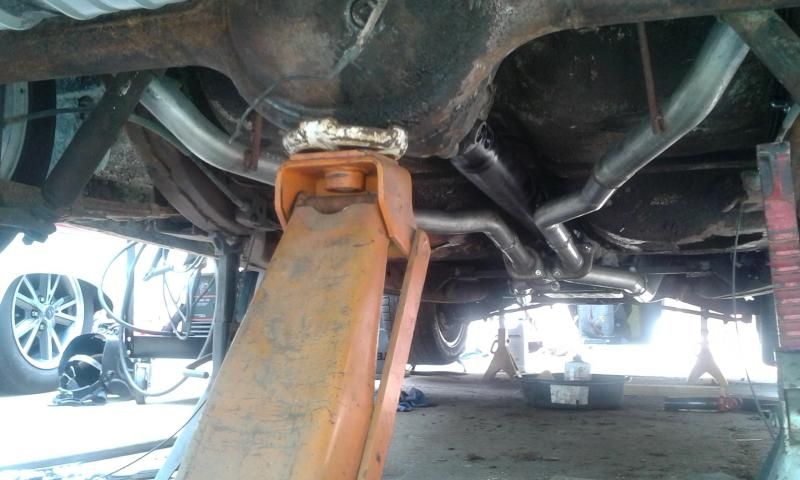
Picked up a couple overstock Flowmaster mufflers for $22 each and welded then in place. Then with a little rerouting of the tail pipes, I exited the exhaust just behind the rear wheel.
bout time you post pics...It was great to finally see it before I left for California. The pics don't do this wagon justice guys! I knew selling it to Kevin was the best decision! Looking forward to other projects you need to finish! Maybe you should road trip to LA so you and I can head up some shows, and then I pay you loads of money for it!
Glad you are happy with your decision. I know I am. Too bad I had the tire rubbing issue and you couldn't take it for a spin before you left. Let me know next time you are in town.
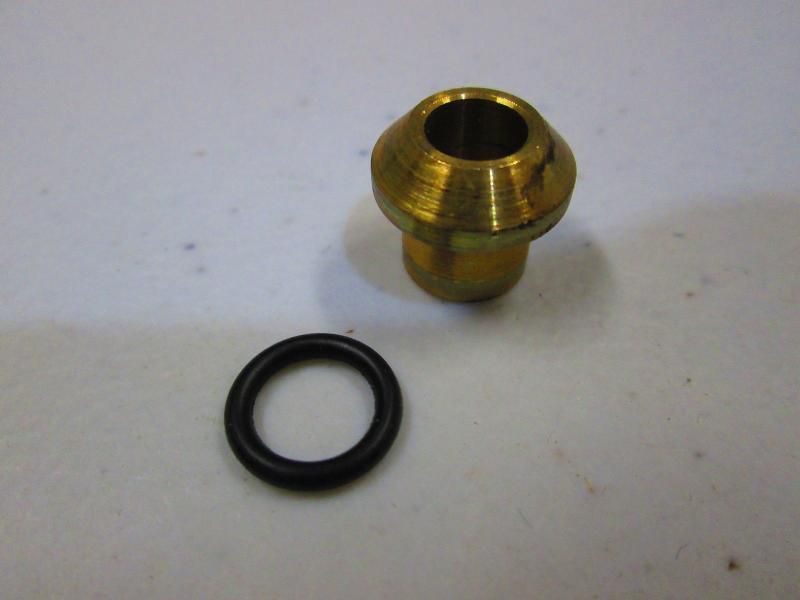
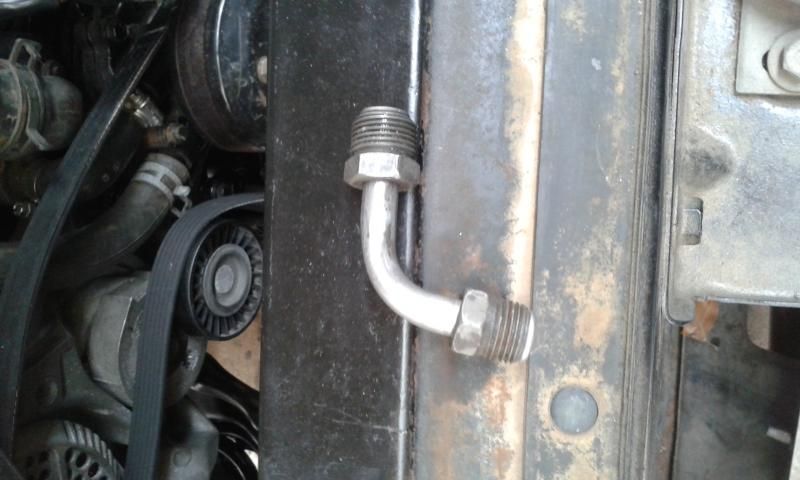
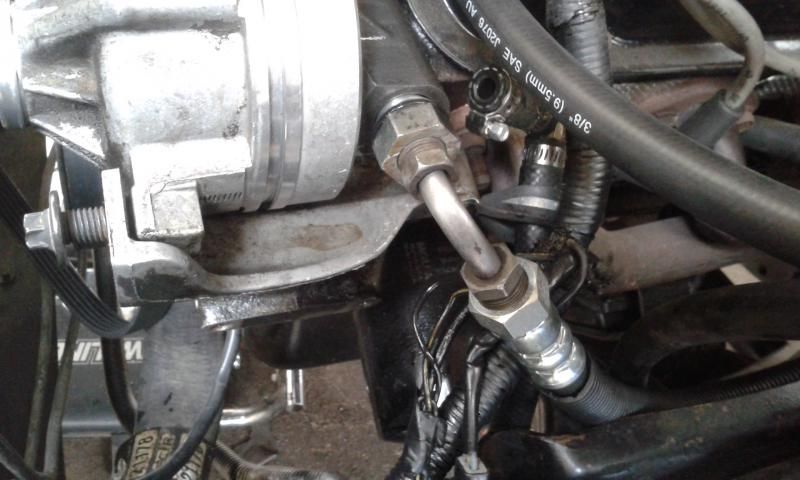
A quick blurb about the power steering and hydro-boost brakes. I was lucky enough that the stock wagon and Lincoln booster hydraulic lines worked together with a Ford adapter. Somewhere during the 70's Ford started a changeover from flare to O-ring fittings. The wagon was flare, the T-bird was O-ring and the Lincoln was both.
Ford was nice enough to use an adapter for use on the crossover years. If anyone is looking for obsolete Ford parts, I have had really good luck with these guys.
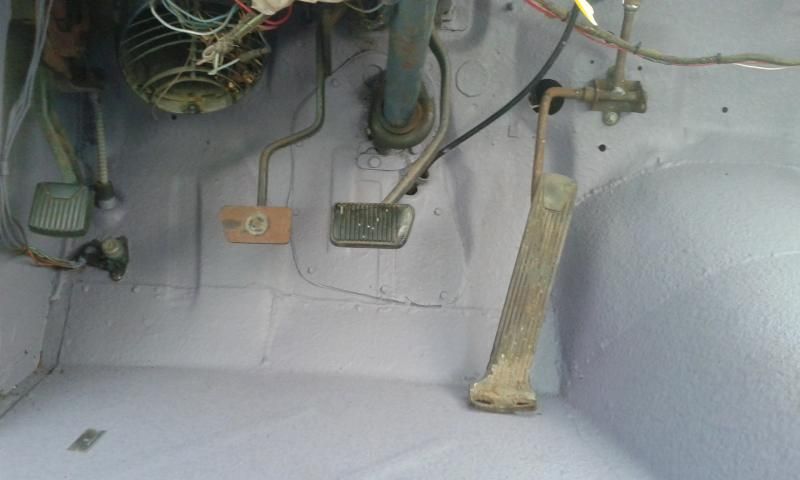
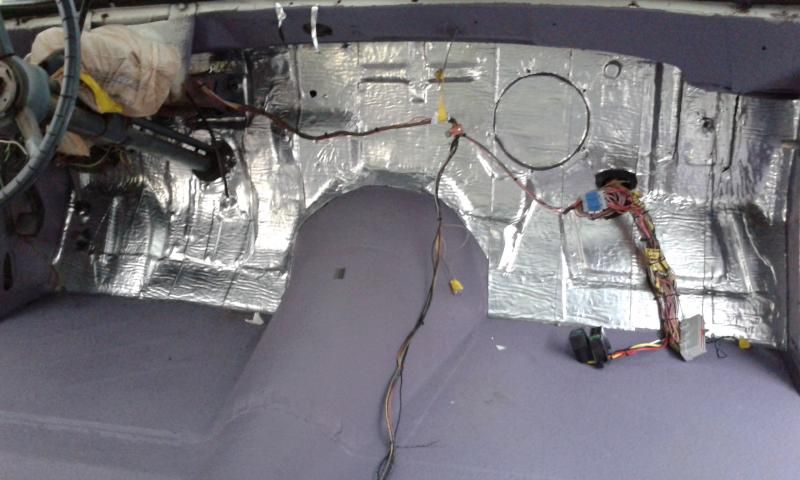
Lets get back to the interior. Along with the spray on insulation, I wanted to make sure there wasn't any air/heat/fume infiltration through the firewall and a little extra cushion and insulation on the floor.
First a sneak peak of near future upgrades.
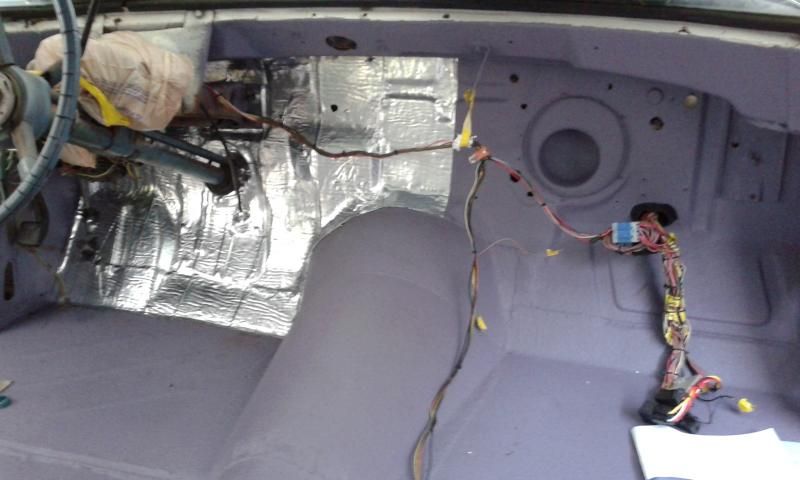
First was the firewall. Dynamat is nice but it's expensive so I used a cheaper alternative.
I used Peel and Seal from Lowes. It has it's reviews in this application but in my opinion, most of the poor reviews are from people that used it incorrectly or in places not prepped, dirty, rusty, etc. Infact, most of the people that recommend not using it were people who sold Dynamat material.
At $1.37 vs $8.43 per sqft, my choice was easy.
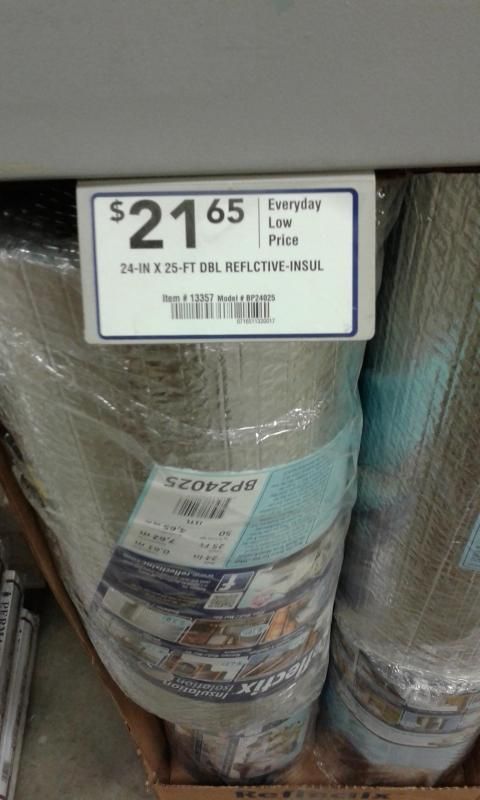
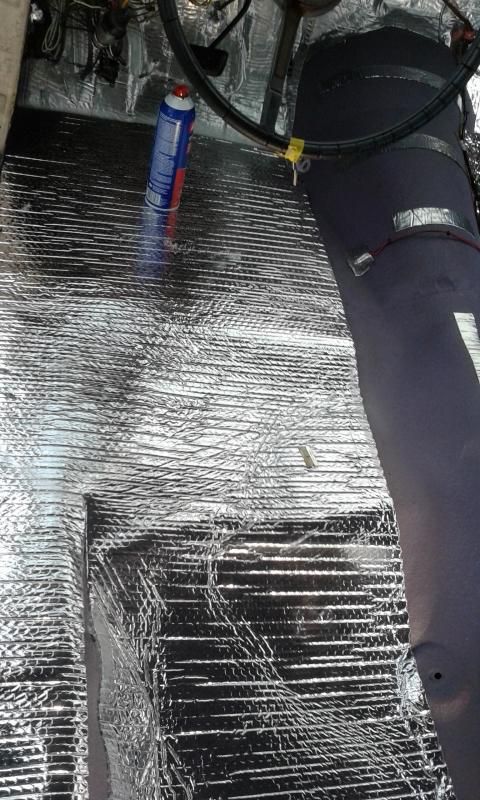
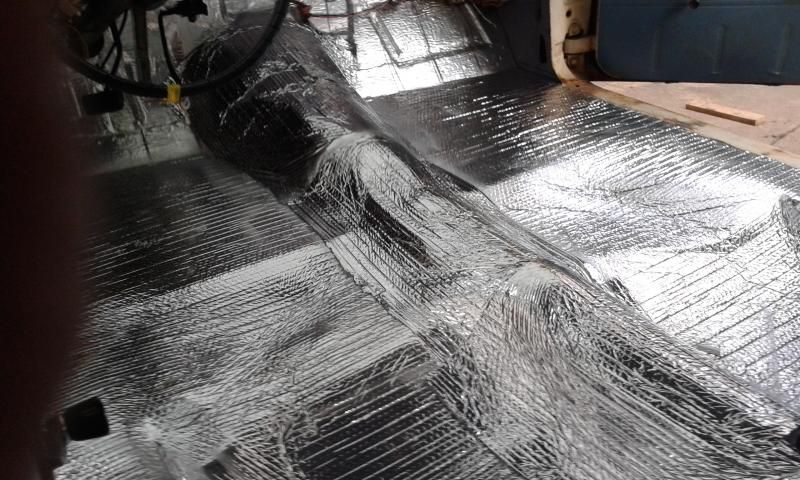
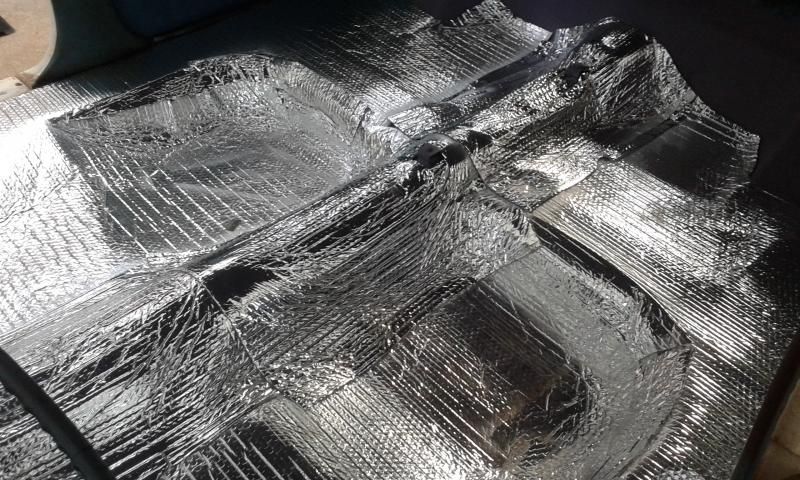
On the floor, I laid down a layer of reflective bubble wrap insulation. I prefer jute but it's heavy, holds dirt and moisture.
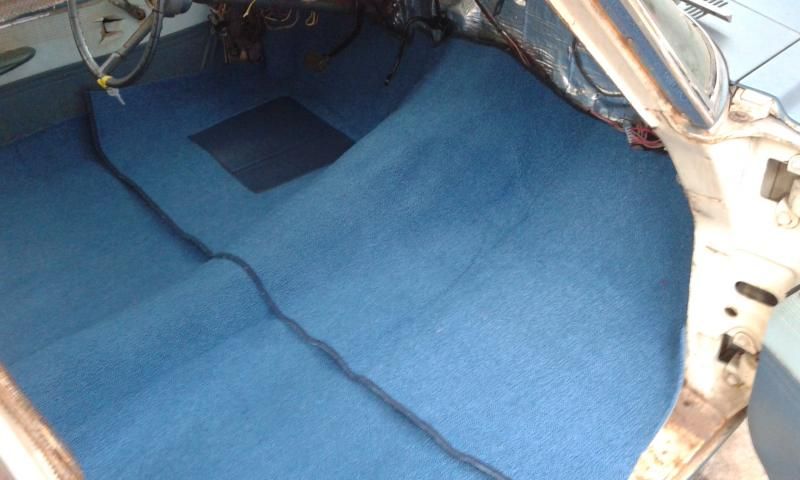
And the carpet was laid down to let it start relaxing a little.
 Tweet
Tweet


Comment