Announcement

Collapse
No announcement yet.

Homealone's 62 Ford Country Sedan Build Up

Collapse
X
 
  • Filter
  • Time
  • Show
Clear All
new posts

  • #61
    Before I could reinstall the interior, I had to replace the windshield. If you noticed in my previous pics, there were a few bullet holes in the existing one. Gonzoss was nice enough to include a replacement windshield with the wagon.

    I have installed several windshields over the years and this was by far, the worst one I have ever attempted. Now I know why I could not get a glass guy to touch it.

    It took multiple attempts over 3 days, 3 people and one big sealant mess to get this thing in. So far so good.


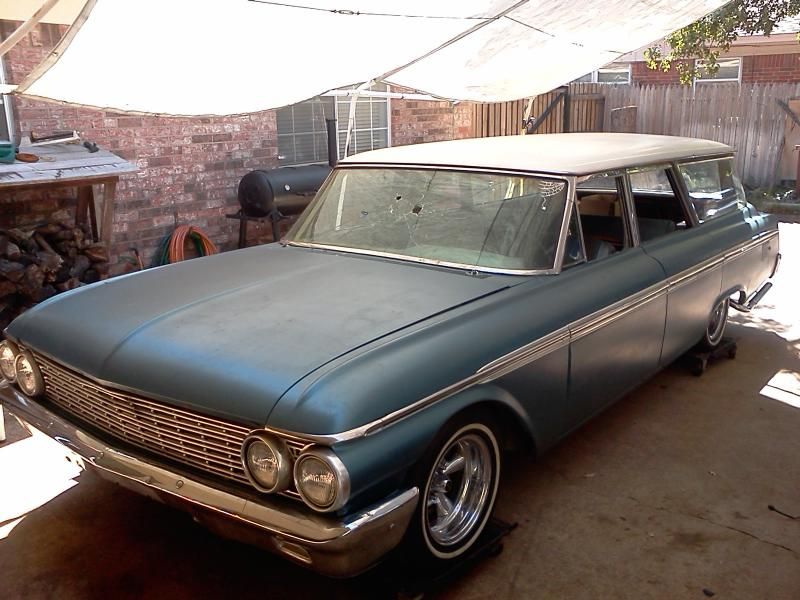
    Old windshield w/ bullet holes.


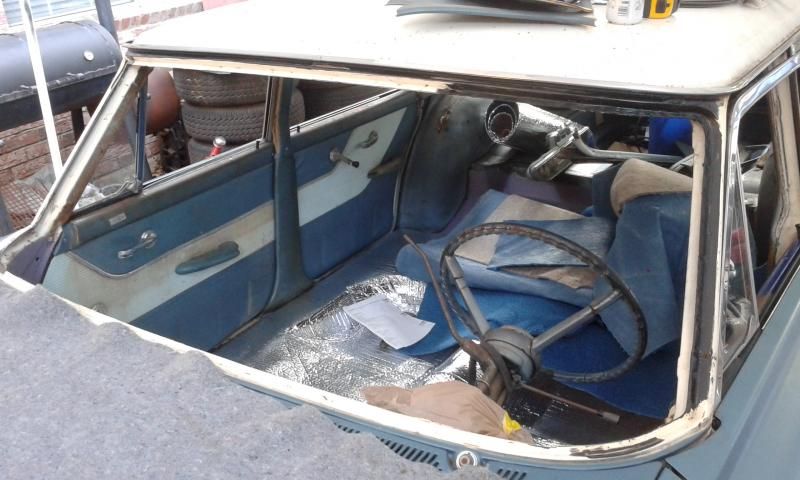
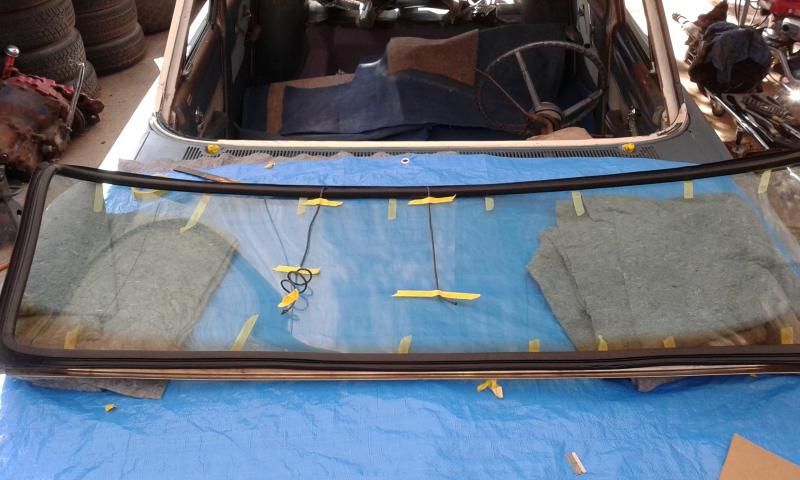
    Windshield channel cleaned and prepped.


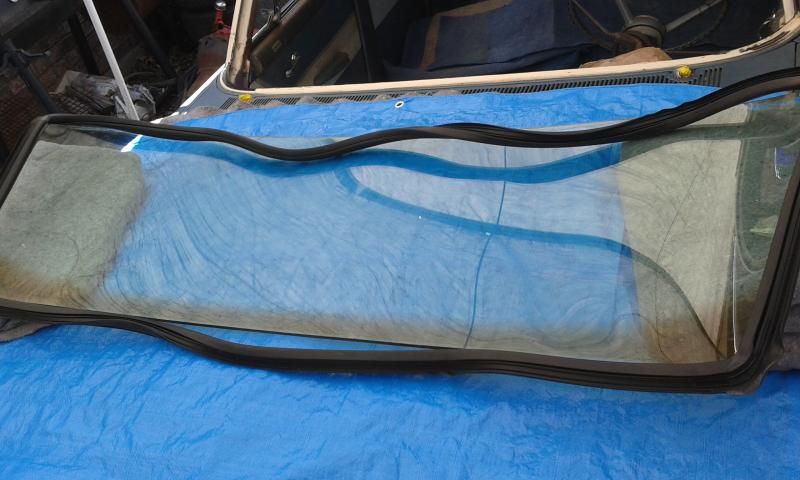
    Setting the gasket with butyl sealant.
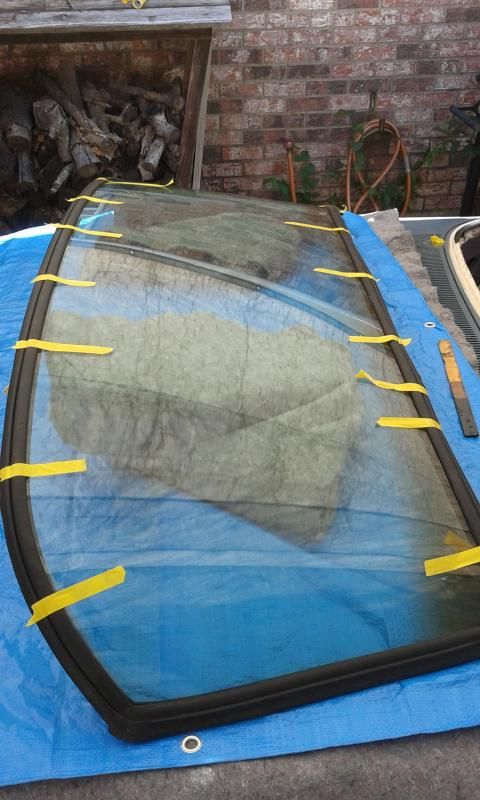
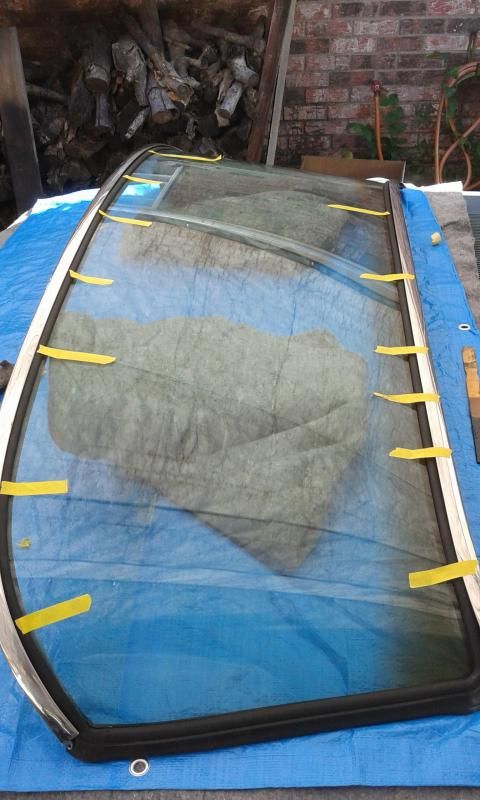


    Rope installed.


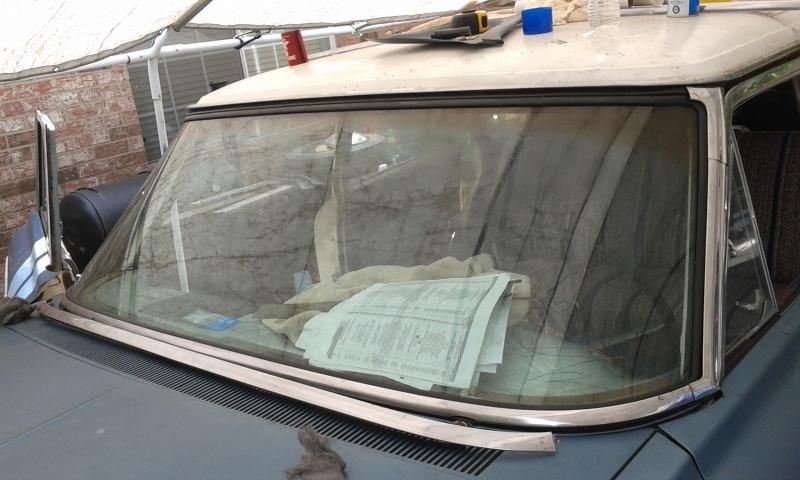
    So with cool cat's help, after 3 days of cussing, stomping and nearly giving up, here it is installed.

    Comment


    • #62
      My intension for the interior is for it to be in like new condition. With a time crunch to get this on the road for Good Guys and the sticker shock of having the seats recovered, I opted for a cleaning and a set of saddle blanket covers for now. In time, the seats will be recovered, the interior sheet metal will be resprayed and door panels will be redone.


      I bought a set of saddle blanket covers off Overstock.com, cut them apart and fitted them to the seats. With the use of some brass grommets and hog rings, here is what I came up with.


      Front seat. I added a little foam to the drivers side.


      Covers draped over the seat.


      Bottom stretched and hog ringed. The sides were folded and tucked.


      For the back of the seat, I stretched it over the frame using hog rings, grommets and rope.


      Chrome trim reinstalled.


      Front seat done.

      Comment


      • #63
        Same process on the back seat. Cut, stretch, fold, hog ring, etc.

        If anyone is looking for hog rings, Academy has them in the meat smoking section for sausage making.


        Assembled. I found the flaw in these covers here. The bottom and back were made a little different. Good thing it was on the back seat.


        The set ready to be installed.

        Comment


        • #64
          Thanks for posting your build pictures. It's inspiring.
          "If I asked people what they wanted, they would have said faster horses." - Henry Ford

          Comment


          • #65
            Originally posted by Baron Von Crowder View Post
            Thanks for posting your build pictures. It's inspiring.
            Thanks,

            I've been driving this thing since September and it's doing what I want it to do. Haul parts, groceries and friends.

            Comment


            • #66
              On with the seats and carpet.

              Tip of the day, when locating the fastener holes through the carpet, you could preinstall the fasteners, feel around for them and then cut your carpet, or do what I did.

              No pics so you will have to use your imagination. All my holes were accessible from the underside of the car so first I located the area and had cool cat hold down the carpet. Then I heated up a Phillips screw driver with a torch and pierced the insulation, jute and carpet through the hole in the floorboard. This makes a clean, small hole exactly where you need it. And since it melts the carpet, it keeps the edges from unraveling.


              Carpet laid in.


              Back seat installed.


              Front seat.


              Carpet ready to trim.


              Sill plates installed.


              Getting there.


              And until I can make some kick panels, we'll call this stage done.

              Comment


              • #67
                have you had any issues with your fuel system setup? I did a similar swap in my 64 fairlane. I have a inline msd pump and its always performed well, but it seems like the pump flow changes from time to time just listening to the pump hum while driving. Mine has minimum interior and no insulation so everything is heard. I'm considering re doing the fuel system this summer installing a low pressure pump in the tank to feed the frame mounted one kinda like the 80-90s f150s. Thanks for the pics, very nice
                -Blaine

                Comment


                • #68
                  The only issue I have had is the first pump lasted 4 days. Since I have not had a problem since, I blame the pump itself.

                  Now I do take precautions. Since the tank doesn't have a baffle, I don't run the tank under 1/4 tank.

                  Comment


                  • #69
                    Originally posted by homealone View Post
                    The only issue I have had is the first pump lasted 4 days. Since I have not had a problem since, I blame the pump itself.

                    Now I do take precautions. Since the tank doesn't have a baffle, I don't run the tank under 1/4 tank.
                    I guess its ok then. Ive had mine like that for over a year or so, prob just over thinking. Thank you sir
                    -Blaine

                    Comment


                    • #70
                      Super nice.

                      Comment


                      • #71
                        Originally posted by f100347 View Post
                        Super nice.
                        Excellent use of your first post.

                        Thanks.

                        Comment


                        • #72
                          Nice job on your interior, Home Alone. It looks nice. I like this era of Ford. I learned to drive in a 62 Galaxie w/ a 292 and a 2 speed.

                          Comment


                          • #73
                            Love this build thread. I used the Peel & Seal stuff on the fastback and I'm really happy with it.

                            Comment


                            • #74
                              Did you replace any door or window rubber? Trying to source some and Dennis Carpenter has some but not all. Haven't seen any others.
                              2009 Mustang GT
                              1972 Country Squire

                              Comment


                              • #75
                                I haven't done that yet.

                                You can save some money buying from these guys by the foot.

                                Larry Dennis Company
                                Larry Dennis Company for all of your trimming, marine upholstery and furniture upholstery needs

                                6121 Midway Road
                                Fort Worth, TX
                                (817) 222-9700


                                J & J Supply Inc

                                601 North Beach Street
                                Fort Worth, TX
                                (817) 335-5535

                                Comment

                                Working...
                                X