I have a bunch of new updates, but for whatever reason, I don't have many good pics.
The car made it's maiden voyage at the cruise with MANY problems. Many that you'd expect from a 'new' car. For starters, the line lock didn't work - operater error. It has the brake pressure switch on the locked side, normally this isn't a problem other than it activates my first launch limiter when it's like that.
Next, no matter what i did, it popped and banged all the way down the track. The logs showed consistently low voltage, and I figured my alternator was just spent. Hardly the case, but definitely not good. Turned out that the charge wire back to the battery was grounding out on the brake line bracket. It has a pretty sharp edge and the silicone like covering on the charge wire was no match.
Switched alternators to a 250A / 3G and added a #2 welding cable for a charge wire - PROBLEM SOLVED!!
Next, back to the sputtering - I thought for sure it was related to the grounded wire. Nope. Borrowed Jason07's carb and it made a different kind of pass, but still not 'right'. Long story short, the boost referenced power valve on my carb didn't have a pickup tube on it (think jet extension). This causes it to become uncovered on launch and even minor acceleration keeps it uncovered... It will NEVER run right like this. I have no idea why I didn't think of that - I fully EXPECTED the megasquirt to be a problem and it worked 100% flawlessly. (Now, before, at the dyno, it wasn't right - but that was my doing) it took some setup and the help of mark04 and Andrew to get it ironed out)
First pass is my carb and the BRPV's not set to open fast enough -so I got the lean stumble when I staged it up. No biggie.
[ame]http://www.youtube.com/watch?v=dDw8cTi6yRE&hd=1[/ame]
Next pass, Jason07's carb - still the same problem with the BRPV's not bieng adjusted for my setup, but it worked good enough. His carb stumbled because of no vent tubes - when the car launched it dumped fuel out of the vents. It came up and had power for about 40 feet, and didn't recover till around 300' or so. 5.91@126
[ame]http://www.youtube.com/watch?v=OxgtjEyUzCA&hd=1[/ame]
-
Thanks Jon!Originally posted by Booger View Post
I had to do some tricky relay wiring to make the two step / 3 step work right, but the rest of it was pretty easy. The big thing with this stuff is the grounds and where it's grounded.
I'll have some more pics by the end of the weekend.Leave a comment:
-
Wow brooks everything looks great, i wanted to set mine up like that as well with individual coil packs... Just couldnt figure out that megasquirt. Good luck with it, im sure u will get it all figured out then maybe ill get u teach me!!!
Looking forward to seeing at trackLeave a comment:
-
motor looks like a damn ls1 lol. no wonder it'll be so fast haha. truly amazing work brooks, will have people like me scratching their heads for a while im sure....Leave a comment:
-
LOL, I have Nike cruise control! By next weekend I should be able to 'test drive' it. Maybe even dyno.Originally posted by kbscobravert View Post
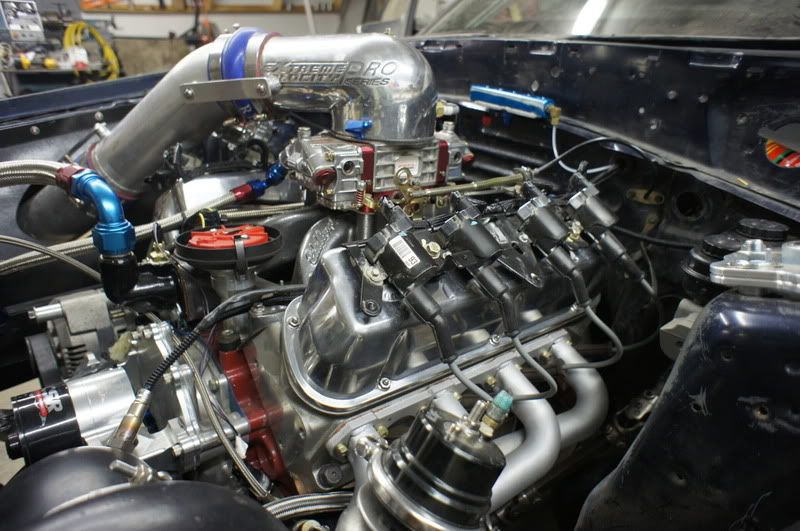
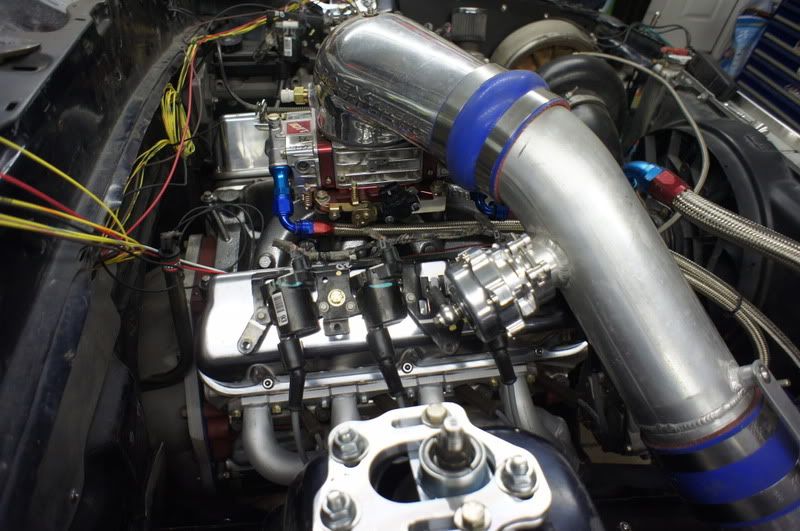
It hasn't been covered yet, but if you look real close on the first pic of this update - you can see between the #7 and #8 coils you can see a bit of blue tape, it's covering the -10 hose barb. There will be a matching one on the passenger's side and the catch can will go behind the passenger's tire.Originally posted by greenbullitt View Post
nah, it's fine man. No worries.Originally posted by Darren M View PostLeave a comment:
-
Now I understand. (I'm a dumb ass....) You said "turning" and I read "spinning" as in [ame="http://www.youtube.com/watch?v=um-biLfru-c"]this youtube video[/ame]. Mia culpa..Originally posted by turbostang View Post
(Well crap.... I guess I can't just make it a link....)
Brooks, let me know if you want me to remove that video. I just wanted to reference a video, not really post one in your thread.Leave a comment:
-
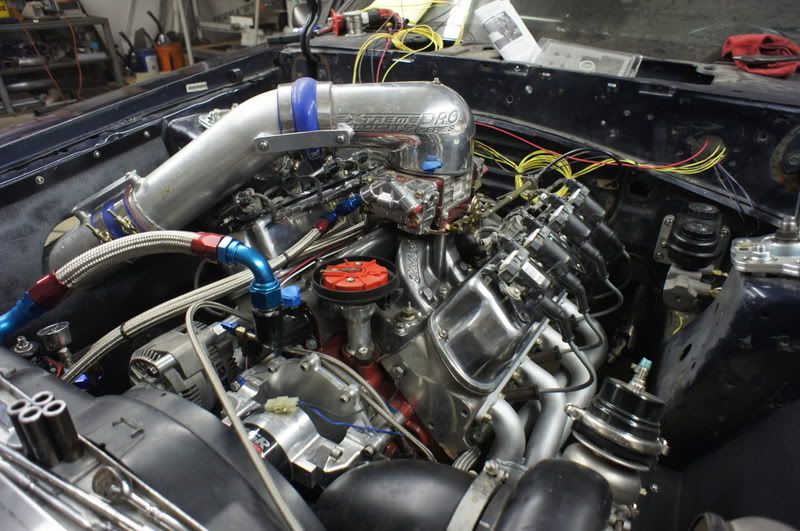
Wiring all cleaned up and you can see the vacuum log mounted behind the carb.
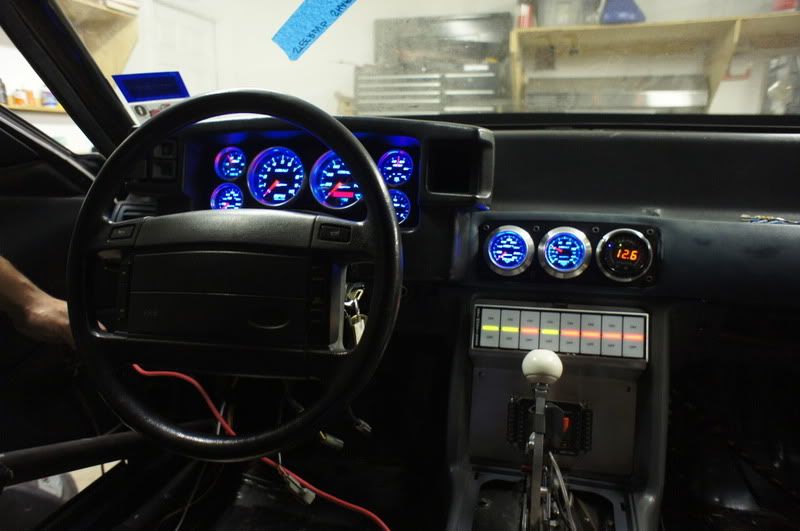
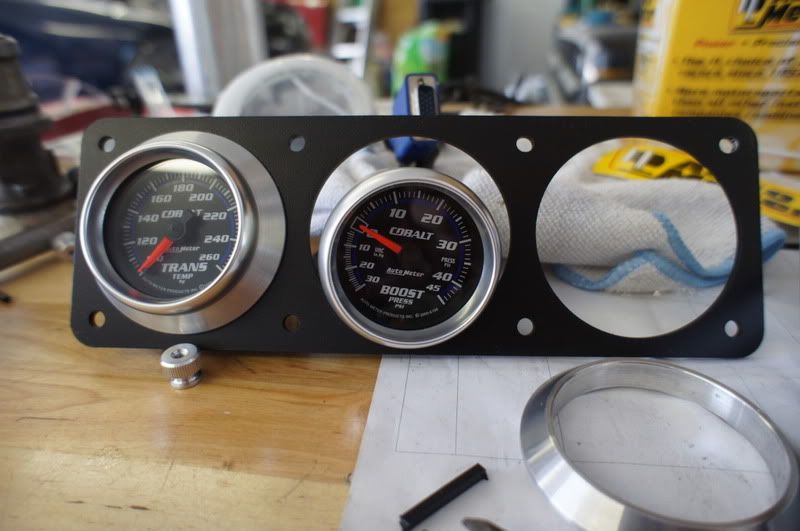
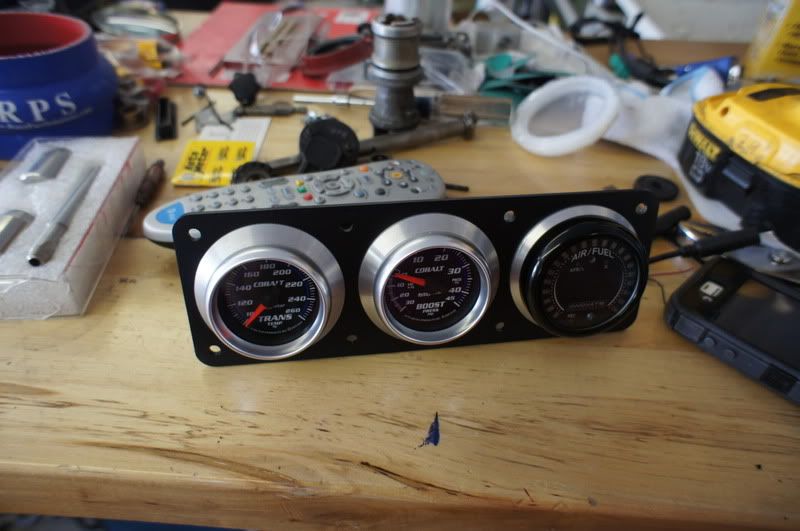
Last but not least, the center guages mounted up and ready for action.
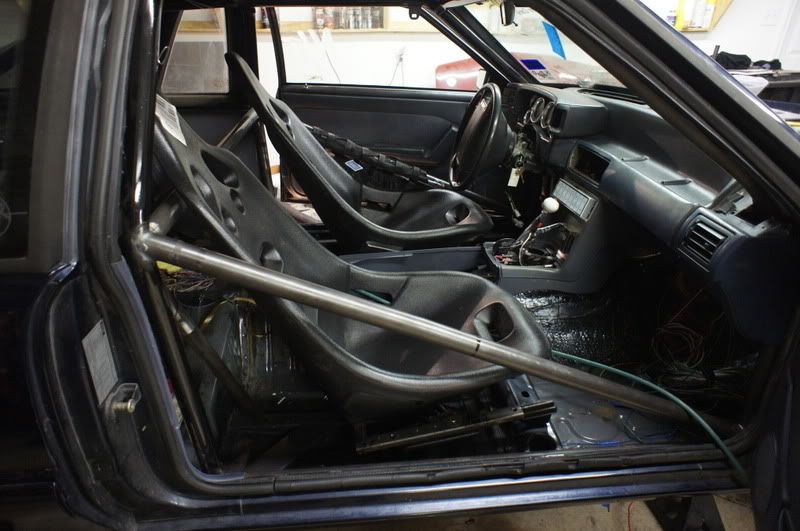
..and of course, the wiring. This pic does it NO justice. The part behind the leading edge of the seat is the relay board for the ARC panel. The first piece behind it is the megasquirt ECU with the onboard flash drive for datalogging, and immediately behind it is it's own relay board. The bundle of wires closest to the rear seat is for the sequential injectors that will probalby show up some time late in the season. As for now, it logs TPS, IAT, A/F, CTS, Timing, boost etc.
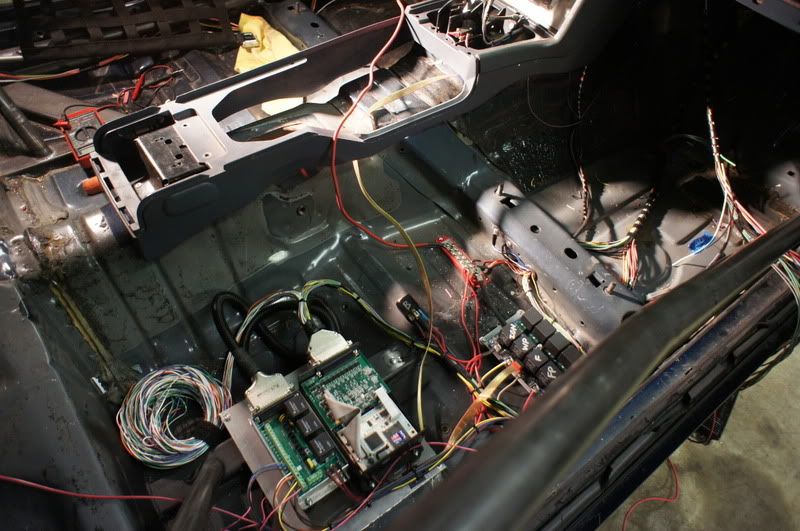
The only major wiring left are for the launch controls, timing retards, data log activation etc. (those are the wires haning out of the door.)Leave a comment:
-
Here's what appears to be a pretty simple update, but to me, is probably the toughest part. The wiring and all of those little '1 hour' jobs that will eat you up.
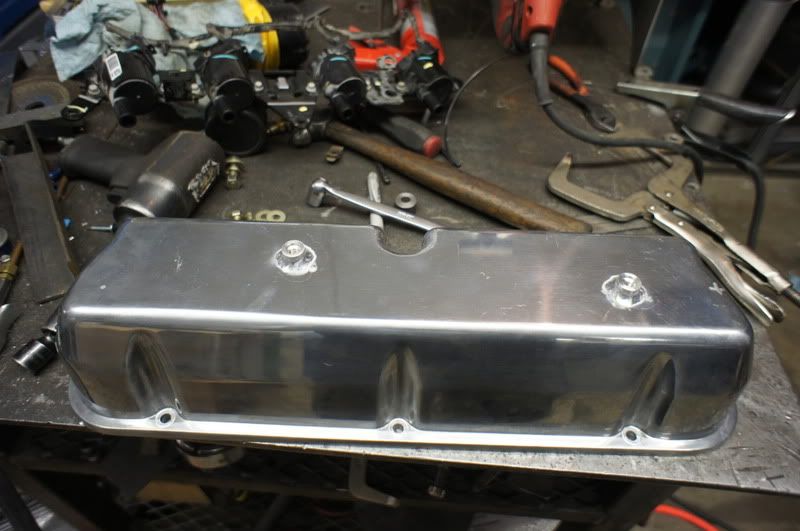
First, the valve cover mounted coils. Pictured here - the mounting bosses. Looking closely, you can see the centering ring machined into the studs.
Next- Passenger side done, note the 'temporary wiring'. (finished pics coming below)
Drivers side-
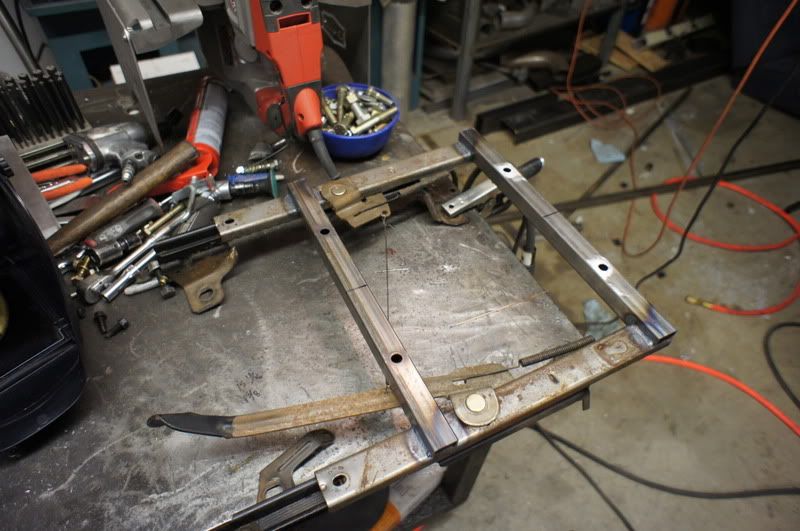
Stock style seat mounts, still adjustable.
...both seats mounted up, may have to modify the front mount a bit, they might tilt back too far for my taste.
Better pics of the guage bezel machining process
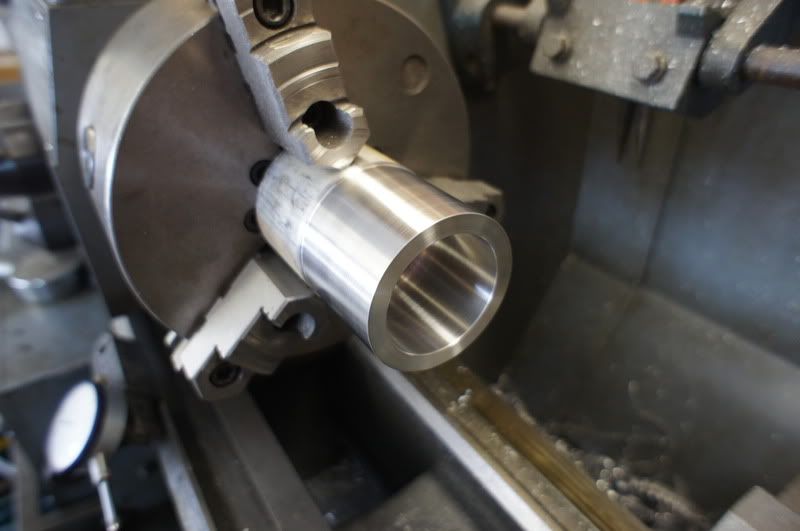
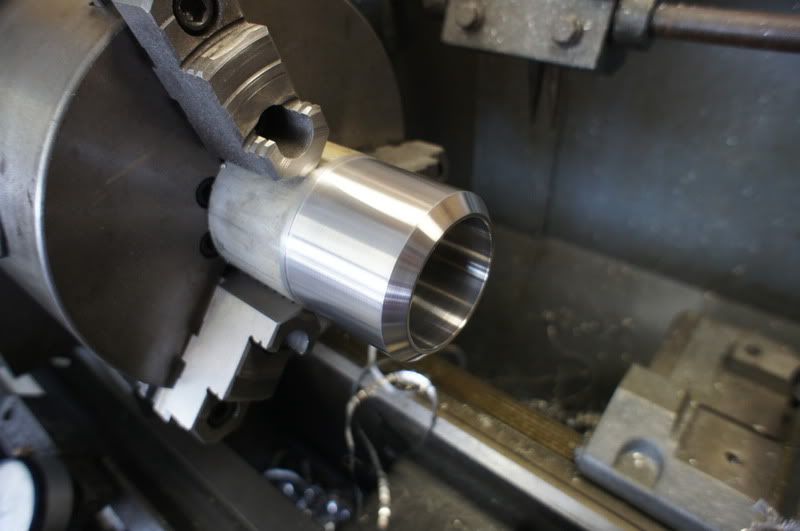
Here you can see the ring, the space that has to be filled etc.
Leave a comment:
-
Nice update Brooks. I like the utilization of their metal break (or is it brake?).Leave a comment:
-
Not really, if anything - it's a bit faster than normal.Originally posted by Darren M View PostLeave a comment:

Leave a comment: